Showing posts with label paper artsy. Show all posts

Monday, July 29, 2019

Fly Away

Hello!! I'm excited to announce that I have joined the Topflight Stamps design team. I am sharing my first project for them today inspired by the Studio Light "Fly Away" set paired with some of my favorite Tim Holtz products I created this quick and easy altered spool. Let's get started.


I began by painting some Bouquet Flowers with some watered down Paper Artsy Fresco Finish in Mulled Wine. Not pictured I colored in the stamens of the flowers using Mustard Seed Distress Marker. 


I then painted a spool with a thin coat of Paper Artsy Fresco Finish in Taupe. Once dry I lightly sanded to distress and then blended in Vintage Photo Distress Ink. 


For the wings I used a brayer and light layers of Paper Artsy Fresco Finish in Stone on book text. 


Once dry I stamped the wings from the "Fly Away" set using Ground Espresso and Hickory Smoke Archival Ink. I then fussy cut each of the wings. I layered the wings and fluffed them out a bit and then adhered to the back of a Tim Holtz Paper Doll. 


I added one of Tim's Milk Caps to the top of the spool to provide a little more surface area and because they're so dang cute. On the bottom of the spool, I wrapped a ticket from the Keepsakes ephemera pack and a vintage postage stamp. To finish it off I tied a distressed piece of Craft Thread around the spool.


Using a portion of the "Fly Away" stamp I stamped the Wings text on a Classic Label Sticker and adhered to a Corked Vial filled with Clear Rock Candy Dry Glitter. The Paper Doll was sanded and lightly colored with Distress Markers and Vintage Photo Distress Ink. 


I adhered the Paper Doll to the top of the spool and then placed the Corked Vial next to her. Once dry I started layering moss and the painted Bouquet Flowers. 


It was fun working small. And finishing a project in an afternoon. If you don't know I'm the slowest maker ever and a classic overthinker!! 

Thanks for stopping by today. Leave me a note and say hi.
Happy Creating ~ Jennalee 


Friday, May 3, 2019

Note to Self

Hello!! Does your creative mojo just ever fly away and leave you hanging? That's what happened to me this week. When I started this project I knew I wanted to play with the Ornamental Birdcage Shape Set. I had a completely different idea in mind when I started and then bam my mojo up and snuck out the door. 

I loved how rusty and crusty the cage turned out so decided to keep it as the focus of my piece and build a collage around it with elements to remind myself that it's okay to need to rest and take a break. 


The Ornamental Birdcages Shape Set comes with 3 different style cages in 3 sizes. 


I started by painting my cage with Raw Umber both front and back. 


Then using Distress Collage Medium and Paper Artsy's Rusting Powder rusted my cage. From chipboard to rusty crusty goodness!! 


I really loved the solemn graceful look of the woman in the Photobooth Photo and that button with the pop of original red thread spoke to me. As I was digging thru my Tim Holtz Ephemera pieces I found this "Handle with Care" label and it was perfect for my message to myself. 


The bottom corner of the frame says Cloudy days good as sunshine another excellent reminder!! 


Carrying on with my note to self theme I added the airmail label and the Story Clipping to remember. 


How do you handle your mojo leaving for vacation? I can usually find mine again after a nap and some chocolate and a good day of free play in the studio. 
Happy Creating ~ Jennalee 

Friday, March 15, 2019

With a Head Full of Numbers

Hello and happy Friday!! Jennalee here today with a project featuring a few of my favorite things wings and rust!! The Butterfly of Gears wings from Gypsy Soul Laser Cuts are the inspiration behind this piece. Who knew you could make wings better by adding gears?


The Butterfly of Gears comes in a 2 pack and are just so inspiring. 


To add faux rust to your wings paint a base layer of white acrylic paint using a cosmetics sponge to dab it on. Using the same sponge randomly dab on Distress Grit Paste and allow to air dry. Once dry sprinkle a generous amount of Rusty Car Infusions directly onto the wings. Spray generously and allow the water to work its magic. Keep adding Infusions and spraying until desired coverage and color is achieved. 


Once the infusions have dried fill in any white areas with Rusty Hinge and Walnut Stain Distress Crayons. Using a very light touch add some detail with Cracked Pistachio Distress Crayon. 


Faux rust three Tim Holtz Hardware Heads using Ginger, Latte and Mushroom Alchohol Inks. Add detail with Walnut Stain and Cracked Pistachio Distress Crayons. Adhere to gears on wings. 


Add faux rust to Clock Hands using Rusting Powder from Paper Artsy. 


Create a ruler piece using the ruler from Tim Holtz's Thrift Shop Ephemera pack and a piece of scrap chipboard. 


Add Distress Crazing Medium to the ruler image and once dry add Walnut Stain Distress Crayon. 


Prepare a Ticket Booth ticket colored with Fired Brick Distress Oxide Spray. 


Cut out Found Relative and trace around edges with Brushed Corduroy Distress Marker to get rid of harsh white edges. 


Gather chosen Ephemera pieces and distress using instant coffee. Layout collage and adhere to book cover. 


Layer dial, wings and Found Relative on top of the collage. 


Adhere Clock Hands to the ruler and then adhere to the bottom of the book cover. 


Add faux rust coloring to a Tim Holtz Vintage Clip using Ginger, Latte and Mushroom Alcohol Ink. Add details with Cracked Pistachio and Walnut Stain Distress Crayon. Prepare Numeric embellishment using the same colors and adhere to clip. 


It felt so good to get back in the studio and play with some of my favorite mediums. I really took my time to just enjoy the process and the flow of the project. Plus who knew you could rust so many pieces in multiple ways? 

Thanks for stopping by today. I hope you get to sneak in some creative time this weekend along with hopefully a bit of Spring weather. 

Happy Creating ~ Jennalee 

Friday, February 1, 2019

Sending All My Love

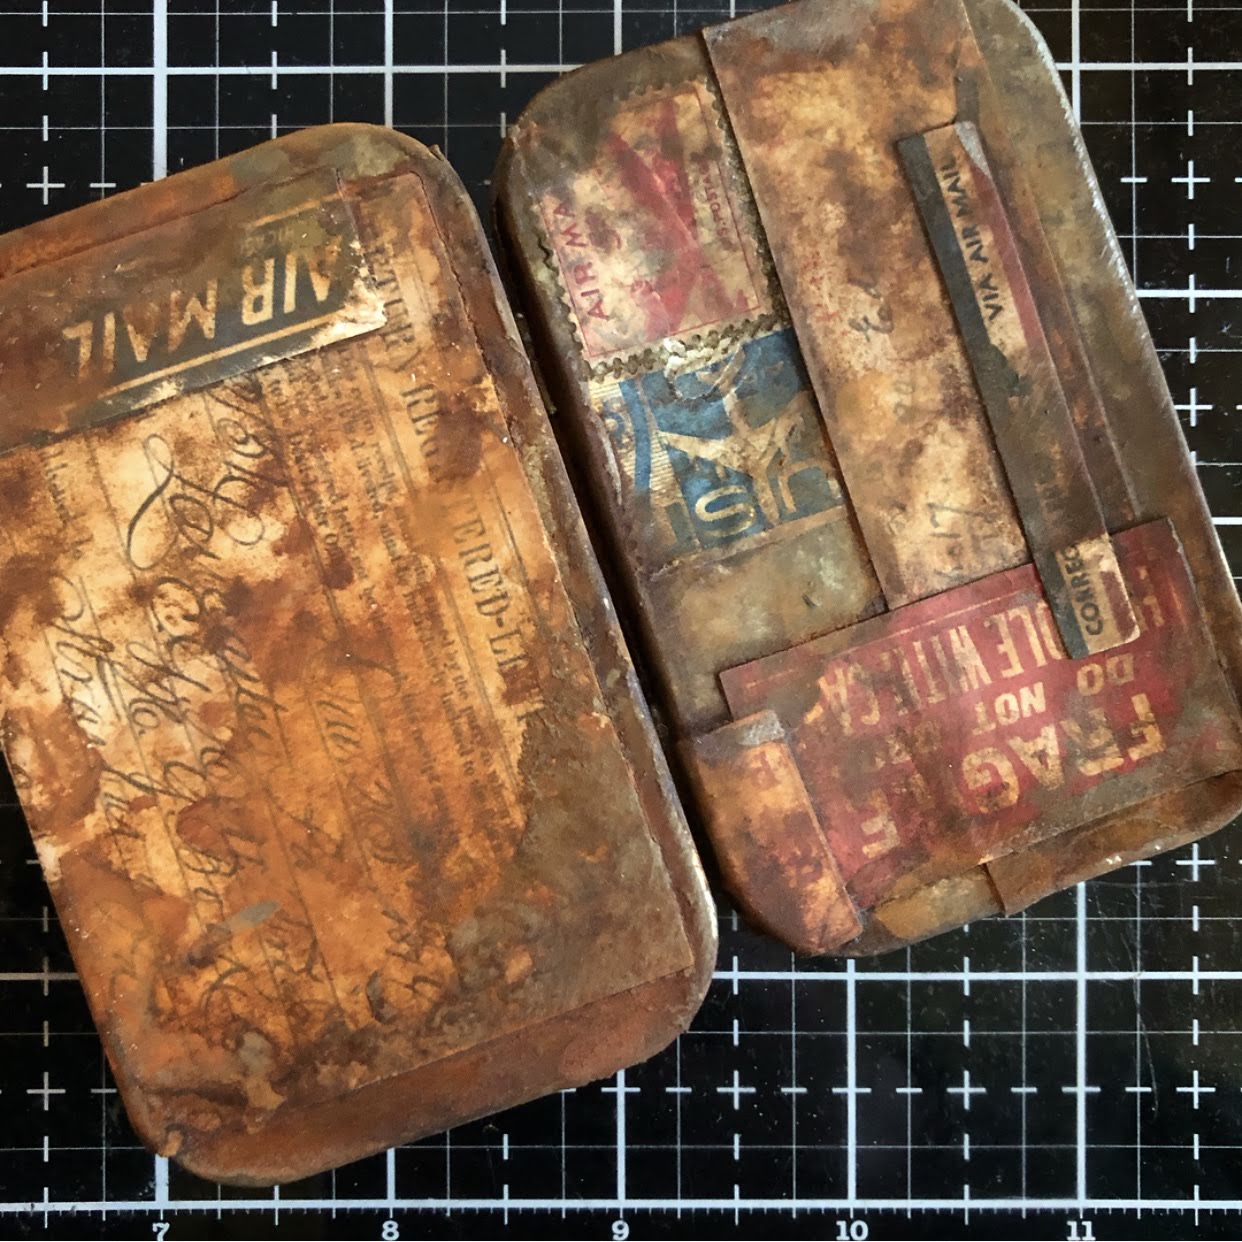
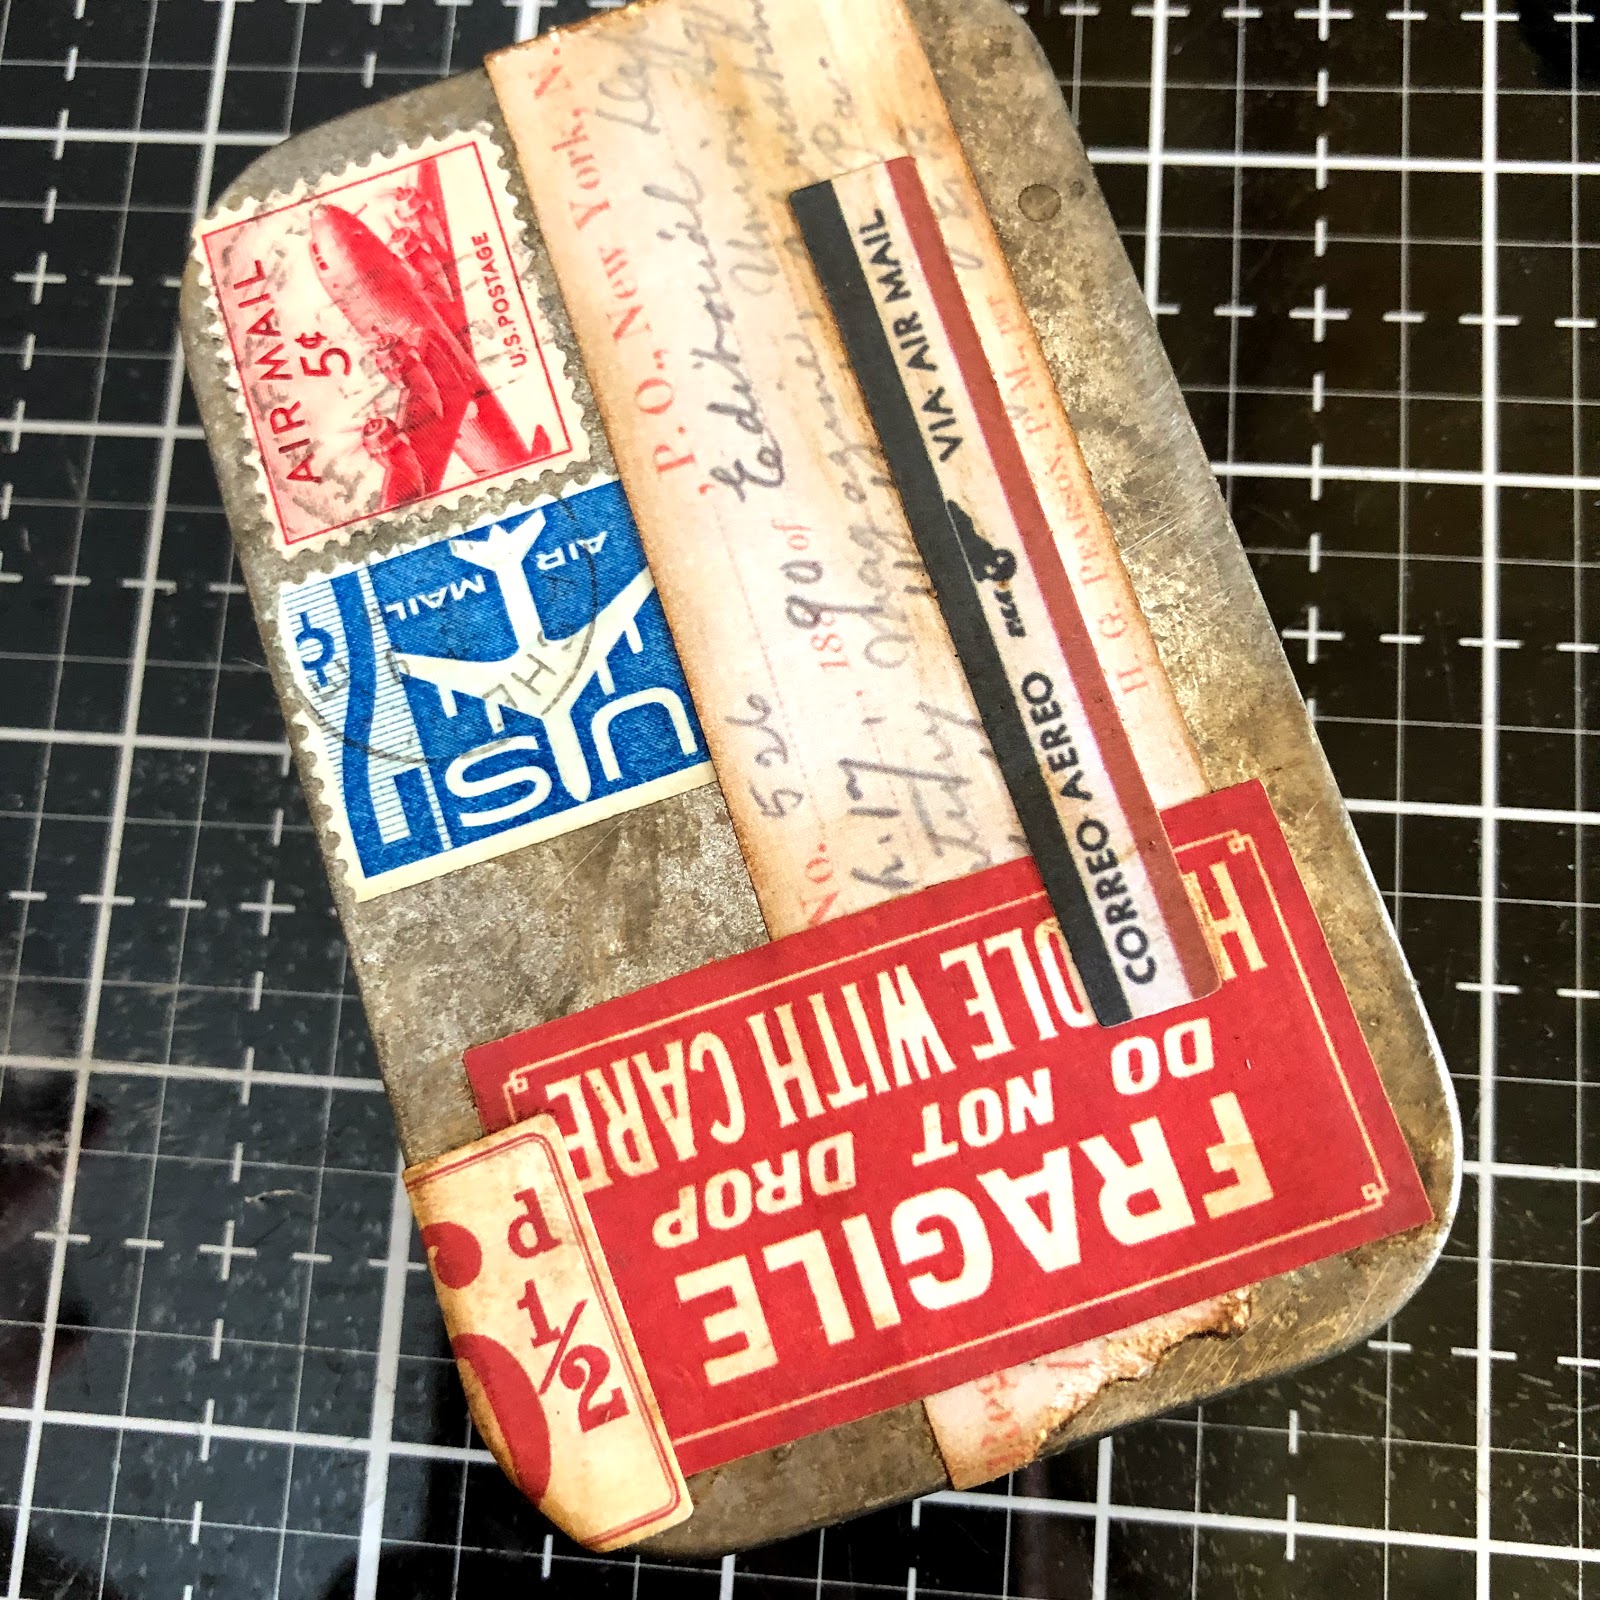
Hello and happy Friday!! It's Jennalee here today with an altered Altoid Tin and Frame. As you all know I love creating faux rust. While at Creativation earlier this month I was reminded of Rusting Powder from Paper Artsy. I knew this would provide the perfect finish for the blank canvas provided by the Altoid Tin from Gypsy Soul Laser Cuts.


The Altoid Tin comes ready for altering. I started by sanding mine to give it some tooth. 


Add some color to your tin with Mushroom and Gun Metal Alcohol Inks. 


Cover the tin with ephemera. I used a mix of Tim Holtz ephemera and vintage postage. 


Apply Rusting Powder with chosen adhesive and spray with a mix of vinegar and water. Spray every 15 minutes until level of desired rust is achieved. 


Look at that rusty goodness!! 


Cut a background for the inside of your Altoid Tin lid from Tim Holtz Journaling Cards. Smoosh into a puddle of Vintage Photo Distress Oxide. And add a length of Ruler Ribbon attached using a Tiny Attacher. 


Select a variety of postal themed ephemera to slip into the ribbon of the lid background. 


Cover the Altoid Tin Frame with patterned paper and add distressing with the run off of Rusting Powder from the tin. Add a Classic Label Sticker and hand-stitch an Arrow Adornment to the bottom of the frame. 


Using foam dots build up the frame insert to desired height. I chose to make mine level with the top of the tin. Cut a piece of patterned paper to apply to the inside of frame to cover the foam dots. 


Heat emboss a Photobooth photo using Vintage Beeswax. Once cool messy stitch photo onto a scrap of shorthand text. 


Stack foam squares to desired height and adhere to inside of tin. Color a small bunch of flowers with Aged Mahogany Distress Ink and slip inside the frame. 


I really enjoyed putting together this little tin and think there will be more in the future. And I can definitely see more faux rust using this method!! 
Happy creating ~ Jennalee