
Hello!! I am so thrilled to be over on the Frilly and Funkie blog today as the Guest Designer. The theme this round is Elegant Jewels. When I first heard the theme I was a bit stumped. After tossing around some ideas I decided on making a piece of jewelry. I have been wanting to try a little journal necklace and thought now would be the perfect reason to make one. Let's jump in!!

When was the last time you played with Shrinky Dinks? They're a great childhood past time, but every once in awhile I remember I have some and like to experiment with them. For this project, they are the perfect thing for the covers of the mini journal.

If you've been following me a for a bit you know I love houses and Eileen Hull's House Pocket Die is a great simple shape and makes cutting your base super quick.
Begin by cutting two pieces from Shrinky Dink and one piece of cardstock. The cardstock piece I used as a template for getting my holes aligned.

Be sure to punch your holes before shrinking. And remember to punch one hole at the top of only one house. This hole will be where you attach your jump ring for your necklace.

Ink the rough side of your Shrinky Dink shapes with Distress Inks. Regular Distress Inks and Oxide Inks both work nicely. I used a combination of both. I used a couple pieces of washi tape to tack my pieces down while inking to avoid fingerprints.
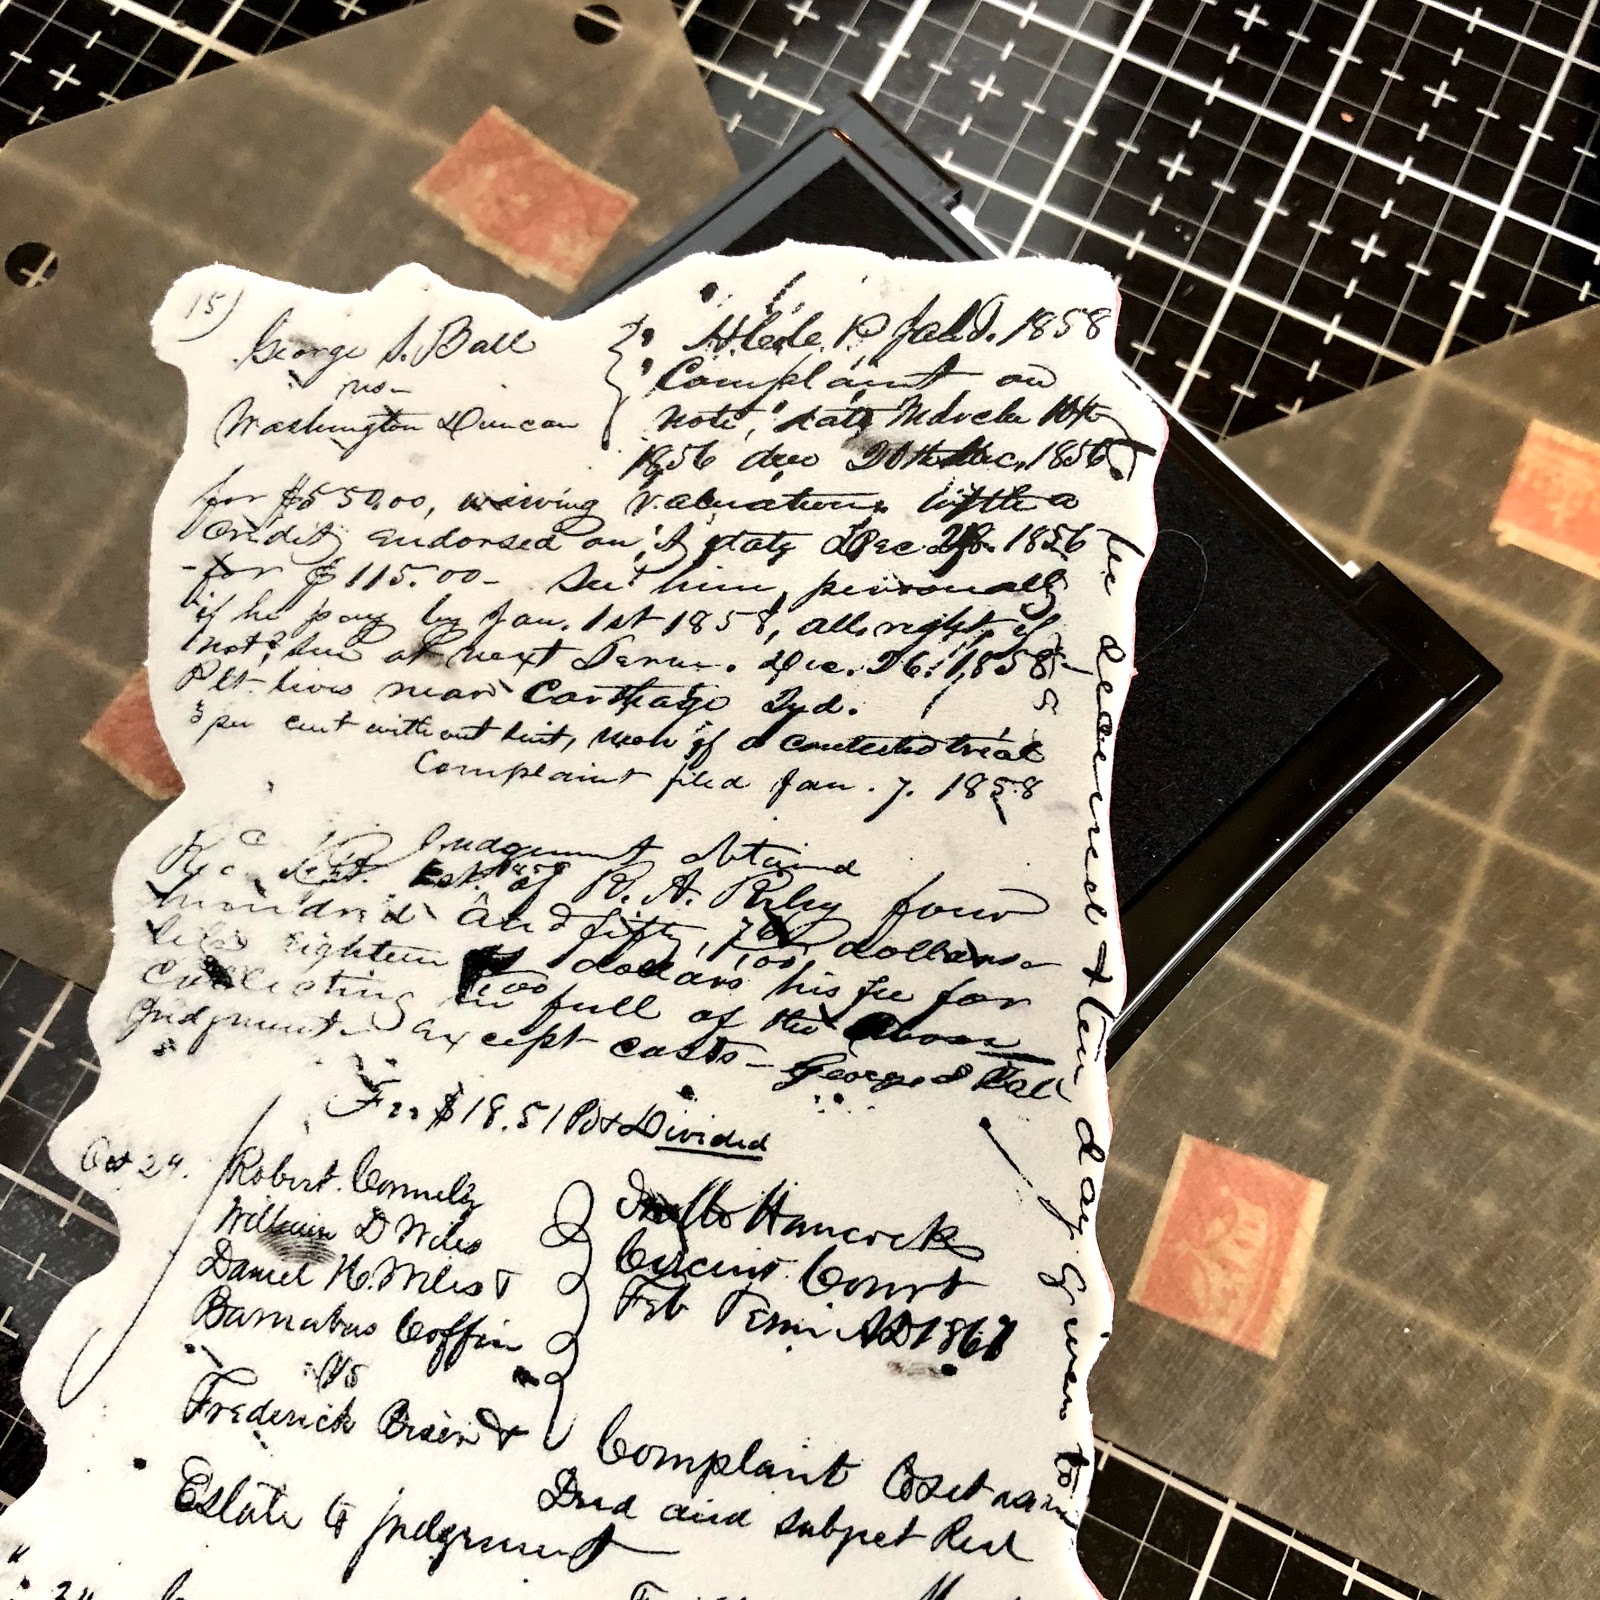
I then stamped the inked pieces with Tim Holtz's Ledger Script stamp.

I added a few random swipes of Antiqued Bronze Distress Paint to the background.

Now the fun part shrinking!! You can shrink your pieces in the oven or with your heat gun. When using your heat gun remember that the plastic is very hot!! I used a knitting needle as a guide and the acrylic stamp block works perfectly for flattening out your piece. Remove the washi tape before heating.

Look how tiny they are!!
I painted a coat of Antiqued Bronze Distress Paint on the backs of both pieces and edged both pieces with Tarnished Brass Distress Paint.

I forgot to take a picture, but at this point, I made the 3 signatures for the journal. Each signature is three piece of paper folded and cut to shape. Mark your holes and use an awl to poke the holes. I used the Coptic stitch to assemble my book. Tim's Craft Thread is the perfect weight for this.

My little book needed a way to keep it closed and a piece of seam binding was the perfect thing. I colored a piece of white seam binding with Fossilized Amber Distress Ink and added accents with Vintage Photo Distress Ink. To color your seam binding spritz with water. Smoosh the ink on your craft mat and run seam binding thru it. You can either let it air dry or use your heat gun.

This charm from Tim Holtz's Assemblage line was perfect for the front, vintage with a touch of bling. This particular charm had rings on top and bottom I used pliers to remove them and then sanded down the rough edges.
I used Distress Collage Medium to adhere the seam binding and charm to the front cover. At this point add your jump ring to the hole in the top of the back cover and add to a chain.


I really enjoyed making this project and look forward to filling my little journal with notes from days spent out exploring. Thanks so much for spending a few minutes with me today. If you give Shrinky Dinks a try I would love to see your creations. And don't forget to stop by the Frilly and Funkie blog to see all the inspiration!!
Happy Creating ~ Jennalee


