Friday, June 15, 2018

Steampunk Inspired Phone Holder

Hello!! I'm here today with a masculine Steampunk inspired Phone Holder. It's not often my hubby is the recipient of my work, but this week I made this project specifically with him in mind.


Start by cutting paper down to size and apply adhesive. My Xyron made this step super easy!! 


Apply paper to base and back of Phone Holder. Use a sanding block to smooth any overhanging edges and add distressed detail. 


With Black Soot Distress Ink add a bit of detail to the edges. 


Flip base over and remove paper from the holes the tabs go into. 


With Black Soot Distress Ink color the front piece of the Phone Holder. Using strong double sided adhesive apply the Tim Holtz Metal Measurement.


Apply Distress Collage Medium to the tabs of the front and back pieces and insert in slots. Allow to dry and set up. 


I added a word sticker to the top left corner that says "hello there" and a Tim Holtz Hinge Clip and a few Pocket Cards for a little spot for notes. My hubby has already put his new phone holder to use in his man cave. Thanks for stopping by and spending a few minutes with me today. Happy Creating~ Jennalee

Monday, June 11, 2018

Blessed are the Curious

Hi everyone!! I hope you had a great weekend. I had a few days off and snuck in some creative time along with a bit of junking. I incorporated a few of my new finds in this piece. 


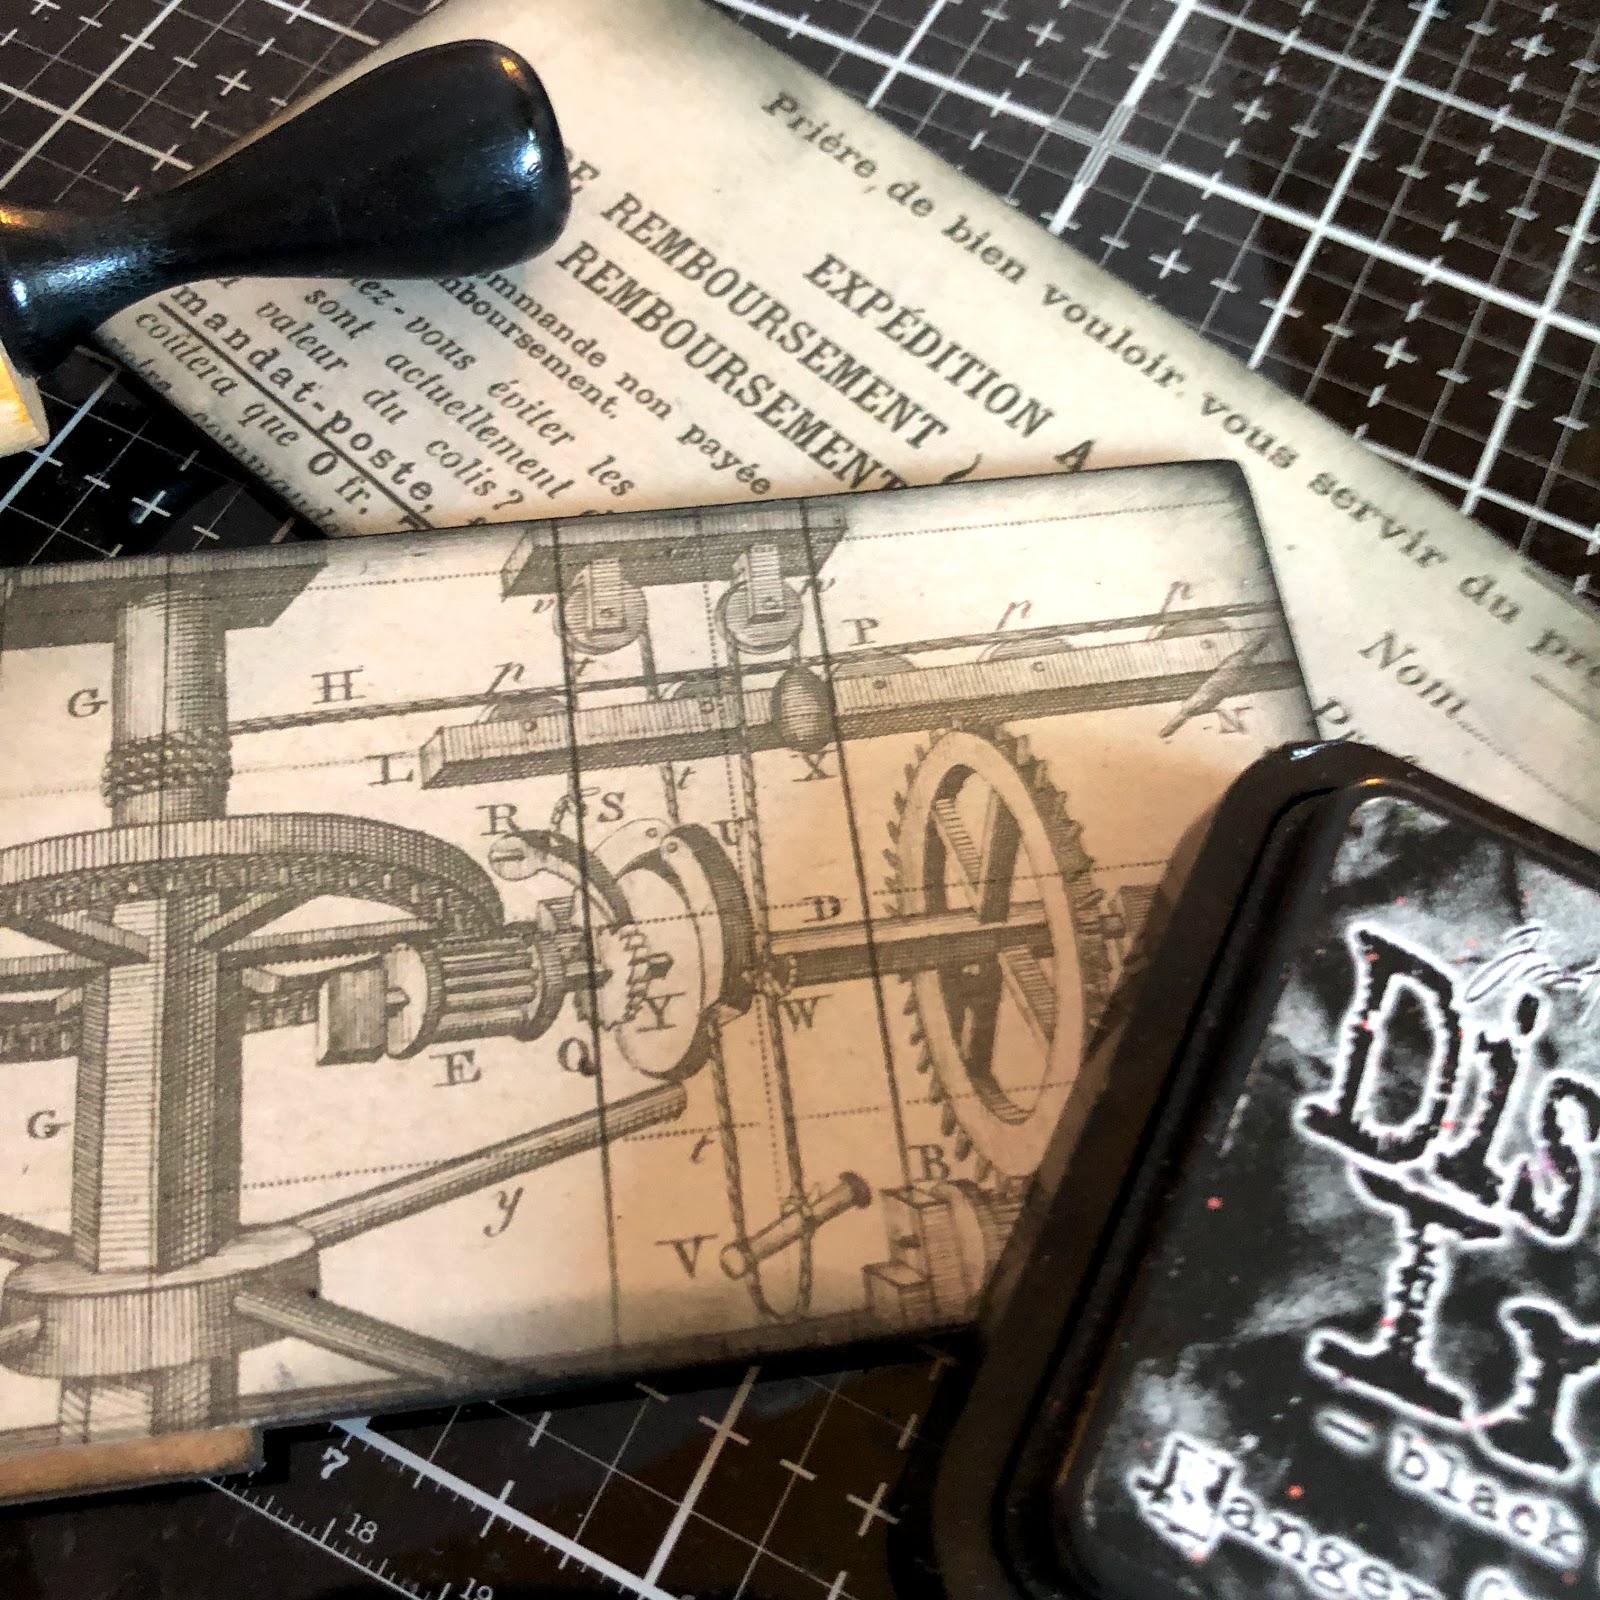
Begin by embossing a piece of gold paper from the Paper Stash Metallic Kraft pad using the Mechanics 3D Texture Plate. The secret to getting a good impression with the Texture Plates is to mist your paper before running thru your machine. After you have embossing lightly sand paper and ink with Frayed Burlap Distress Ink. 


Cut and emboss Layered Butterfly from a 6x6 square of the cigar print found in the Dapper Paper Stash. Ink the embossed areas with Black Soot Distress Ink and apply random areas of gold metallique wax. 


Enhance metal embellishments. Apply a thin layer of Tarnished Brass Distress Paint to the largest size of arrow found in the Arrows Adornments. Using a Picket Fence Distress Crayon rub the crayon over the words on a Quote Token to make the sentiment stand out. 


Cut a small label using the Labels Thinlets set. Stamp numbers found in the Stampers Anonymous Etcetera set. I cut mine from this vintage Ticker Tape I picked up while out junking this weekend. 


Adhere label with Distress Collage Medium. Using an awl poke holes for the stitches. Attach Arrow Adornment with Craft Thread and needle. 


Stitch the butterfly down to the embossed background using coordinating Eclectic Elements Cotton Thread. Be sure to only stitch down the middle of the butterfly so that the wings will be able to pop off the background. 


Layer Baseboard Frame on top of the embossed background and attach with Hex Fastners on all four corners. Adhere piece to mixed media paper for some added stability and back with a piece of linen fabric ripped to size for frayed edges. Apply sentiment from Clippings Stickers. 


Adhere the smallest Measurements piece to background and layer on the Paper Doll with foam dots. Wrap top of the Quote Token with Craft Thread and tie a bow. Attach to piece with foam dots. The base is a large bolt that was also picked up on my weekend junking excursion. 


This piece came about because I was having so much fun playing with the Layered Butterfly die set I recently picked up. So don't be surprised if you see wings on lots of future projects!! I hope you enjoyed this tutorial and get to sneak in lots of creative time this week. Thanks for stopping by and spending a few minutes with me today. Happy Creating ~ Jennalee 


Friday, June 1, 2018

Hearts Have All Things

Hello and Happy Friday!! I'm here today with a collaged assemblage featuring the Doodled Cage with Solid Back. This cage was the perfect jumping point for the whole piece.


Start by prepping the cage. Emboss the front of the cage using Ancient Amber Baked Texture powder. Heat random spots a second time and sprinkle on Patina Oxide Baked Texture powder and heat set. 
Paint the back of the cage and add random bits of Patina Oxide Baked Texture. 


Make a copy of a vintage photo booth photo and add a layer of Vintage Beeswax Baked Texture powder for the perfect vintage touch. 


Adhere photo to back of cage. With sewing machine stitch down the top of the cage. 
The bottom of the cage ripped a bit when I was stitching it down. I love the added texture and detail. 


Begin building layers for the collage under the cage. As I was looking for the perfect pieces I stumbled across this bit from a vintage cabinet card folder. I added a bit of lace with my machine and some hand stitching with a needle and Tim Holtz's Craft Thread. 


Heat emboss a key and key plate from the Keys and Plates Shape Set with Burnt Copper Leaves powder. Punch holes in the key, the key plate already has holes and attach to top of collage with mini brads. Attach chain piece from Tim Holtz's Assemblage line to other side of key and key plate with mini brads. 


Add sentiment sticker to bottom of birdcage. I used a sentiment from Tim Holtz's Clippings Stickers. 


I really enjoyed this project. It was one of those pieces that I didn't think and just followed where it took me. I hope you enjoyed this quick tutorial. Thanks for stopping by!! 
~ Happy Creating ~ Jennalee