Friday, February 15, 2019

Engineer of Dreams

Hello!! I'm here with a project that has a bit of a surprise to it. Do you ever see a technique and are so enamored with it you can't wait to give it a try? While I was at Creativation 2019 I saw the most amazing project made by Paula Cheney where she made a shadowbox with a light up component. I knew that the new Fold-Up Rectangle Boxes coming soon from Gypsy Soul would make the perfect base with their precut window. As I started auditioning pieces the Compass jumped out at me and I knew it would be perfect in the background.


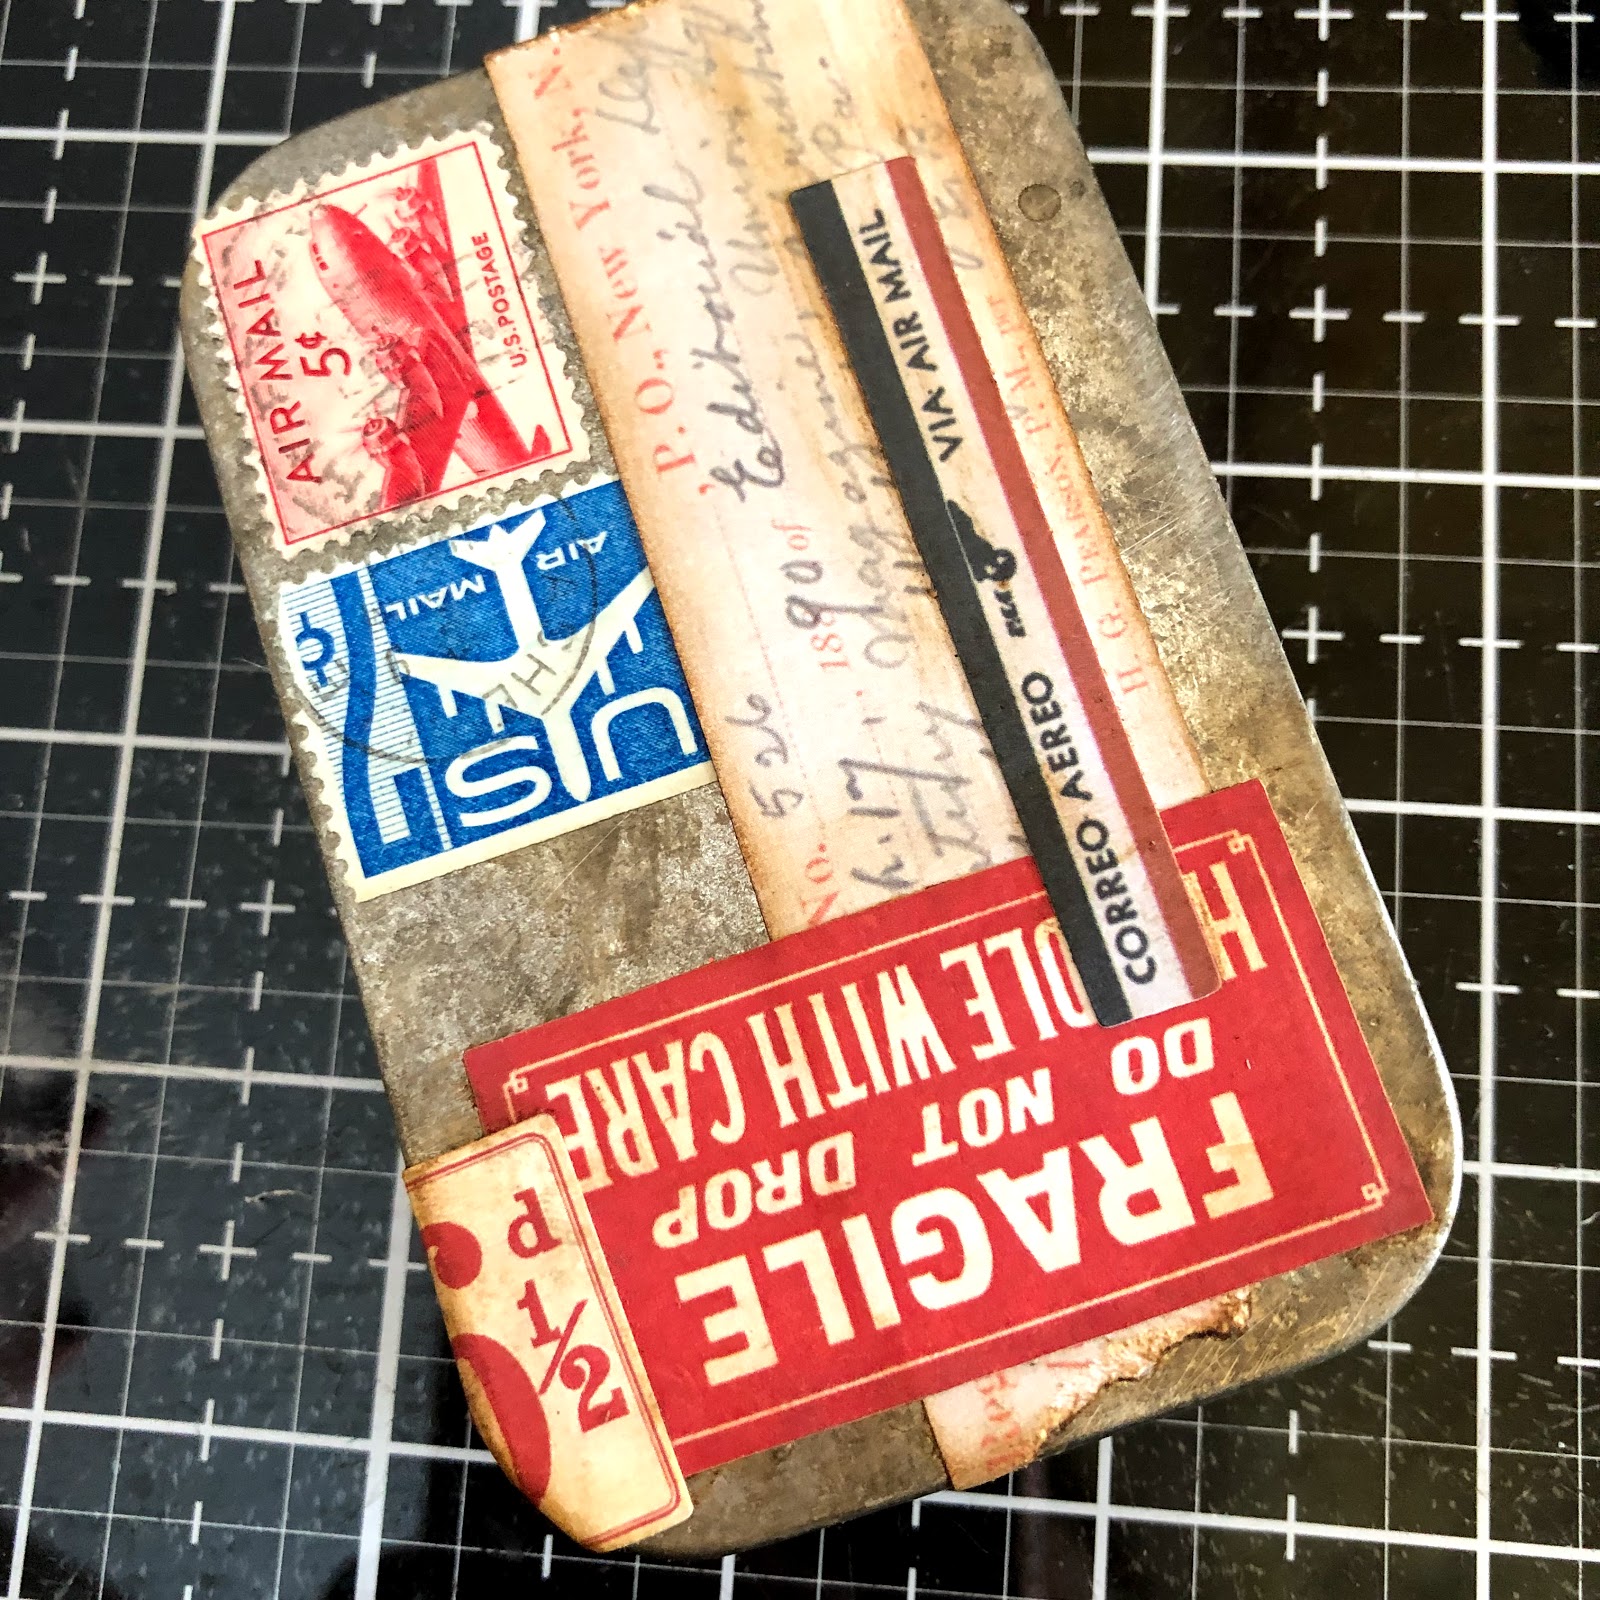
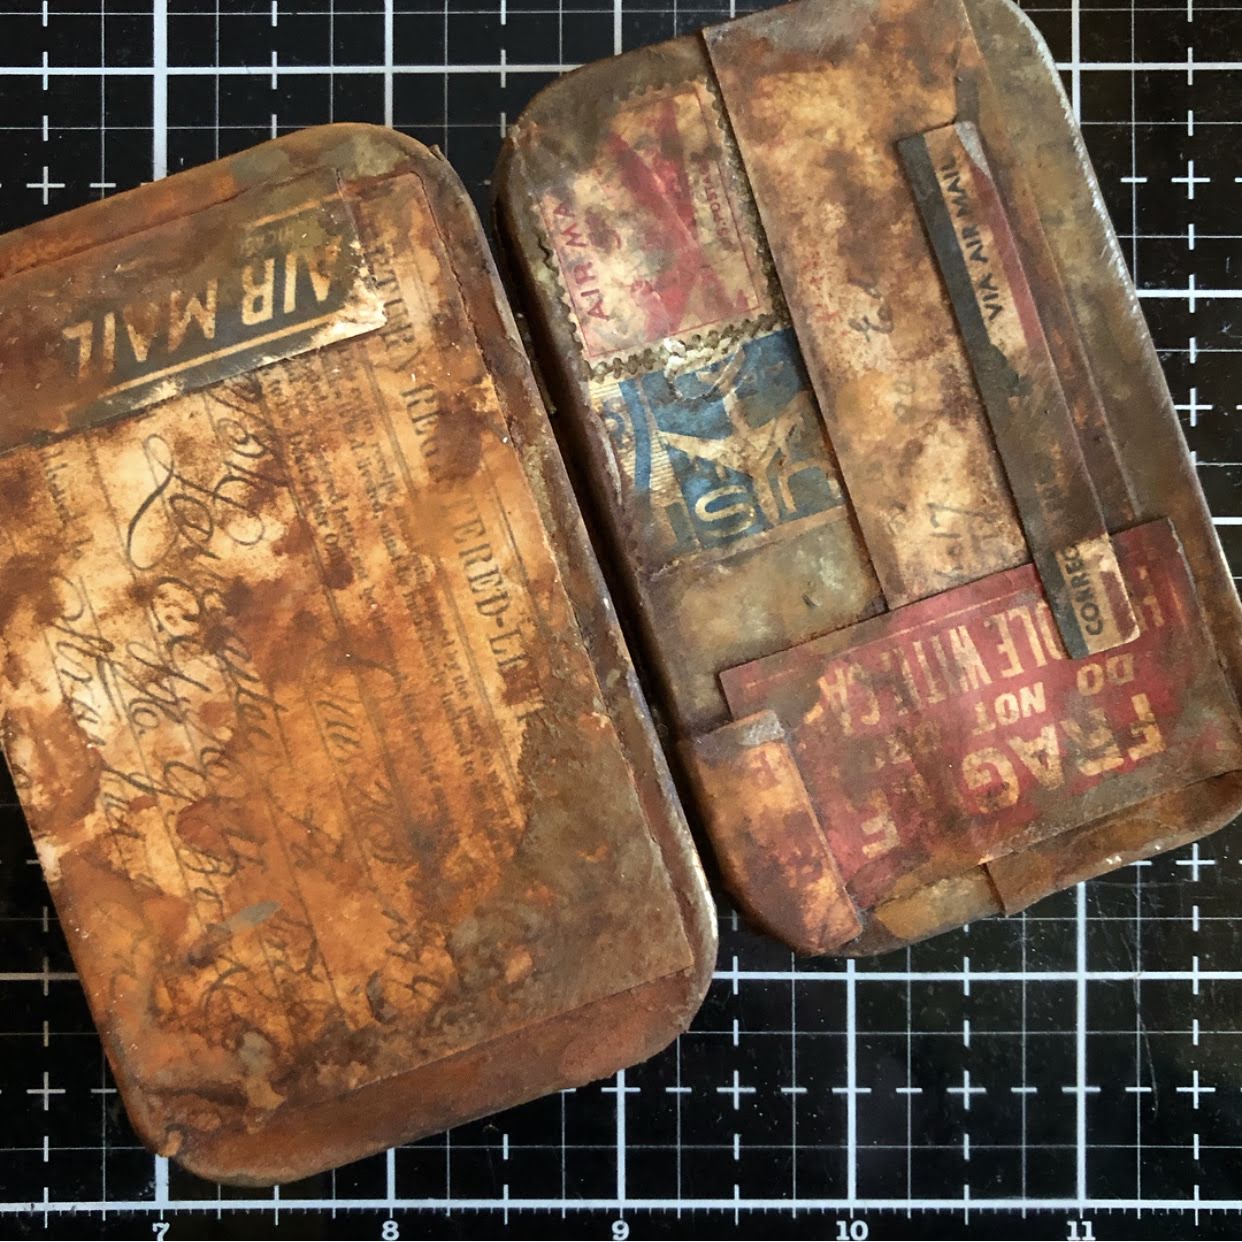
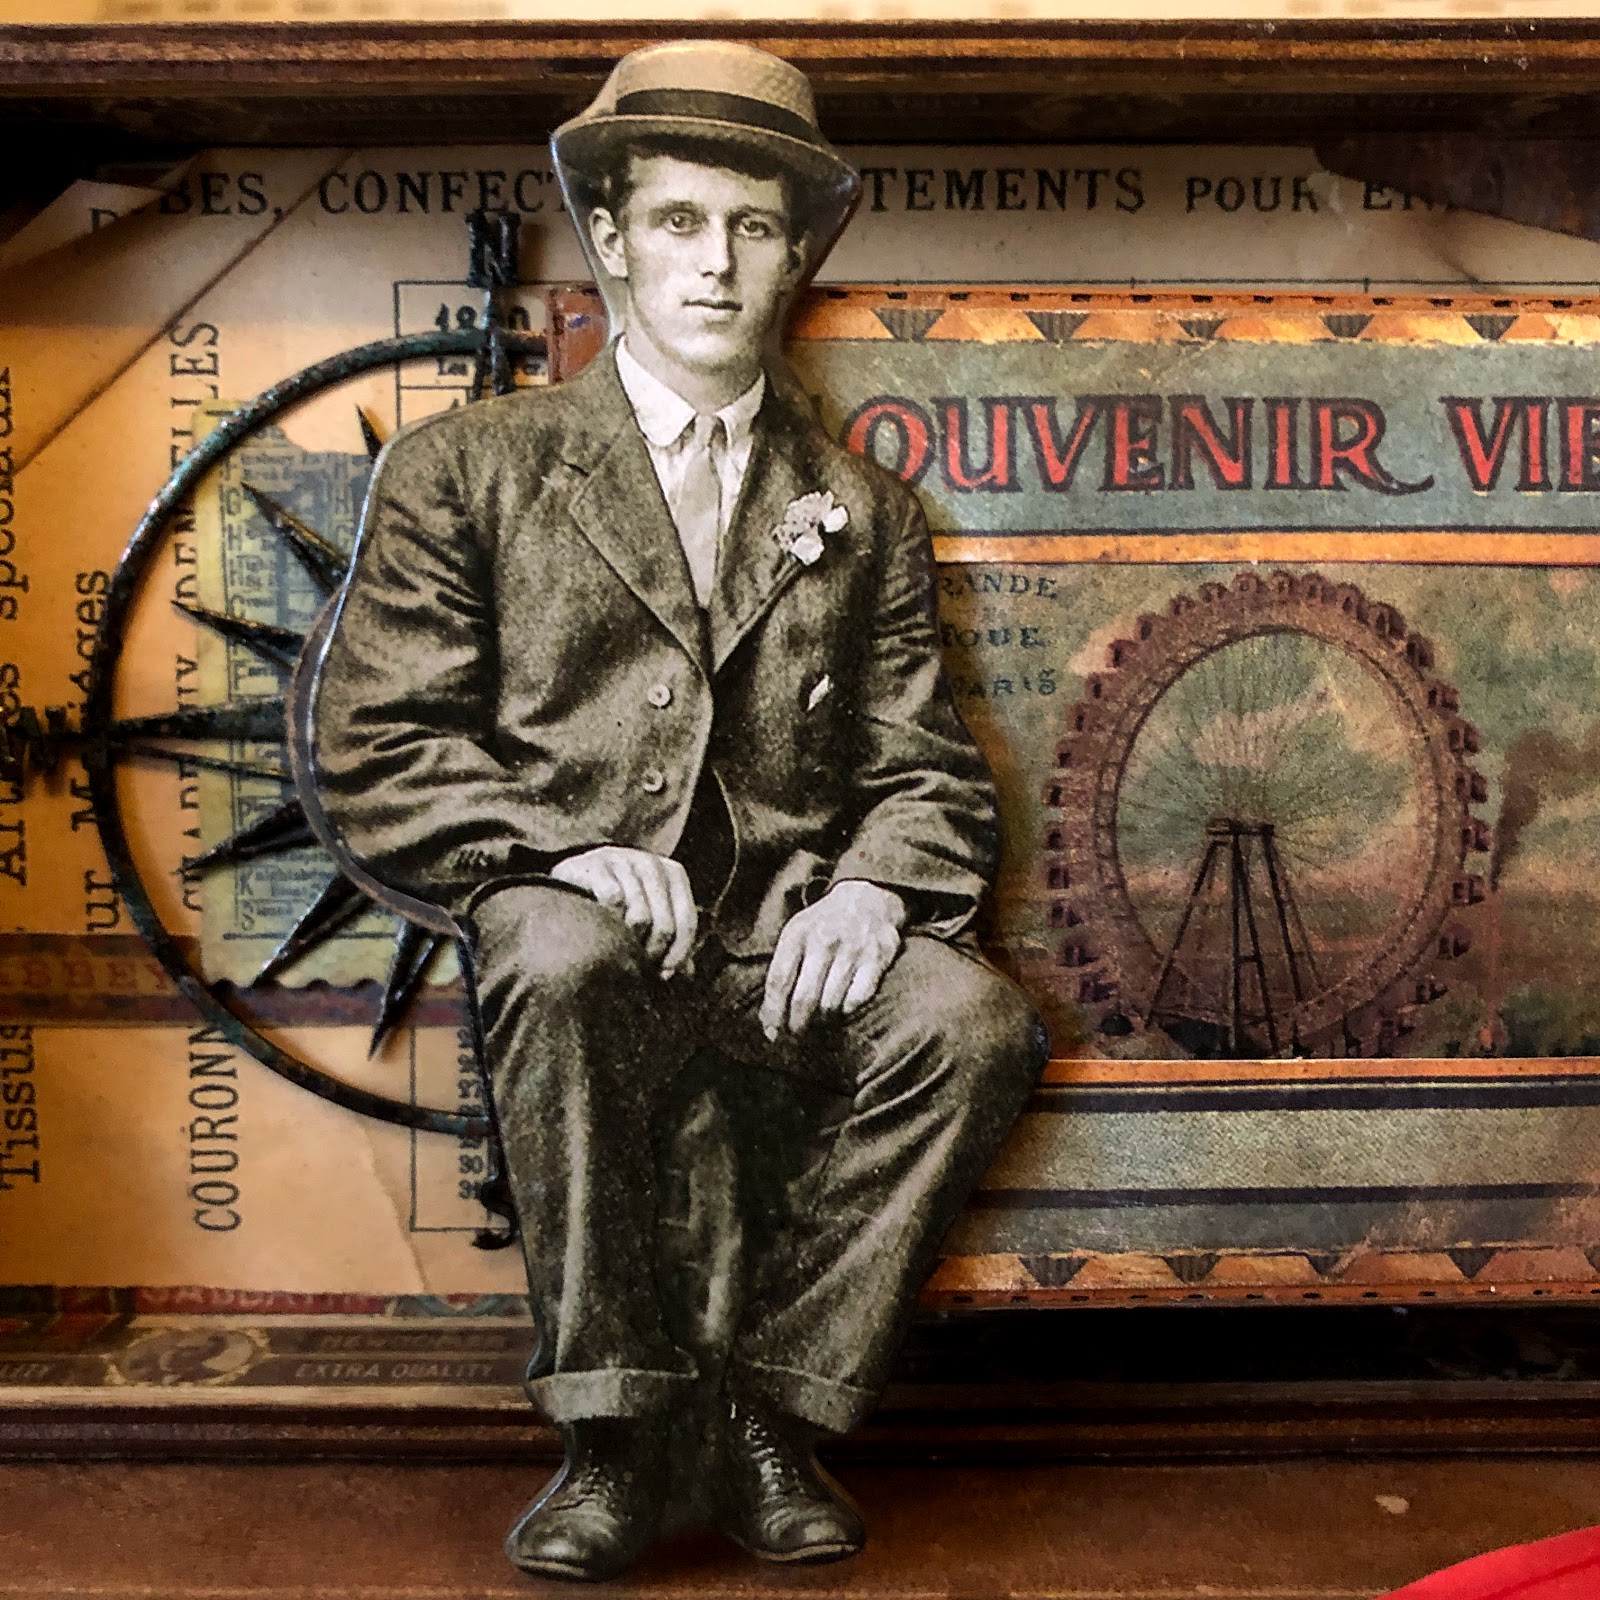
Using a Tim Holtz Vignette Tray as your base substrate begin building up your background. Run cigar band washi around the inner edges. On the right side of the tray adhere a rust background. On top of the rust background layer a copy of French ephemera. See below details for the compass and tickets. 


Heat emboss the Compass with Burnt Copper Leaves and a sprinkle of Patina Oxide. Adhere the Compass to your prepared background then layer with a piece of ephemera and a Sprocket Gear. 


Prepare 3 tickets die cut from Ticket Booth. Color and distress then add layered tickets to the lower right corner of the tray. 


The Fold-Up Box comes flat and is super easy to assemble using your favorite adhesive. In this picture it is still in its auditioning process. 


Once the box is assembled and glued cover the outside edges of the top with a rust background and paint the top edge Terracotta. 


Add a piece of foam inside the box and position rice lights. Anchor lights in place with T pins. 


Add a Clock Key to the right side of the Fold-Up Box. 


Prepare the photo for the window of your box. Tape a piece of Plain Collage Paper to a piece of plain copy paper. Open photo in chosen picture editor and edit to size. Insert paper into printer and print as normal. 


Here is the image I used from Graphics Fairy.


Sand and ink souvenir frame from Tim Holtz and adhere your printed Collage Paper to the back side of the frame. Then adhere to the top of the Fold-Up Box. 


Adhere the Fold-Up Box to your vignette tray using foam squares. For the battery pack to the lights run the cord down the tray and over the edge. Attach battery pack to the back of the tray. Adhere a Baseboard Paper Doll to the left side of the frame. The Paperdoll will hide the wire running over the edge of the tray. 


Thanks so much for stopping by today. I hope you enjoyed this project as much as I did. My hubby is already looking for the perfect spot in his man cave for this piece. That is if I decide to share!! 
Happy Creating ~ Jennalee 

Tuesday, February 5, 2019

The Haberdasher - 2019 Creativation Tim Holtz Blog Hop and Giveaway

Hello!! I am so thrilled to share this project that was displayed in Tim Holtz's amazing Idea-ology booth at Creativation 2019. It was such an honor to be even the smallest part of the magic!! Tim's booths at the show are always jam-packed full of inspiration. A huge shout out to Tim, Mario, Paula and all of Team Tim who make innovative products and so generously share their passion and inspiration.


The inspiration for this piece came from the new Ruler Ribbon and Mini Pins they instantly made me think of a haberdashery.


I began by sanding a Baseboard Frame and then inking with Vintage Photo Distress Ink. I then randomly applied Crazing Collage Medium to the frame and set aside to dry. For the layers of the background I covered a piece of mixed media paper with Tailored Blue fabric from Tim's Dapper line from Eclectic Elements and then built up layers using various pieces of ephemera. 


Before messy stitching the photo from the new Found Relatives pack I added a bit of Vintage Photo Distress Ink around the edges and added a pocket square. To add the pocket square I cut a small slit in the photo using a craft knife and slipped a piece of seam binding thru and adhered on the backside. I then stitched the photo onto the background. 


For the hanger I used one of the new Hinge Clips clipped onto a Ruler Piece that was colored with Vintage Photo Distress Ink. The Buckles are attached to the Ruler Piece with Craft Thread colored with Vintage Photo Distress Crayon. On the top left corner, I added a new Classic Label Sticker layered with Clippings Stickers. On both sides of the frame I attached a Buckle with a Long Fastener. On the left side I layered a Philosophy Tag colored in with Picket Fence Distress Crayon. 


To show off these too cute new Mini Pins I attached them to a piece of ephemera from the Thrift Shop set. Using my Craft Pick I poked holes first and then added the Mini Pins. 


I slipped a folded over length of Ruler Ribbon next to the photo on the right side of the collage. 


To the bottom right corner I added a new Stencil Chip layered on a tailor themed piece from the new Journal Cards pack. When I was adhering it I accidentally left a fingerprint but I think it adds to the used vintage feel of the piece. To finish it off I added a Clippings Sticker. 


A huge thank you for stopping by today. I hope you enjoyed getting a closer look at The Haberdasher. Happy Creating ~ Jennalee 

Make sure you stop by the next blog on the hop

CREATIVATIONS 2019 BLOG HOP 


What's a blog hop without prizes?!

Prizes….
Please leave a comment on the blogs before February 9th at midnight PST and 3 winners will be announced on February 10th from the different blogs.


Friday, February 1, 2019

Sending All My Love

Hello and happy Friday!! It's Jennalee here today with an altered Altoid Tin and Frame. As you all know I love creating faux rust. While at Creativation earlier this month I was reminded of Rusting Powder from Paper Artsy. I knew this would provide the perfect finish for the blank canvas provided by the Altoid Tin from Gypsy Soul Laser Cuts.


The Altoid Tin comes ready for altering. I started by sanding mine to give it some tooth. 


Add some color to your tin with Mushroom and Gun Metal Alcohol Inks. 


Cover the tin with ephemera. I used a mix of Tim Holtz ephemera and vintage postage. 


Apply Rusting Powder with chosen adhesive and spray with a mix of vinegar and water. Spray every 15 minutes until level of desired rust is achieved. 


Look at that rusty goodness!! 


Cut a background for the inside of your Altoid Tin lid from Tim Holtz Journaling Cards. Smoosh into a puddle of Vintage Photo Distress Oxide. And add a length of Ruler Ribbon attached using a Tiny Attacher. 


Select a variety of postal themed ephemera to slip into the ribbon of the lid background. 


Cover the Altoid Tin Frame with patterned paper and add distressing with the run off of Rusting Powder from the tin. Add a Classic Label Sticker and hand-stitch an Arrow Adornment to the bottom of the frame. 


Using foam dots build up the frame insert to desired height. I chose to make mine level with the top of the tin. Cut a piece of patterned paper to apply to the inside of frame to cover the foam dots. 


Heat emboss a Photobooth photo using Vintage Beeswax. Once cool messy stitch photo onto a scrap of shorthand text. 


Stack foam squares to desired height and adhere to inside of tin. Color a small bunch of flowers with Aged Mahogany Distress Ink and slip inside the frame. 


I really enjoyed putting together this little tin and think there will be more in the future. And I can definitely see more faux rust using this method!! 
Happy creating ~ Jennalee