Showing posts with label altoid insert fairy frames. Show all posts

Friday, February 1, 2019

Sending All My Love

Hello and happy Friday!! It's Jennalee here today with an altered Altoid Tin and Frame. As you all know I love creating faux rust. While at Creativation earlier this month I was reminded of Rusting Powder from Paper Artsy. I knew this would provide the perfect finish for the blank canvas provided by the Altoid Tin from Gypsy Soul Laser Cuts.


The Altoid Tin comes ready for altering. I started by sanding mine to give it some tooth. 


Add some color to your tin with Mushroom and Gun Metal Alcohol Inks. 
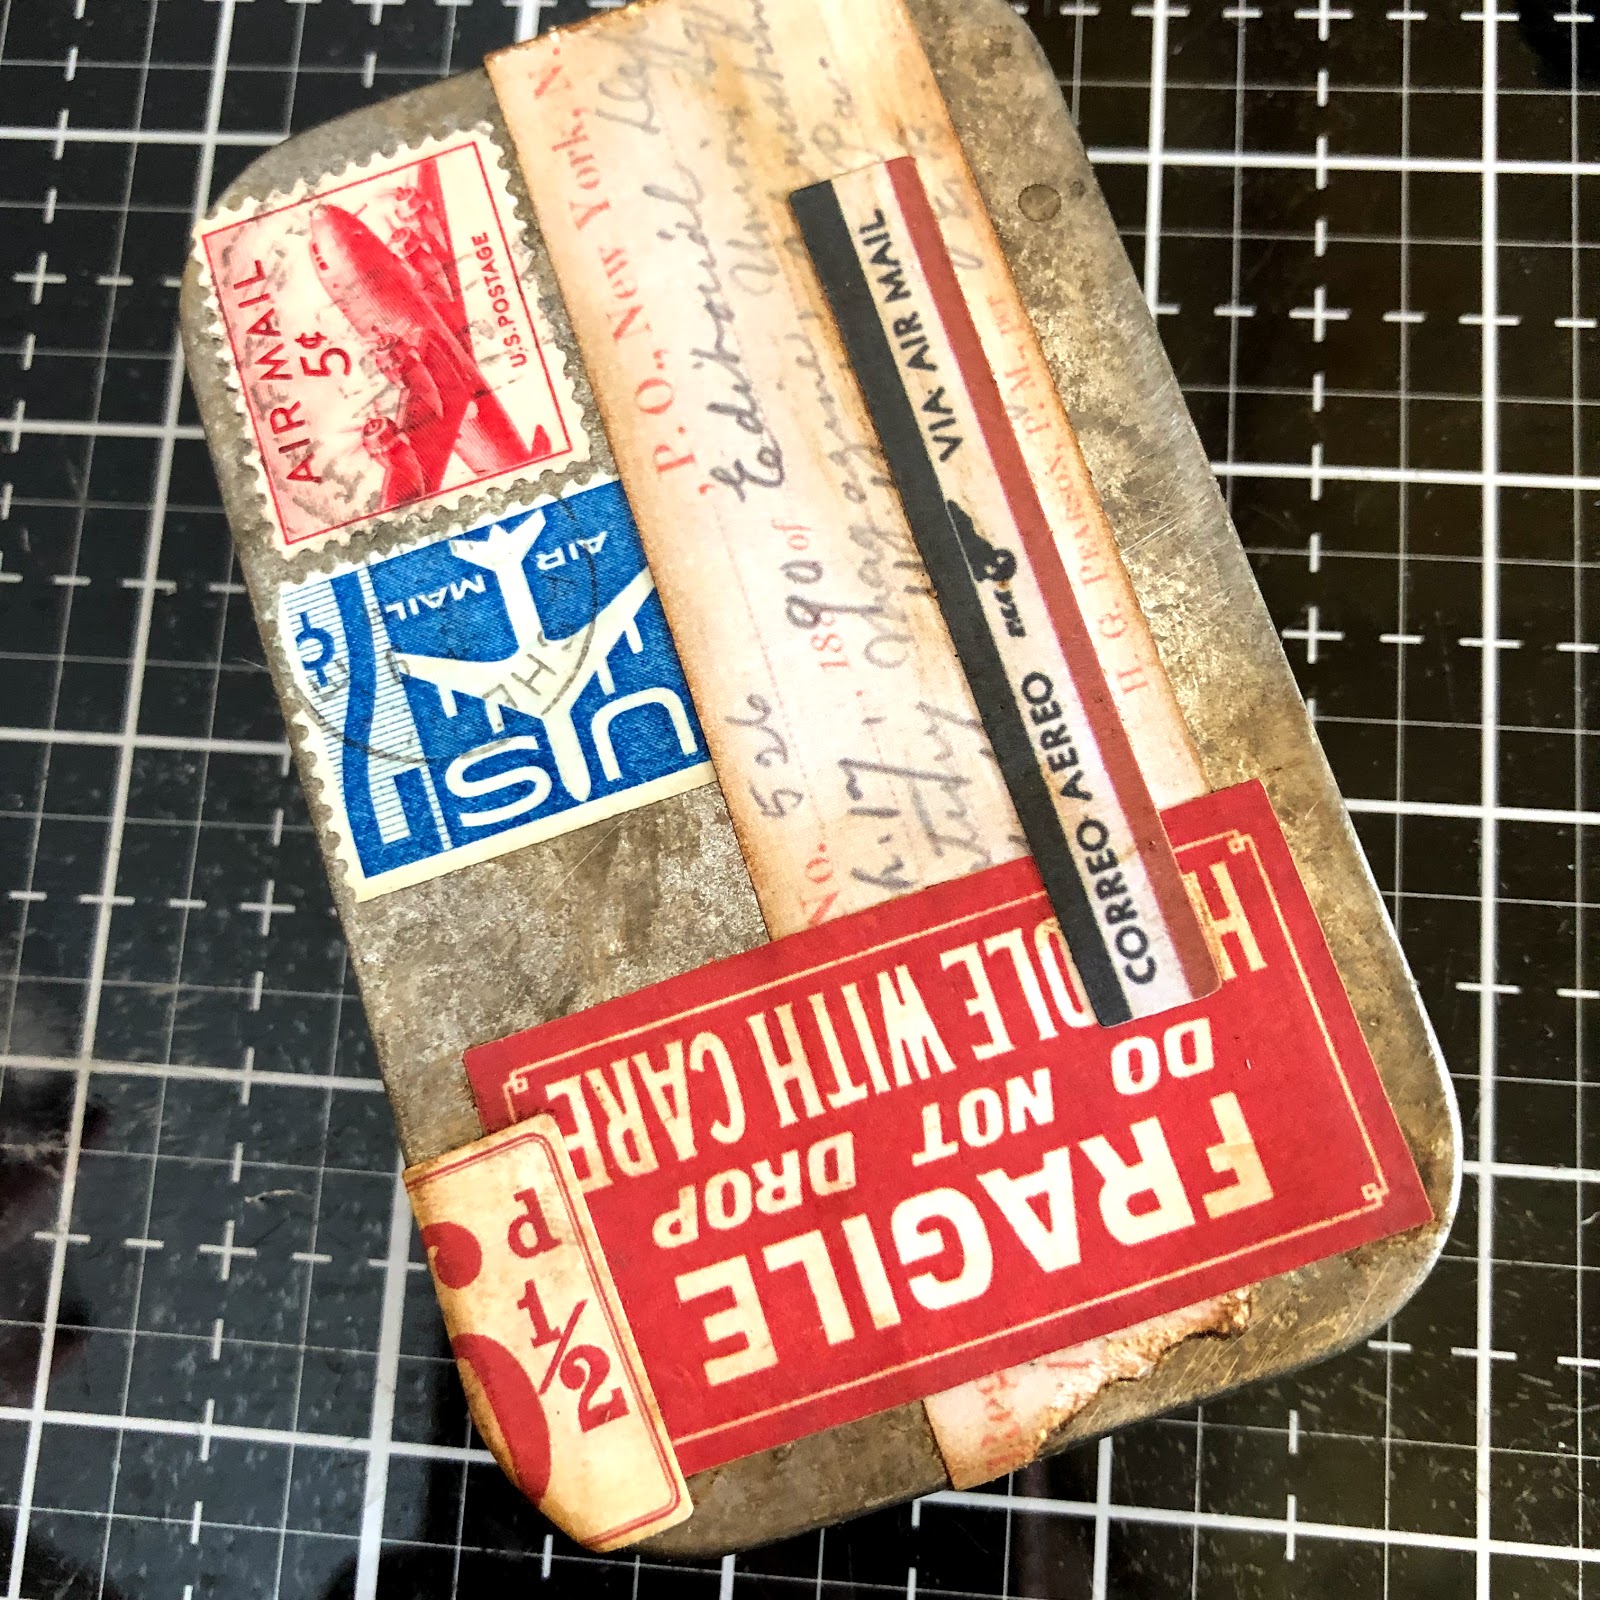

Cover the tin with ephemera. I used a mix of Tim Holtz ephemera and vintage postage. 


Apply Rusting Powder with chosen adhesive and spray with a mix of vinegar and water. Spray every 15 minutes until level of desired rust is achieved. 
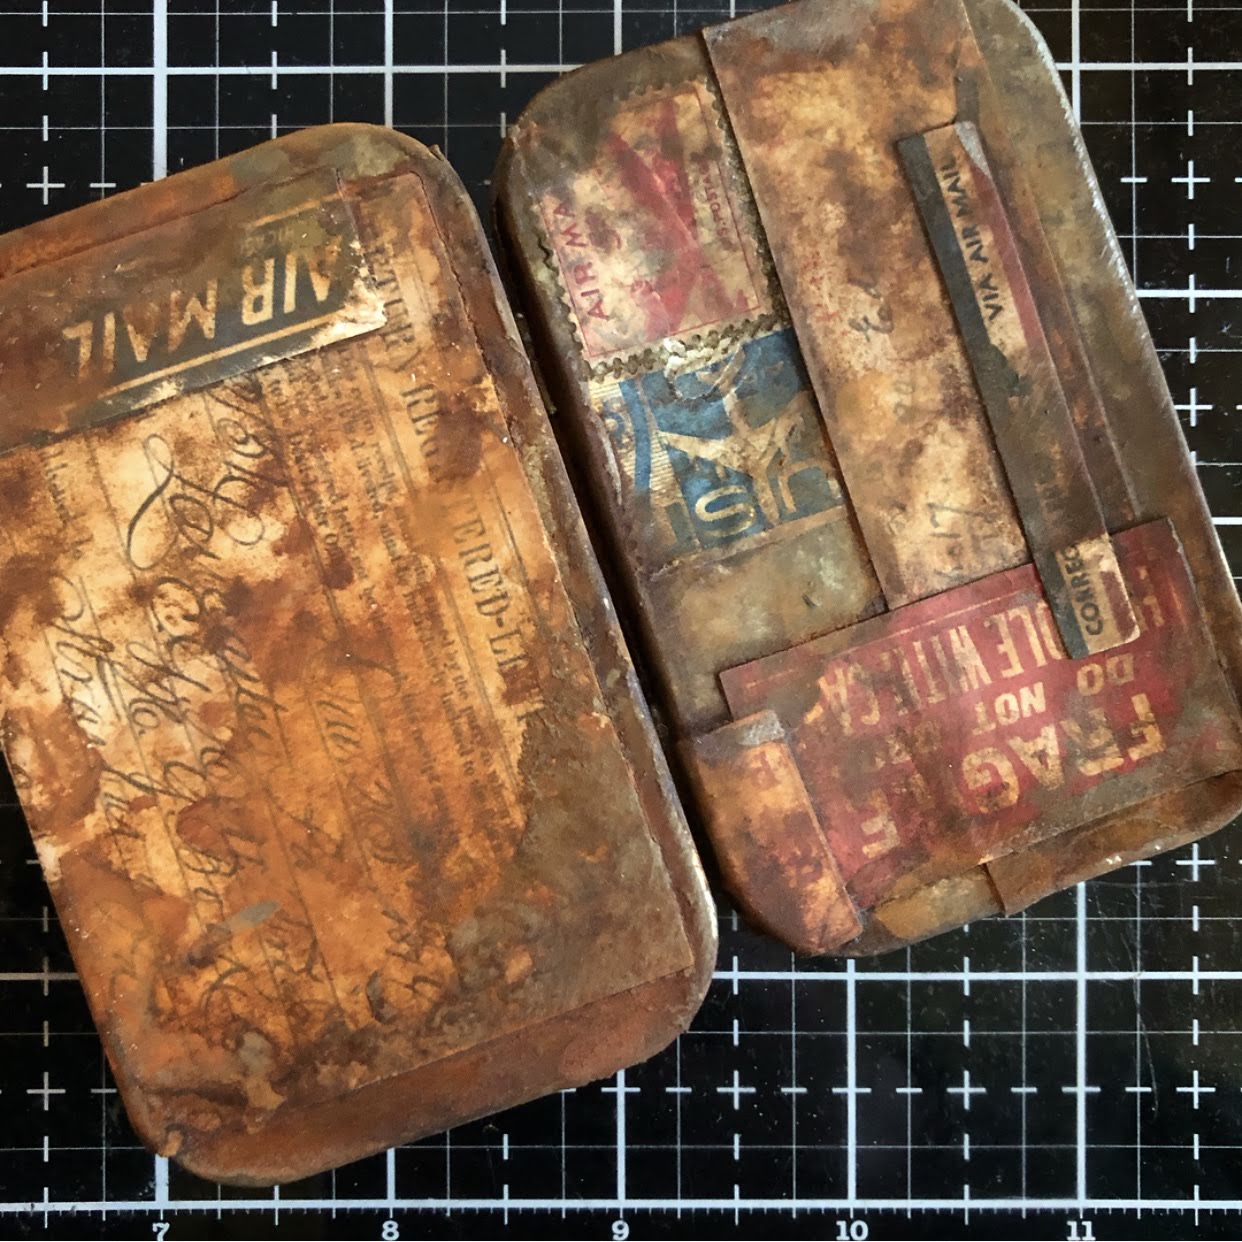

Look at that rusty goodness!! 


Cut a background for the inside of your Altoid Tin lid from Tim Holtz Journaling Cards. Smoosh into a puddle of Vintage Photo Distress Oxide. And add a length of Ruler Ribbon attached using a Tiny Attacher. 


Select a variety of postal themed ephemera to slip into the ribbon of the lid background. 


Cover the Altoid Tin Frame with patterned paper and add distressing with the run off of Rusting Powder from the tin. Add a Classic Label Sticker and hand-stitch an Arrow Adornment to the bottom of the frame. 


Using foam dots build up the frame insert to desired height. I chose to make mine level with the top of the tin. Cut a piece of patterned paper to apply to the inside of frame to cover the foam dots. 


Heat emboss a Photobooth photo using Vintage Beeswax. Once cool messy stitch photo onto a scrap of shorthand text. 


Stack foam squares to desired height and adhere to inside of tin. Color a small bunch of flowers with Aged Mahogany Distress Ink and slip inside the frame. 


I really enjoyed putting together this little tin and think there will be more in the future. And I can definitely see more faux rust using this method!! 
Happy creating ~ Jennalee

Friday, September 7, 2018

The Timekeepers

Hello!! I was recently cleaning up my studio and found my stash of Altoids Inserts Fairy Tale Frames leftover from a class I recently taught. When the thought occurred that they would be the perfect size for a small collaged magnet. My hubby's man cave is full of industrial stuff which means lots of metal so he'll have something to decorate those metal surfaces with now.


Begin by preparing base layers for the collage. Cut top layer of collage to size and distress using Distress Oxides in Old Paper and Vintage Photo. Tear and bend card in random areas for added interest. 


To add stability to the magnet cut a piece of heavier weight paper to size of frame. I used a piece of watercolor paper from a rust background. 


Prepare frames with  a faux rust finish. Paint a base layer of Raw Umber on all frame pieces. Then working one frame at time and in sections paint a second layer of Raw Umber while paint is still wet apply cinnamon powder to paint. Continute building layers of paint and cinnamon until desired texture and effect is achieved. Apply Metallique Wax in Vintage Gold and Opal Magic for added patina. 


Prepare gears from the Gears Shape Set by heat embossing with choice of embossing powders. I used Burnt Copper Leaves, Charred Gold, Rocky Road and Ancient Amber. I also used the faux rust on a few.  


Prepare clock hands from the Clock Hands Shape Set by heat embossing with gold powder. Once the hands have cooled off add depth by rubbing on and then buffing off Walnut Stain Distress Crayon 


Trace around edges of Paper Dolls from Tim Holtz with Brushed Corduroy Distress Marker. 


Figure out placement of Paper Doll and how to layer the gears in the background. I found it worked best to have one gear adhered to the background piece and the 2 remaining gears on each magnet to hang over the edge of the frame. 
Once gear placement is decided adhere Paper Doll to the frame then adhere frame to collage background. 


Finish off frame with added details of die cut numbers, Clippings stickers and attaching clock hands. 
Once all layers are dry apply a magnet to backside. 


As always thanks for stopping by. Wishing you a great weekend with a bit of creativity thrown in!! 
Happy Creating~ Jennalee 


Friday, May 18, 2018

The Red Thread

Hello!! Happy Friday, I'm here today with a quick tutorial for this assemblage piece featuring the rusty Altoid Insert Fairy Frames.


This piece was inspired by a Chinese Proverb I recently read. It says "An invisible red thread connects those who are destined to meet, regardless of the time, the place or the circumstance. The thread may stretch or tangle, but it will never break."

This proverb resonated with me so much because my husband and I worked at the same place for a few months back in 2010. Somehow we never noticed each other. And that's quite surprising considering he's 6'3 and red-headed. He moved cross country and came back in 2011 when we met and the rest is history. Our red thread led us to each other. 


I began by rusting up the frames from the Altoid Inserts. Paint all the frames with Burnt Umber while the paint is still wet apply ground cinnamon. Build layers and heat set until the desired effect is achieved. Add accents with Prima Metallic Waxes. 


Apply same rust technique to a couple keyholes from the Key and Plates Shape Set. 


Attach key plate to frame with gold brads. 

Adhere frame to postcard. 


Make copies of vintage photos. Apply 3 layers of Vintage Beeswax. 

The thicker you apply the Vintage Beeswax the more transparent your photo becomes. And look at all that amazing crazing. 

Attach photo with a simple hand stitched X in all four corners. 


Attach a vintage key beneath the Altoid Frame. I used glue dots to help hold it in place due to the weight. Add handstitched details. 


To connect the two postcards stitch on a set of hook and eyes.
For the hanger at the top of the assemblage stitch on just the eye portion and tie on a red string hanger. 


Complete the bottom card the same as the top. 


Thanks so much for stopping by and spending a few minutes with me today. I really enjoyed this project. How can you go wrong with faux rust and some hand stitching? Happy Creating ~ Jennalee