Friday, June 21, 2019

Steampunk Seamstress

Hello and happy Friday!! It's Jennalee here today. Today I am sharing my last project as a team member with Gypsy Soul Laser Cuts. I've been with the team for 2 years and am so thankful to Gina for allowing me to be part of it all!! For my last project, I thought I would use one of my favorite chipboard pieces the Santos Doll. Although for this project I used just the cage skirt. 


Fun Vintage Sewing Measurement Guide Mannequin Graphic!

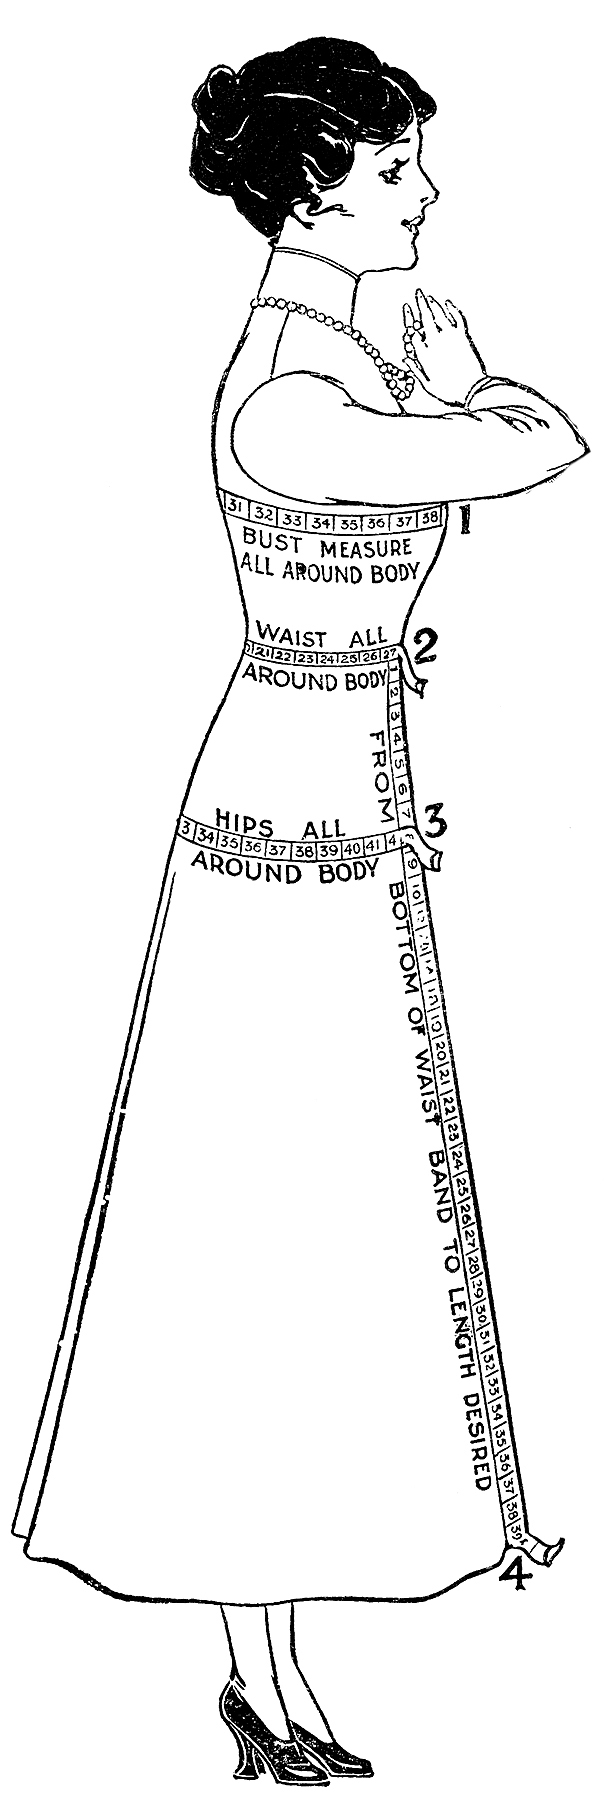
This project was inspired by this amazing graphic from The Graphics Fairy . I instantly thought of a Steampunk Mannequin. 


I sized the mannequin down in Publisher and printed onto Ranger Sticky Back Canvas. The canvas provides the perfect texture reminiscent of a vintage dress form. I colored the image using Distress Markers. To achieve the subtle coloring I outlined around the edges and lines and then blended towards the middle with a water brush. And what Steampunk Seamstress would be complete without her wind up key? 


To add the haberdashery detail to her stash I stamped a ruler along a length of seam binding.


I tied the sash around her waist and added a pair of scissors dangling from a decorative chain. 


Of course, the cage skirt needed to be rusted. I was trying to mix a few techniques here that went awry. But instead of tossing the project I decided to embrace the extra crustiness of it. I wanted the skirt to have a more cage-like feel so dyed some skinny satin ribbon with Walnut Crystal Ink and then wrapped it around the Santos Doll


And how else would a Steampunk Seamstress get around? She needed wheels. Tim Holtz Mini Pulleys made the perfect wheels. Before attaching the Pulleys I distressed them using Mushroom Alcohol Ink. Using a Drill Punch I poked holes for the screws of the Mini Pulleys to go thru and attached them before assembling the skirt. 


The Steampunk Seamstress is ready to begin her adventures in sewing. I had a lot of fun with this project and feel it was a great way to finish my time with the team at Gypsy Soul Laser Cuts. 
Thank you for following along with me. I'll be back with more projects soon!!
Happy Creating ~ Jennalee 

Friday, June 7, 2019

The Traveler

Hello and happy Friday!! I had a lot of fun decorating this Hidden Drawer Book Box from Gypsy Soul Laser Cuts. When I am creating I usually have an inner dialogue going of what I want the project to be. I knew from the beginning that I wanted to do a time travel themed project. I pictured the outside of the Book Box looking vintage and inconspicuous. But when you opened it up you found a little surprise.


I began by covering the outside of my Hidden Drawer Book Box. I had a vintage timekeeping ledger in my stash. I loved the original color and was hoping to just color copy it. I printed out the entire cover onto Ranger sticky back canvas. My printer had other plans though and it printed out very dark. Not wanting to abandon my idea or waste my canvas I made it work for me. Using a blending tool and Cracked Pistachio Distress Oxide I blended the entire piece and then sprayed with a bit of instant coffee. After heat setting I sealed the cover with Distress Micro Glaze. 


I made copies of a few of the pages from the same book and covered the outside of the Hidden Drawer Book Box. 


As I was trimming pieces to size my eye fell upon A. Anderson, my husband's name. I loved the personal touch it added but also how it leant to the idea of time travel. 


To finish off my cover I added a Classic Label sticker that I distressed and stamped with T 2 again a nod to Time Travel. I then stamped and distressed the Registered sticker. Because I wanted the side of my book box to be hinged rather than an actual drawer I used the sticky back canvas to make a hinge. I wanted the spine to open up so that I could add a secret message inside and also so that the inner box could be taken out and displayed. 
The hinged spine did not want to stay shut on its own so a simple closure made from a bit of trim did the trick. 


When you open the spine there is a Classic Label with a message. 


The message reads "If interested in time travel meet last Tuesday 3pm". The drawer needed a way to slide out easily so I made a little pull out of some Ruler Ribbon. 


The drawer inside features The Professor aka The Traveler. The Professor stamp from Tim Holtz and Stampers Anonymous is a stunner!! 


The background is a Journal Card distressed and stamped with the gears from Inventor 7. Layered behind the Professor is a ticket and a few gears. A vintage bulb is glued into the upper left corner. I think my favorite detail is the pocket square and gear. 


The sides of the box are lined with a rusted background embossed with 3D Foundry Texture Fade. 


I hope you enjoyed this project as much as I did. And be sure to keep an eye out for books that could contain a secret bit of magic.

Happy Creating ~ Jennalee