Showing posts with label Eclectic Elements. Show all posts

Wednesday, September 12, 2018

Whimsical Witch Boots

Hello!! Can you believe it's already time to start dreaming up Halloween projects? While mindlessly scrolling Pinterest a few weeks ago I saw a pair of witch boots made from Tim Holtz's Ice Skate die from Sizzix. I thought it was a great way to get more use out of an already great die. As I started cutting and experimenting I got to thinking about what a vintage witch boot would look like and decided to add a couple more simple cuts to change it up just a little. 


Start by layering a piece of mixed media paper or mat board with double-sided adhesive sheet and top off with a black piece of Kraft-Stock. 


Run layered papers thru die cut machine. Remember to put the right side of the paper down on the die. 


Cut along the lines drawn in white. 


Here is a closeup of the detail in the heel. When cutting off the top of the boot an angle be sure wherever your top hole lands it is left intact to hold your shoelace. 


Sand the edges of the boots and blend with Black Soot Distress Ink. 


Prepare Seam Binding Ribbon, Thread, and Ricrac by dying with Distress Inks and Oxides. Here is a super simple video showing my process. This is my very first video 😬. It was a learning process, but I hope to bring more technique videos your way. 


From the back of the boot use the Craft Pick to prepare the holes for the shoelace. Begin by bringing needle from back to front. Pull the thread so that there are even amounts on either side of the boot. Thread every other hole and leave the remaing thread at top of boot. Thread needle with other end of the thread. Bring thread up and over to top of the boot and thread remaining holes. When you reach the top tie off remaining tails in a double knot and tie a bow. 


Run a length of double-sided adhesive along top edge on the backside of the boot. Gather and adhere dyed seam ribbon binding. 


Adhere dyed ricrac with Distress Collage Medium.


Trim Quote Chip to size to fit the top of the Display Hanger. Sand and ink with Vintage Photo Distress Ink. 


Adhere the Quote Chip to the Display Hanger with double-sided red tape. Tie a bow around the top of the hanger. 


Prepare background layers. Begin by cutting a piece of the beautifully flocked polka dot paper from the Halloween Paper Stash. Trim with pinking shears for decorative edging. Rip a piece of Eclectic Elements Provisions to size. Cut top layer from Worn Wallpaper Halloween. 


Cut labels from patterned paper in the Halloween Paper Stash. Tear a strip from Multi Haunted Materialize. Messy stitch all layers together. Adhere boots to background and clip on Display Hanger. 


I don't know about you but I am ready to start stocking up on all that Halloween candy. For the trick or treaters of course!! 

Happy Creating ~ Jennalee 


Monday, June 11, 2018

Blessed are the Curious

Hi everyone!! I hope you had a great weekend. I had a few days off and snuck in some creative time along with a bit of junking. I incorporated a few of my new finds in this piece. 


Begin by embossing a piece of gold paper from the Paper Stash Metallic Kraft pad using the Mechanics 3D Texture Plate. The secret to getting a good impression with the Texture Plates is to mist your paper before running thru your machine. After you have embossing lightly sand paper and ink with Frayed Burlap Distress Ink. 


Cut and emboss Layered Butterfly from a 6x6 square of the cigar print found in the Dapper Paper Stash. Ink the embossed areas with Black Soot Distress Ink and apply random areas of gold metallique wax. 


Enhance metal embellishments. Apply a thin layer of Tarnished Brass Distress Paint to the largest size of arrow found in the Arrows Adornments. Using a Picket Fence Distress Crayon rub the crayon over the words on a Quote Token to make the sentiment stand out. 


Cut a small label using the Labels Thinlets set. Stamp numbers found in the Stampers Anonymous Etcetera set. I cut mine from this vintage Ticker Tape I picked up while out junking this weekend. 


Adhere label with Distress Collage Medium. Using an awl poke holes for the stitches. Attach Arrow Adornment with Craft Thread and needle. 


Stitch the butterfly down to the embossed background using coordinating Eclectic Elements Cotton Thread. Be sure to only stitch down the middle of the butterfly so that the wings will be able to pop off the background. 


Layer Baseboard Frame on top of the embossed background and attach with Hex Fastners on all four corners. Adhere piece to mixed media paper for some added stability and back with a piece of linen fabric ripped to size for frayed edges. Apply sentiment from Clippings Stickers. 


Adhere the smallest Measurements piece to background and layer on the Paper Doll with foam dots. Wrap top of the Quote Token with Craft Thread and tie a bow. Attach to piece with foam dots. The base is a large bolt that was also picked up on my weekend junking excursion. 


This piece came about because I was having so much fun playing with the Layered Butterfly die set I recently picked up. So don't be surprised if you see wings on lots of future projects!! I hope you enjoyed this tutorial and get to sneak in lots of creative time this week. Thanks for stopping by and spending a few minutes with me today. Happy Creating ~ Jennalee 


Friday, November 3, 2017

Scissors Wall Decor

Hello!! Happy Friday, today I have a vintage-inspired wall hanging featuring this amazing pair of vintage styled scissors. The Scissors Wall Decor is a beautiful piece with the daintiest lady cameo. Once I added some color to them they became even more stunning. Scroll thru to see the process.


I built my collage assemblage on a small sized Tim Holtz Etcetera tag. I started by adhering some paper from the Tim Holtz Dapper Paper Stack. Once dry add Distress Collage Medium. Once the Crazing Medium has air dried highlight the crazing with Distress Crayons. 


Layer a piece of linen fabric beneath a piece of ticking fabric from the Eclectic Elements Dapper line. Sew around edges. With a palette knife spread Ranger Ink Texture Paste Opaque Crackle medium thru stencil. Allow to air dry. Once dry using a blending tool to add color to Crackle Paste. 


Using an Embossing Dabber add embossing ink to body of scissors. Sprinkle with black embossing powder and heat set. Because this is such a large piece work in sections when embossing. 


I knew I wanted my scissors to be black, but after they sat for awhile I decided that plain black was kind of boring. I added highlights with Metallique Wax. I love the way the wax highlighted the differing textures of the heat embossing. 


I wanted the circle behind the cameo to look like a ceramic insert. I covered the piece with the Opaque Crackle Paste. Once dry I coated with Distress Collage Medium and added detail with Distress Crayons. For the cameo piece using the Embossing Dabber add embossing ink, sprinkle on gold embossing powder and heat set. 


The gold wax brings out some amazing details and adds to the aged look of the scissors. 


Prepare ephemera for collage assemblage by distressing edges and adding ink as desired. 


I made a tiny faux needle package with a piece of parchment paper and a stamp from Tim Holtz's Haberdashery set. I stamped the image onto the parchment paper and heat set. Then folded it into a package and added some Antique Linen Distress Oxide Ink for an aged look. The parchment paper adds a nice texture and folding over flaps in the back adds some dimension to the piece. 


Look at that crackle!! It makes my heart skip a beat. 


I'm so excited to find the perfect spot in my studio for this piece. The Scissors Wall Decor really packs a vintage punch with just a few simple steps. I hope you find some time to get creative today. As always thanks for stopping by!! Happy Creating ~ Jennalee 

Thursday, July 6, 2017

In the Good Old Summertime

Hello friends!!
I am so thrilled and honored to be the Guest Designer over at Frilly and Funkie today!!

The current challenge is "In the Good Old Summertime".

As with most projects these days my first thought was how can I incorporate some stitching? While perusing Pinterest for some Summer inspiration I thought it would be fun to do a vintage inspired bathing suit. 


After a quick run through of my stash I decided on one of my favorite fabrics from Tim Holtz's Correspondence line for Eclectic Elements. 

I started by making a fabric sandwich. I layered the fabric with double sided facing and backed it with some duck cloth for stability. I also cut my pattern out of freezer paper. You can iron freezer paper onto your fabric and then just cut out around it. I find it much easier than trying to mess with pins and stabbing my fingers!! 


I wanted my bathing suit to have a belt and contrasting straps. I had some vintage twill tape in my stash and decided to use that. I used Distress Oxide Ink in Faded Jeans to dye the tape. Cut your tape to the length needed, smoosh some of the ink onto a craft mat and spray with water. Make sure you cover all of your tape with ink. Heat set and voila custom dyed twill tape!! I stitched about a quarter inch around the edge of the suit and stitched down the belt and straps. 


I wanted my dress to be able to be displayed. So I made a stand for it out of a dowel and vintage spool. I painted my spool cream and then layered on Distress Oxide inks in Vintage Photo and Fossilized Amber. Spray and heat set. I love the oxides because depending on the amount of water you use determines the amount of vintage patina you end up with. Plus you can keep layering. For the dowel I used a blending tool and simply rubbed on Distress Oxide in Vintage Photo and heat set. Once the spool and dowel were dry I coated both with a layer of Distress Collage Medium Crazing gel. It gave a nice finish with the perfect vintage touch. I then added a bit more color using Distress Ink in Vintage Photo.


Using bits from Tim's new Snippets ephemera pack I stitched on a few pieces that reminisced a day at the beach with friends. I added a mini star fish and "memories" from the Chit Chat pack. 

To complete the spool and continue the story of the day at the beach I wrapped the spool with a torn piece of muslin and tied it around a tiny vial filled with sand. I completed the piece with a memo pin and a Elementary Flashcard. 


To finish hot glue the bathing suit to the dowel and dream of being at the beach. 


Thank you for stopping by!! I hope you enjoyed this little tutorial. 

Be sure to stop by Frilly and Funkie for even more Summertime inspiration.

~Happy Creating!! 


Friday, April 21, 2017


Hello!! And welcome to my first blog post!!

I'm glad you are here!!

I'm excited to share with you a mid sized square bottomed bag I sewed up.

I used some of my all time favorite fabrics from Tim Holtz's Eclectic Elements line. 

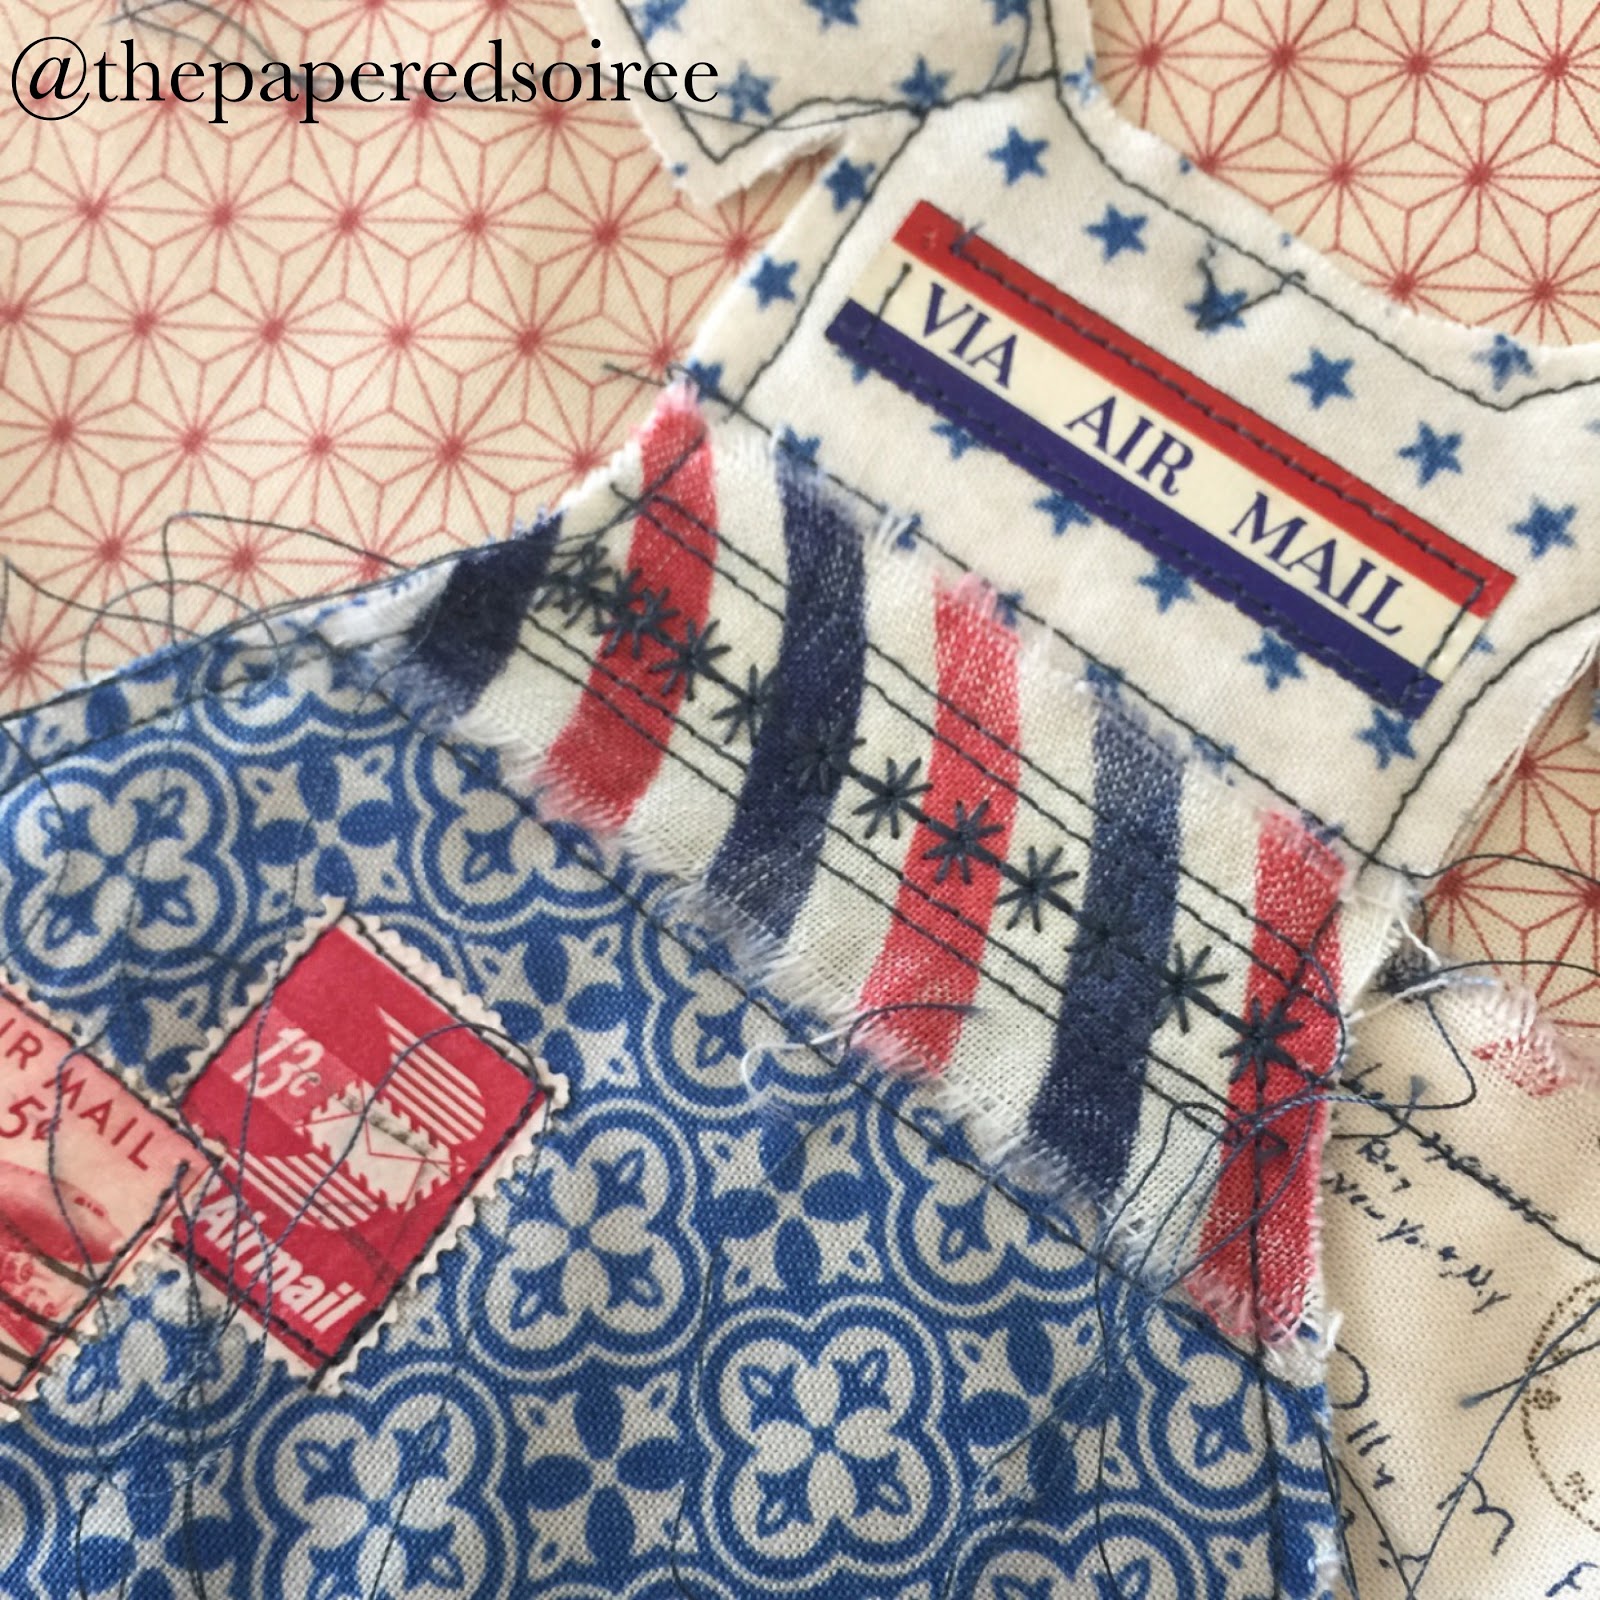
These fabrics are from his Correspondence Collection. Which is the perfect mix of vintage Air Mail.

Thanks for stopping by!!  

Here is the full bag.
It measures approximately 9 1/2 inches tall by 8 1/2 inches wide. The bottom is 3 inches wide.
The handles drop about 10.5 inches.  


The red geometric background makes my heart pitter pat. Especially paired with that air mail stripe. 


I used a decorative stitch on my sewing machine to add a little bit of flair to the dress. 


I used vintage postage stamps and an air mail label. The numbers on the stamps just happen to be my birthday :)

I kept the stitching on the main body of the bag clean and simple. But had to have a bit of messy stitching and strings. So I left the strings from the dress construction hanging loose!! 


The hardware from Tim's Eclectic Elements line is fantastic!! The perfect vintage patina.


I love this blue graph design, It reminds me of the inside of an envelope.