Inks used Vintage Photo, Walnut Stain, Frayed Burlap, Iced Spruce, Cracked Pistachio and Fossilized Amber.

Additional supplies Vintage Photo Distress Ink, Distress Spray Bottle, Blending Tool, and Micro Glaze.

I used 200 Series Strathmore Watercolor paper since it's what I had on hand.
I followed the same steps using all 4 of the main colors.

Smoosh pad across paper. Leave some white space for the color to move and to pick up highlights later.

Spray generously. I like to have a couple larger pools and some finer areas for the added variance.


If I am going to emboss my background I do so after inking and spraying the page since you need to mist your paper when using the new 3D Texture Fade folders. This does push some of the color into the page but don't worry it adds character. Set aside to dry.
Here is a great video on the basics of using 3D Texture Fades.

Once the first layer has dried spray again. This round I did large droplets. Set aside to dry again. Once the pieces have air dried I heat set them just to be sure.

Using a blending tool blend Vintage Photo Distress Ink over the entire piece. This makes the brown and orange undertones pop. Spray lightly and set aside to dry.
In this photo, I have only blended the right side as an example.

Another wonderful tip I learned from Tim's video is the importance of using your Media Mat properly. The white silicone mat makes a big difference when smooshing your piece into wet ink.
Smoosh some Fossilized Amber onto your mat and spray with water. Wiggle your fingers thru the ink to move it around. Dip your paper randomly into the ink.

Some of the drops were larger than I wanted so I lightly mopped them up using a baby wipe. Set aside to dry.
After your pieces have dried go thru and add finishing details. Such as adding another layer of Vintage Photo Distress Ink, blending on more Fossilized Amber Distress Oxide, adding highlights with Cracked Pistachio Distress Oxide. Set aside to dry one final time if sprayed again.

The last step is to add a layer of Micro Glaze. I love how a thin layer of glaze really melds all the layers together and offers a slight sheen. The example above shows the right side with a layer of glaze.
If you haven't used Micro Glaze yet it's very easy to use. With a blending tool blend a thin layer over background and buff with a clean paper towel.
Following are some notes I wanted to share. Mainly so I can remember the next time I try to make these backgrounds.

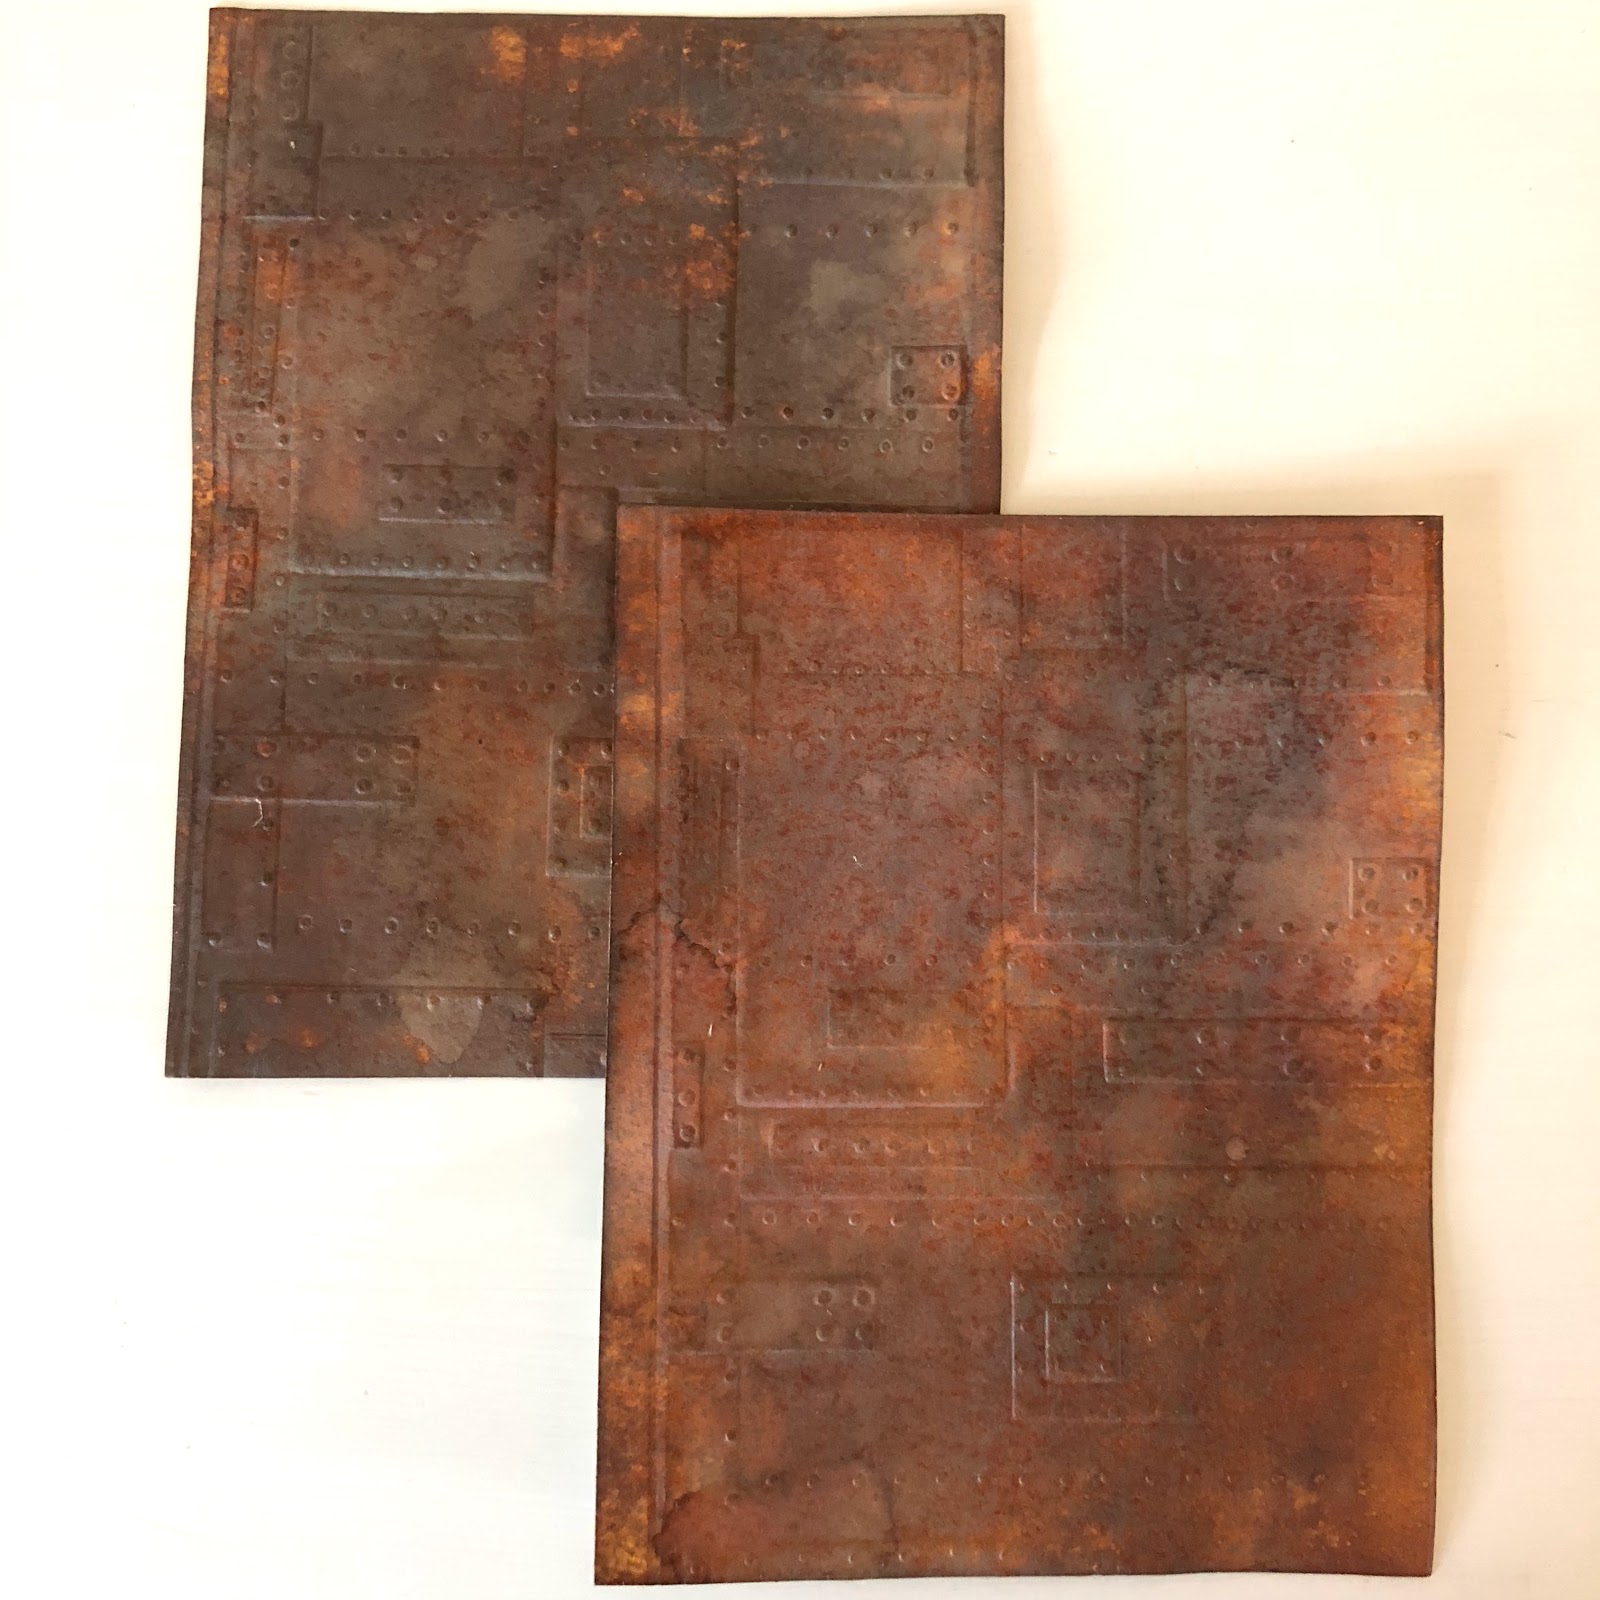
These are both Frayed Burlap following all the same steps except the right has been embossed after the first spray. The difference in color was unique and surprising.

These are both Vintage Photo following all the same steps except the example on the left is sprayed with a mixture of instant coffee instead of water. The tones are slightly deeper.


Before Micro Glaze

After Micro Glaze. See how the layer of glaze really highlights the rust and copper tones that were hiding out.

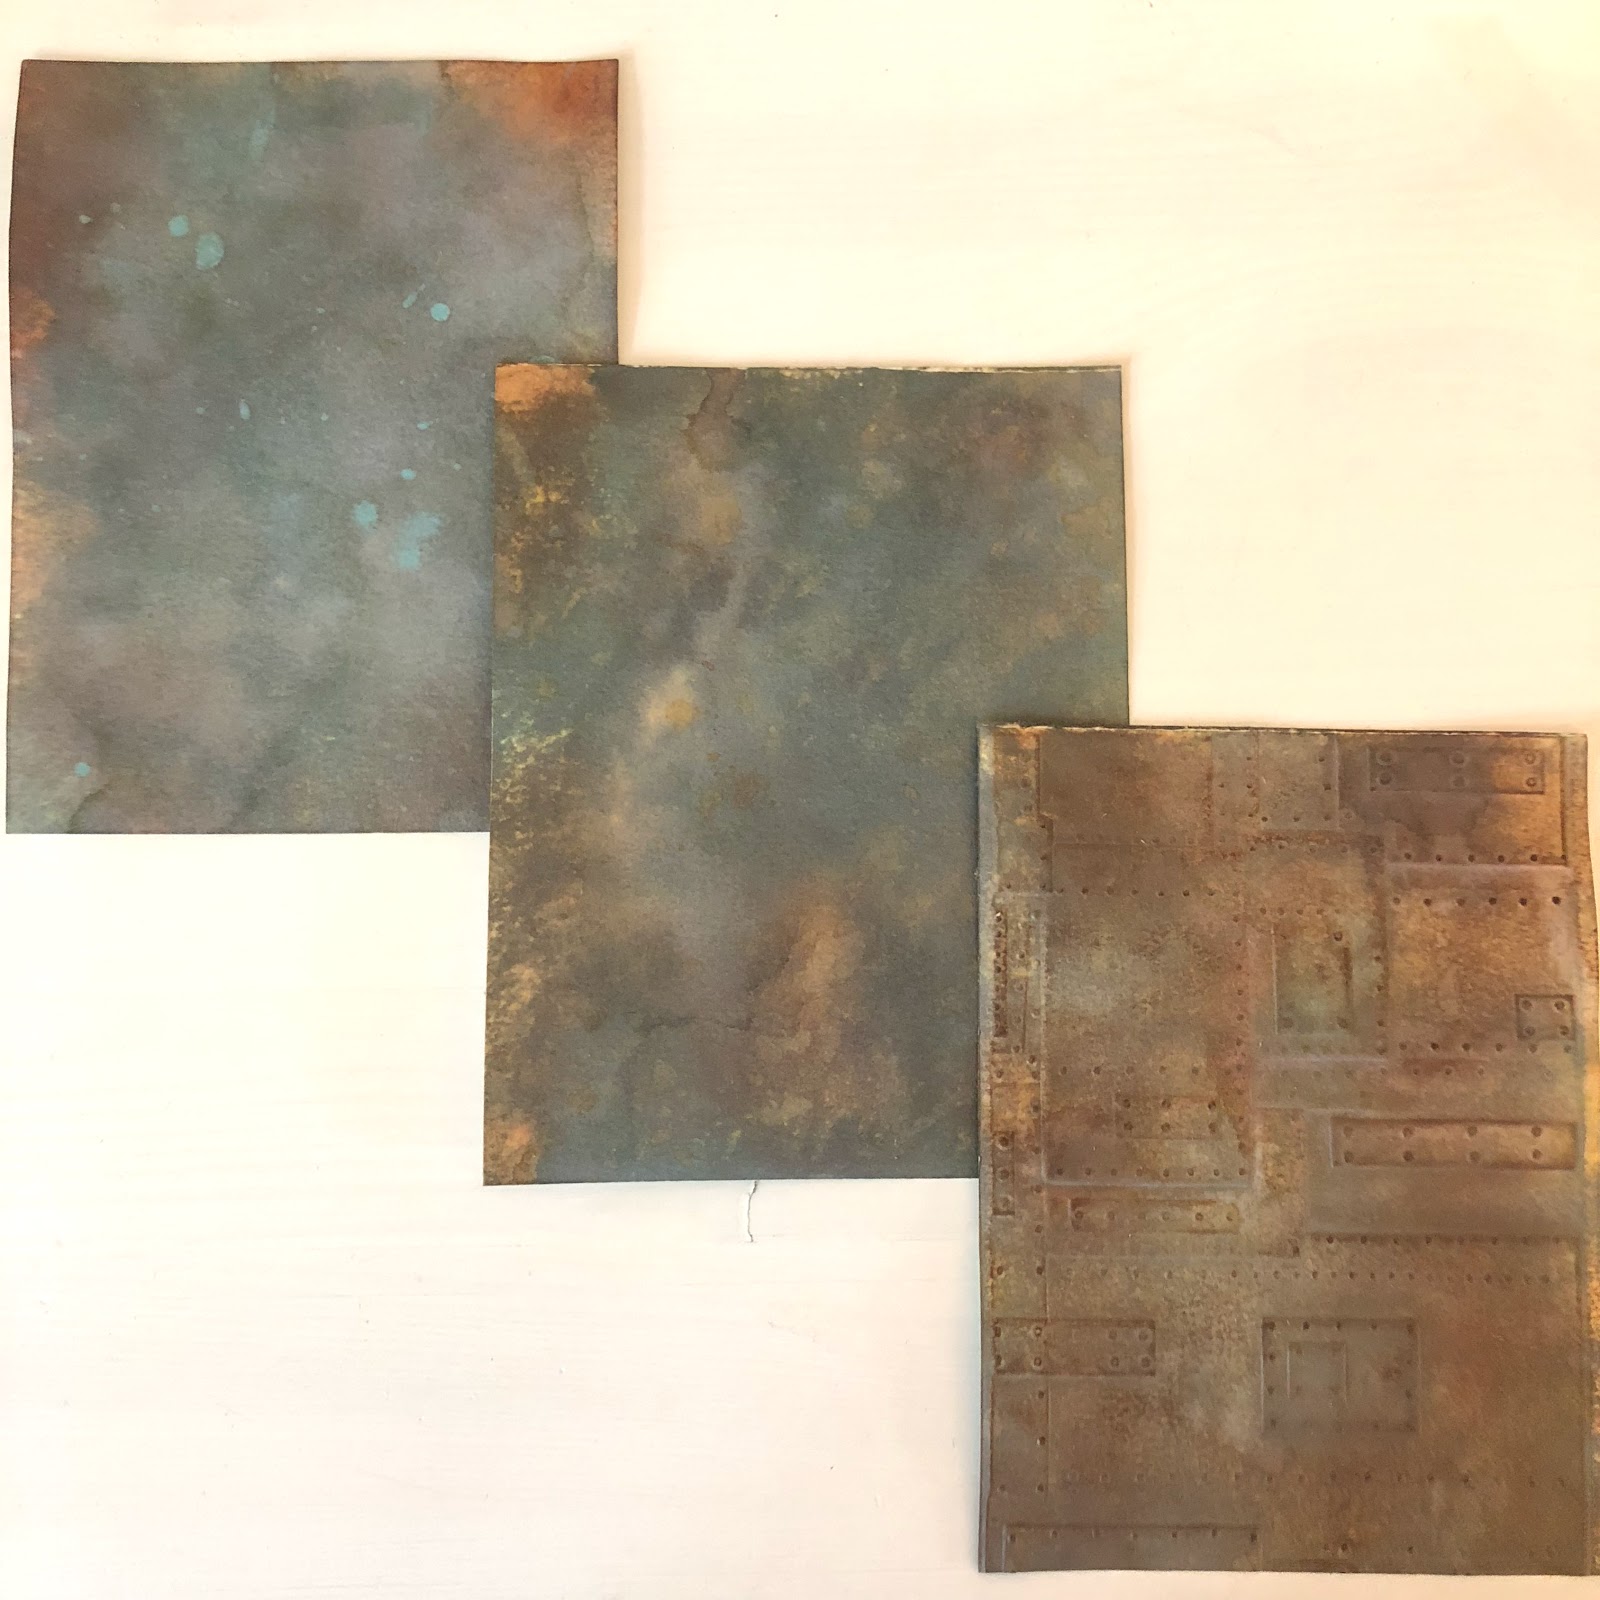
Frayed Burlap- Top example was sprayed an extra time after air drying the first time. It really brought out the blues!! Middle was done following all the steps as noted. Bottom was embossed after inking and spraying.
Iced Spruce- Top was sprayed an extra time and flicked with very watered down Cracked Pistachio Oxide. Middle followed the steps above. Bottom was embossed after inked and sprayed.

Walnut Stain- Top followed all the steps above. Bottom was embossed after inked and sprayed.
Vintage Photo- Top was embossed after being inked and sprayed. Bottom was ink, sprayed and air dried then sprayed and embossed. There is a slight color difference

Vintage Photo- Top followed all steps above. Bottom I did not spray after the Vintage Photo Distress Ink layer. The oxide effect is more prominent.

Added rust details- Top sprayed with Distress Resist Spray and sprinkled with instant coffee granules and heated. Middle sprayed with Distress Resist Spray and sprinkled with cinnamon powder. Bottom sprayed with Distress Resist Spray and sprinkled with Paper Artsy rusting powder and activated with vinegar.

The top example was sprayed and embossed after the layer of Micro Glaze. The 3D effect isn't as prominent as the bottom layer that was sprayed and embossed after being inked.

And don't forget to save your baby wipes!! Look at that rusty goodness.

Look at all those beautiful colors!! I am kicking myself for not making swatches sooner.
I am so inspired to continue exploring these inks. I am usually in the middle of a project when I try to make the perfect background but then I rush it and it never turns out. Now I realize I need to take the time to play and explore!!
I hope you enjoyed this post and maybe walk away with a bit of inspiration. Thanks so much for spending a few minutes with me today. I would love if you'd leave a comment and let me know you stopped by!! ~ Happy Creating