Showing posts with label Trinket Tin. Show all posts

Sunday, September 15, 2019

Dr. Col Lector - Doctor of Optometry


Hello!! I'd like to introduce Dr. Col Lector aka Collector. This is the 2nd of 3 projects made for Tim Holtz's amazing Halloween Idea-Ology release. The eyeballs were the inspiration for this project. As I sat with them I thought of a traveling salesman's kit. Then as I was reading all of the type tokens my backstory took a spooky turn when I came across the "Found Objects" token.
Dr. Col Lector is an optometrist but just how reputable is he? His case of found objects leaves many questioning where he finds his inventory. 


The base of this piece is a Vignette Box covered with paper from the Abandoned Paper Stash. The top of the box features the Cigar Box from the Layers and Baseboards Frames. The Poison label came from the same package. The Poison label was messy stitched onto the piece of Abandoned paper before adhering to the box. 


Any good salesman's case needs a handle for easy traveling. I adhered a Mini Hardware Pull to the side of the Trinket Tin using Distress Collage Medium and layered the Pull with Hardware Heads. Before adhering the Pull I wrapped it with Craft Thread distressed with Walnut Stain Distress Crayon. Once the handle was dry I added the Found Objects Quote Token on a Loop Pin. 


To finish off the open corner of the box I added an Apothecary Vial, Alpha Dice, and vintage lens. 


This artificial eye chart also from the Layers and Baseboards Frame set was perfect for our devious doctor. The eye chart is layered behind a Baseboard Frame that has been sanded and distressed. I added Hardware Heads to the corners. The bottom of the frame is adorned with a Toxique label and that creepy White the Druggist eye was perfect for the top. 

This particular Paper Doll had just the right amount of creep. He holds his favorite tool a spoon from the Silverware Adornments. 


The doctor's fine inventory on display. As you can see he has had some business and will need to restock soon. 


The calling card is fashioned from a piece of wide vintage velvet ribbon. The doctor's info was created using a label and words from the Curiosities Sticker Book. I have to say the Sticker Book was one of my favorite things from this release. 

I added a border of messy stitching not shown here before adhering the calling card inside the case. 


Here is a peek at how I made the dividers for the case. I began by cutting chipboard to length to fit the tin. I cut two longer pieces to run horizontally and three smaller pieces to run vertically. After measuring where they would intersect I cut small notches in the chipboard. I then covered all the pieces with the same vintage ribbon used to make the calling card. After the glue had dried I went back and snipped the ribbon where the slits had been cut in the chipboard. I then assembled the dividers and inserted into the case. 


I love how just a little bit of Alcohol Ink can up the spooky factor of these eyes. I used a very fine paintbrush and Watermelon and Latte Alcohol Ink to add veins to the eyes. 


The backside of the piece follows thru with an eye chart and Apothecary Vial. The lid to the Trinket Tin was distressed with Mushroom Alcohol Ink and then layered with a label from the Halloween Ephemera pack and a Quote Chip. 


I hope you enjoyed this walk-thru of the project and peek into the background story I had in mind while creating this piece. 

All I know is I sure wouldn't want to find myself in a dark alley with Dr. Col Lector.

Happy Creating ~ Jennalee 

Wednesday, September 19, 2018

Look Around For Light

Hello and happy Wednesday!! I hope your week is treating you well so far. I don't know if you've noticed but I've been on a bit of a masculine kick recently. I love the rusty, crustiness that is so easy to incorporate into a masculine styled piece and this project is no exception. This all started with the idea of making a blueprint using Tim Holtz's new Inventor 2 stamp set from Stamper's Anonymous. Recreating a blueprint was a lot of fun!! 


Begin by inking a piece of paper using a blending tool and Chipped Sapphire Distress Ink. Spray with water and set aside to dry. Continue adding water and allowing to dry until the desired effect is achieved. 

 I chose Drawing Paper because I wanted something that was going to be easily manipulated but could hold up to a bit of water.


Tear paper to size and secure on Stamp Platform. With finger randomly apply Tarnished Brass Distress Paint. Stamp image and then immediately clean stamp before paint fully dries. 


With white ink stamp entire image and stamp. 


Using the silicone mat on your Glass Media Mat smoosh some Old Paper Distress Oxide and spray with water. Randomly drag blueprint thru ink and set aside to dry. Crinkle and tear blueprint to size to fit in a Trinket Tin. 
Because I tore off most of the script writing when tearing my piece to size I went back and added some of the script to the side of the blueprint piece. 


Using a hammer randomly add dents to the Trinket Tin. Add further distressing using a sanding block.
Note- I did not hammer on my Glass Media Mat!! 


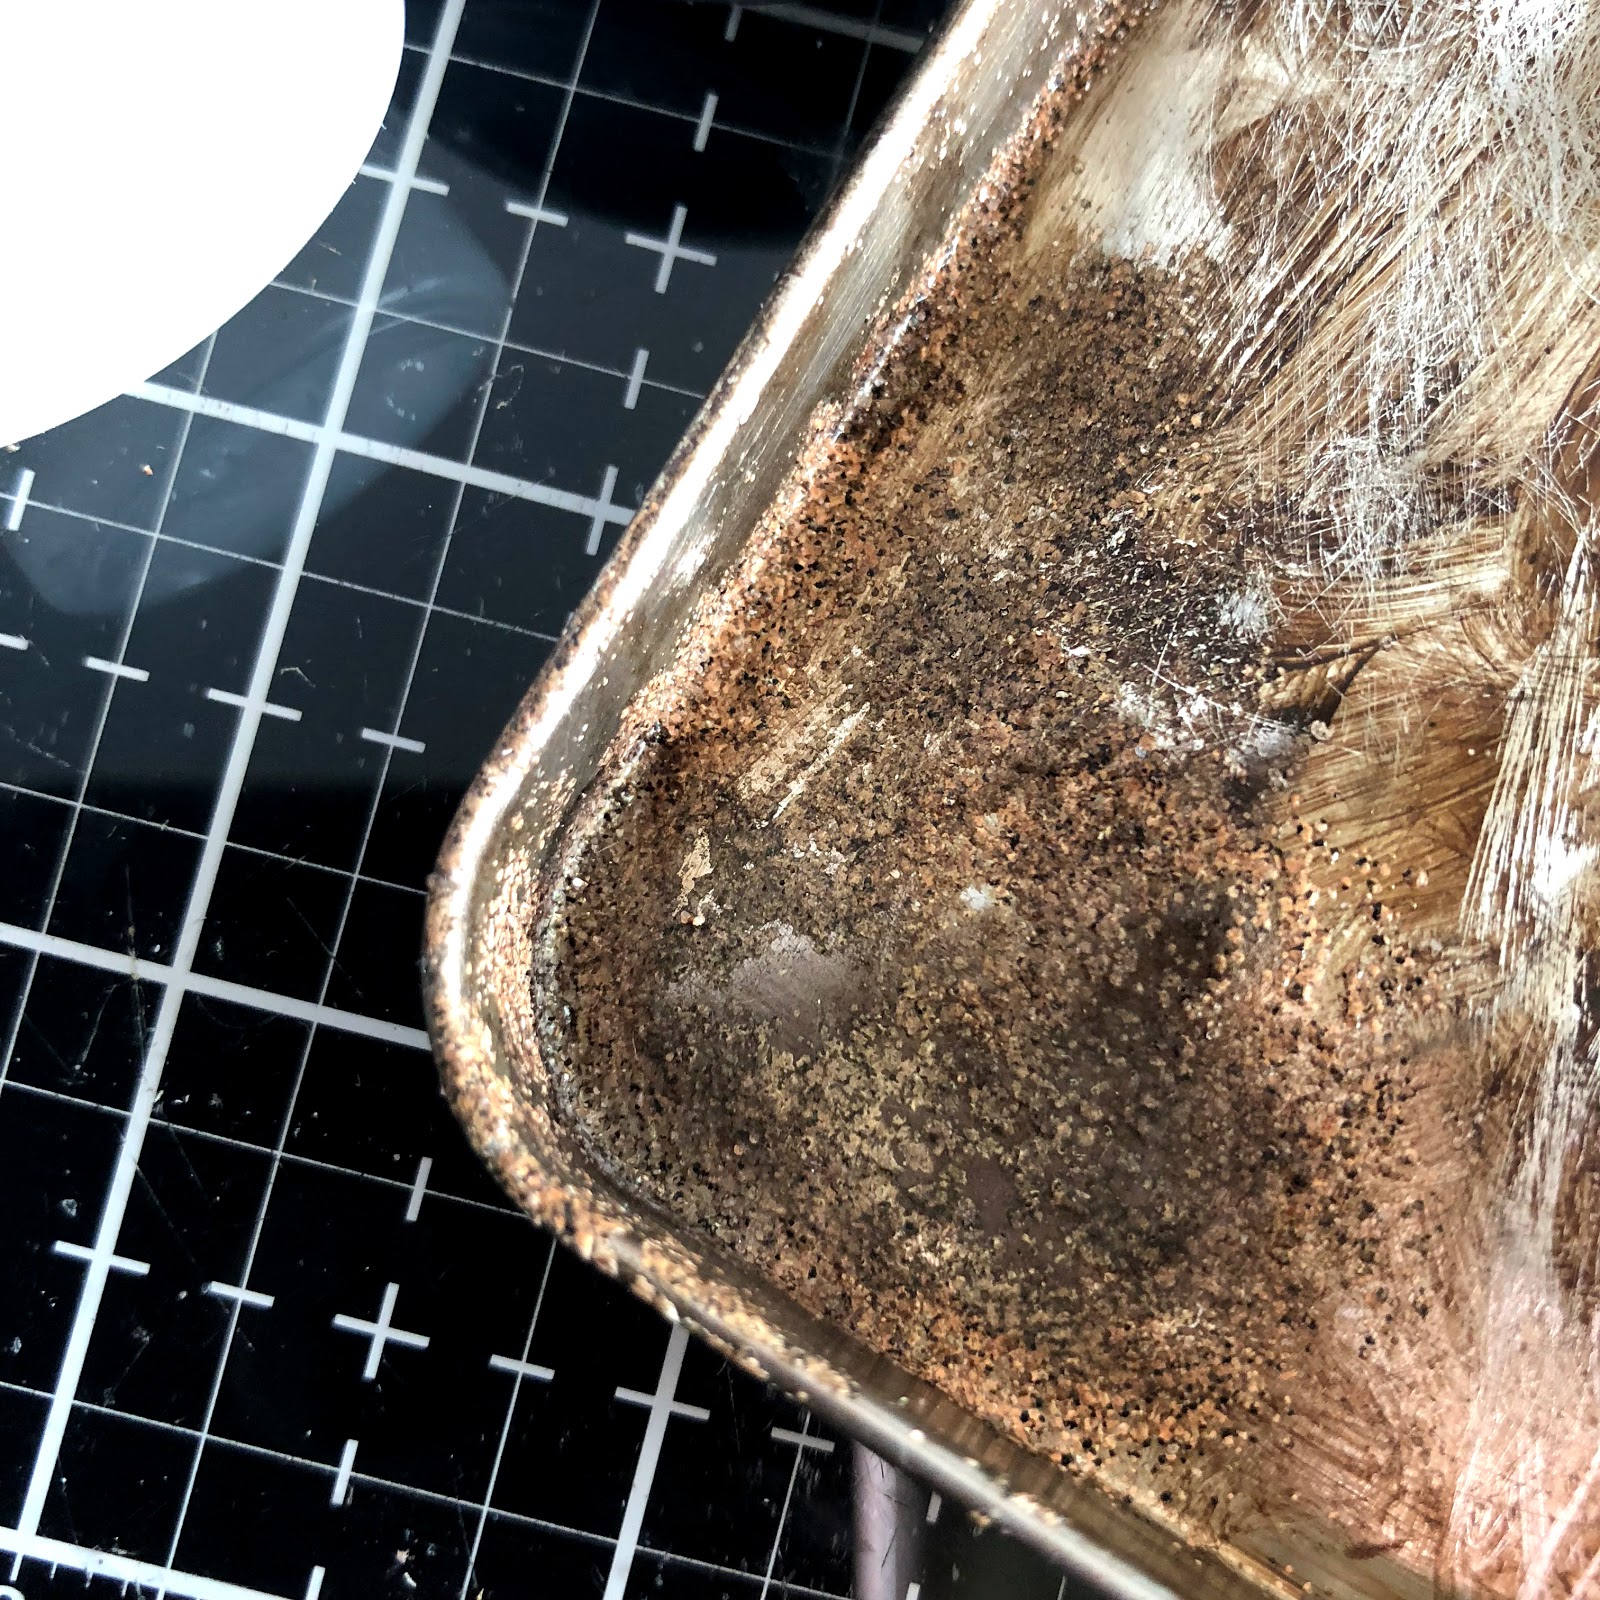
With a felt blending pad and Mushroom Alcohol Ink add color to the tin. Randomly apply ink from the Embossing Dabber and sprinkle on Dirty Sand Baked Texture. Heat emboss and allow to cool. Once cool add a bit of Mushroom Alcohol Ink to the embossed areas for that extra grungy look.
With finger add a few swipes of Cracked Pistachio Distress Oxide. 


Here is the difference between new and altered. This was a lot of fun!!! 


Distress the inside of the Trinket Tint. Apply Ground Espresso Distress Paint. Again using the Embossing Dabber apply ink randomly in corners and apply Dirty Sand Baked Texture. Same as before heat set, allow to cool and add a bit of Mushroom Alcohol Ink. 


I mean come on!! Look at that texture!! 


Prepare insert for the inside of the Trinket Tin lid. Cut time card to size bend edges and crinkle. Smoosh Old Paper and Vintage Photo Distress Oxides onto the silicone mat and spray with water. Drag card thru inks and set aside to dry. Prepare die cut gears using Sizzix Gearhead Thinlets cut from Rust Background. Attach die cut gear and Mini Gear using brads. 


Die cut number using the die set that came with the Sidekick. Heat emboss with Dirty Sand and Rocky Road Baked Texture powders. 


Trace around Paper Doll with Brushed Corduroy Distress Marker to eliminate the white edges.


Layer Doll and the die cut number in the lid adhering with Distress Collage Medium. 


Prepare inside of tin by inserting a piece of foam to prop up the blueprint. 


Before inserting the blueprint layer a mixture of die cut gears with Mini Gears and Sprokets. Attaching with mini brads. Apply Clippings sticker. 


Begin preparing Etcetera Tag by applying a page of book text using Distress Collage Medium. Make sure to work in sections so that the Collage Medium doesn't' dry on your piece before you are done working it. 
Allow this layer to dry. Once dry apply a layer of Crazing Medium using a palette knife. 


Once the layer of Crazing has dried add further detail with Vintage Photo Distress Ink and Distress Crayon. Apply a second piece of the blueprint with Distress Collage Medium layering die cut gears underneath. Leave corners unglued and add wrinkles to paper as you are applying. 


Heat emboss the hole reinforcer with Dirty Sand and Rocky Road Baked Texture. Adhere to tag with Collage Medium. 


With blending tool ink Ruler Piece with Vintage Photo Distress Ink. Cut to size using scissors. 


Alter Adornments Foundry using Mushroom Alcohol Ink and Peeled Paint Distress Crayon. 


Attach Ruler Piece to Etcetera Tag using the nails from Vignette Hardware. 
Note- do not hammer on Glass Media Mat!! 


Layer die cut gear on the lid of Trinket Tin. Wrap wire around a small bulb and adhere to the lid with hot glue. I really have no idea what this bulb is from it came from a random drawer of found junk. 


I had so much fun creating all the different textures and finishes in this piece. I think my favorite was altering the tin. I definitely need to find a reason to bang up and sand a few more!! Thanks for stopping by and spending a few minutes with me today. I hope you are able to sneak in a few minutes of creating before the weekend hits. 
Happy Creating ~ Jennalee