Showing posts with label Rock Candy. Show all posts

Friday, December 1, 2017

Christmas Countdown Shadow Box

Hello!! How is it already December? I have been in full Christmas Crafting mode here. This project is inspired by the beautiful advent calendar made by Paula Cheney. As I was thinking of making my own version I thought that the Mini House Room 4X4 would be the perfect piece for a Christmas scene and calendar.


Start by assembling and gluing together your Mini House Room. 


Cut Background paper to size and decorate as desired. Cut coordinating paper to size for all remaining surfaces of the Mini House Room. I ran all my pieces thru my Xyron for quick application. I covered all of the exposed edges with design tape. I used papers for the Tim Holtz Christmas Paper Stash. 


I used the numbers from Tim Holtz's Christmas Alpha Tiles. I colored them with Gold Alcohol Ink. I did need two packs of the Alpha Tiles to have enough numbers. I used a nail to poke a hole thru the House and used mini brads to hang my numbers on. 


Then came the fun part!! Making a mini scene within the box. For the snow I used Grit Paste and Distress Rock Candy. Apply Grit Paste using a palette knife. While the paste is still wet sprinkle with Rock Candy for the perfect shimmer. I added snow to the peak of the roof and the floor of the house. 


The tree is a mini bottle brush tree. I removed it's original base and added it onto a bingo marker.
Santa and the reindeer are also from the Holiday release. Santa was painted with red and black acrylic paint and aged with Mushroom Alcohol Ink. The reindeer was painted with Tarnished Brass Distress Paint and aged with Mushroom Alcohol Ink. 


. I am so excited to start counting down to Santa's arrival!! I hope you enjoyed this quick tutorial. And I hope you are finding time to sneak in some Christmas crafting. Happy Creating ~ Jennalee 


Friday, November 17, 2017

Dear Santa Christmas Village

Hello!! Can you believe it's already that time of year? I love decorating for Christmas!! It's always fun to add a new handmade piece to my collection each year. The theme for my mantle this year is Dear Santa. I love postal ephemera and mail art and love to collect vintage postcards which were the basis for this idea. The Cabana Row Houses are the perfect size and base to build a vintage-inspired Christmas village.


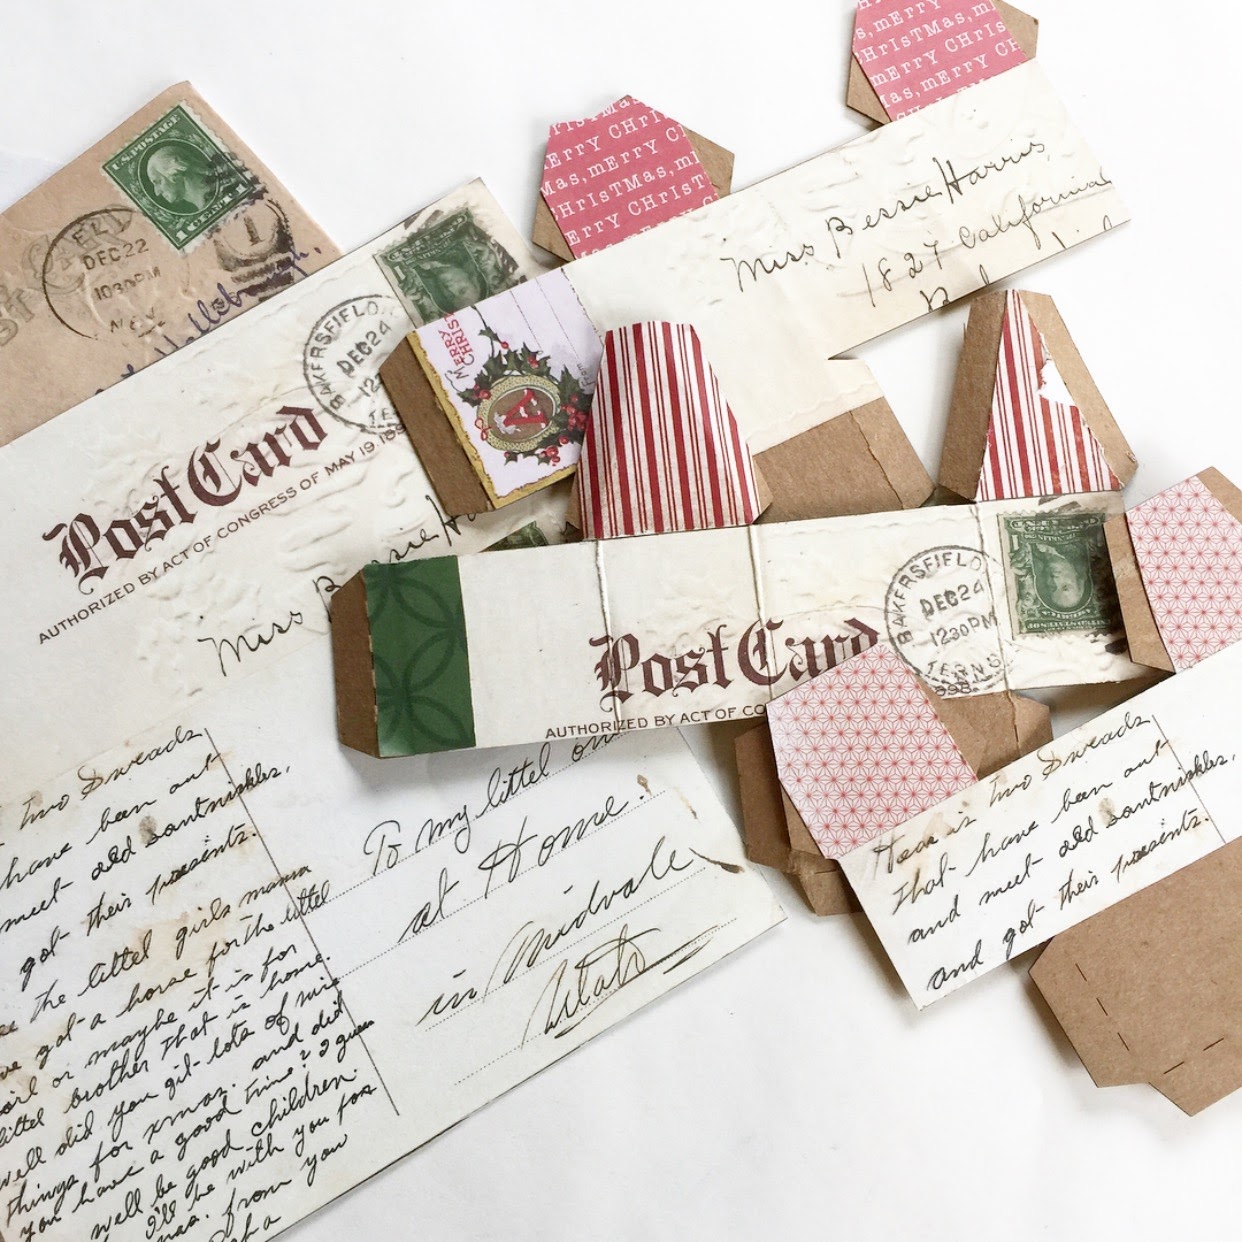
The Cabana Row Houses come flat. They are already scored and easy to fold. I started out by making copies of vintage postcards from my collection. I cut them to size and ran them thru my Xyron. For the gables of the houses, I used scrapbook paper, again cut to size and run thru the Xyron. I did the same for the roofs (not pictured). For the roofs be sure to remember that the bottom side will also be visible so they will need to be covered as well. 


After assembling the houses I added additional pieces of ephemera to each. And my favorite detail snowy rooftops!! For the snow I added Texture Paste to the ridge of the roof with a palette knife. While the Texture Paste was still wet I sprinkled Rock Candy glitter on the paste. Set aside and let air dry. 


I cut a base for each house out of chipboard and attached the houses and trees with Distress Collage Medium. Once dry I added snow using the same technique as used on the rooftops. 


I added a couple reindeer from Tim Holtz's Christmas line of Idea-ology. To color my deer I started with a base of Tarnished Brass Distress Paint and allowed to air dry. Once dry I added some Mushroom Alcohol Ink with a paint brush. 


For the Santa also from Tim Holtz's Christmas line of Idea-ology I painted his suit with some red acrylic paint. Once the paint was dry I added depth to all the white details using Mushroom Alcohol Ink and a paint brush. Adding the Alcohol Ink really makes all the details in his face and beard pop. 


I am so excited to decorate for Christmas and display my new little village!! Thanks so much for stopping by. Happy Creating~ Jennalee 


Friday, November 10, 2017

Snow and Joy

Hello!! Jennalee here today. I have a fun step by step tutorial to share with you today. It all started with this vintage photo I found while out junking. The release of Tim Holtz's Christmas line really got me in the spirit to create some Christmas projects early this year. 


I started with a small size Etcetera Tag. These tags measure 5.5"x10" and are made of thick board. They are very sturdy and can handle a variety of mediums. I covered my tag with a piece of paper from Tim Holtz's Christmas Paper Stash. Adhere paper to tag with Distress Collage Medium. 


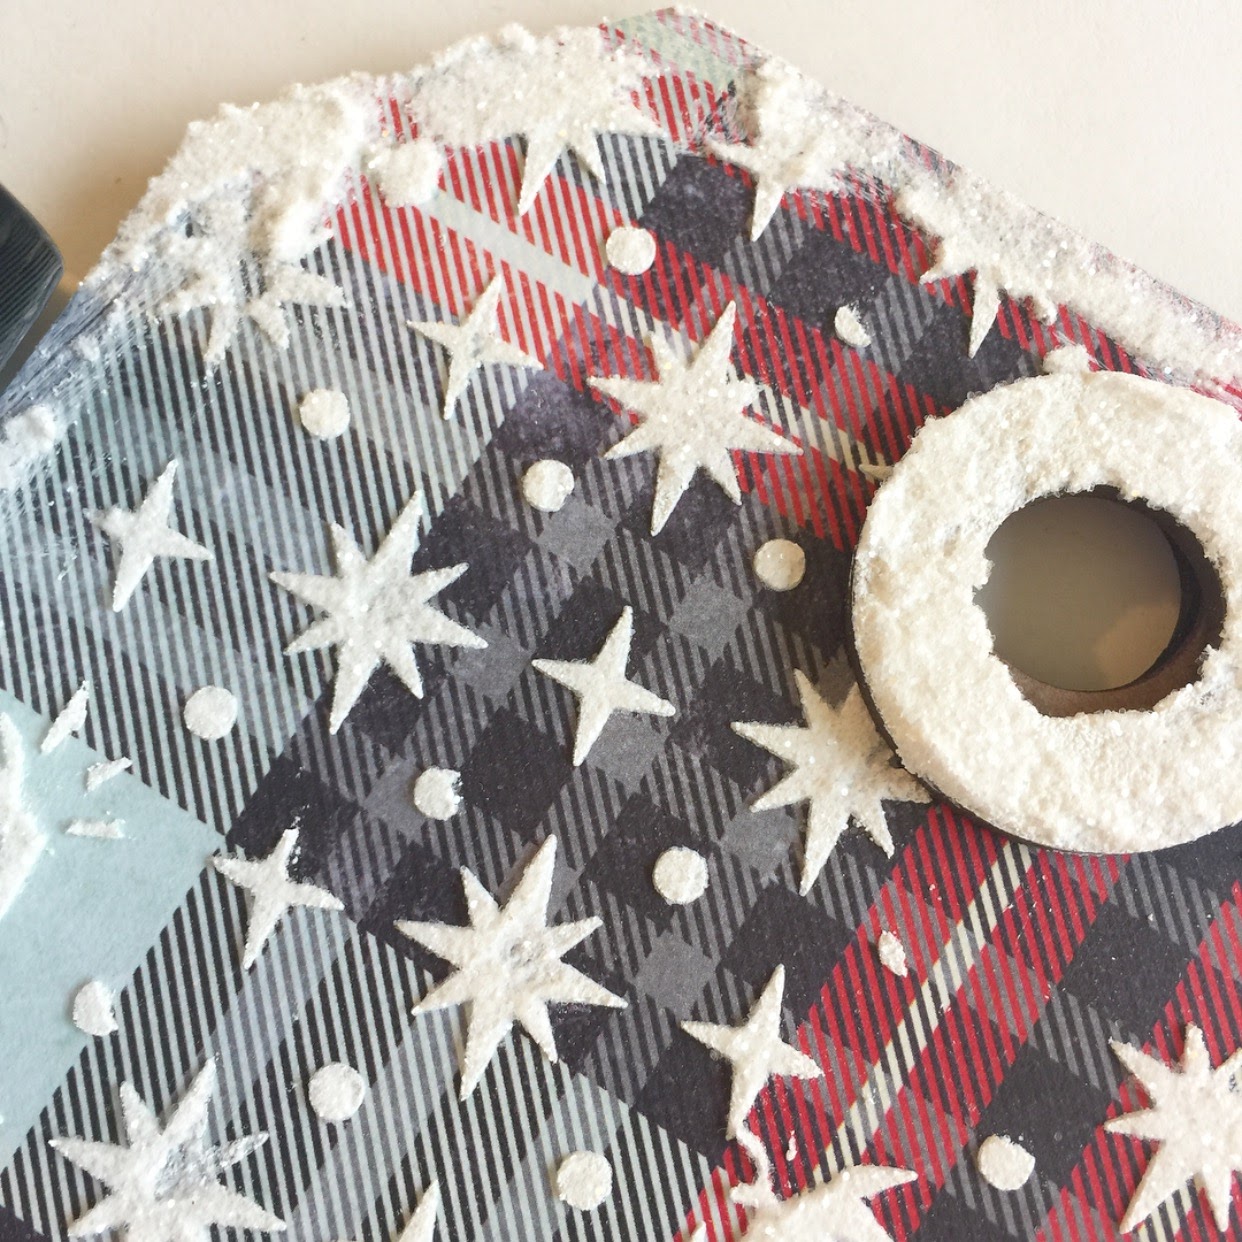
With a palette knife spread Grit Paste thru the Starry Night layering stencil. While the Grit Paste is still wet sprinkle on Rock Candy Glitter. I covered my entire tag with stenciled stars. I thought I had overdone it but once you start layering your ephemera you'll be glad you covered the whole tag.


Using your palette knife add some swipes of Grit Paste around the edge of your tag and to the reinforcer and sprinkle with Rock Candy same as before. Grit Paste needs to be air dried, so set your tag aside. Be sure to clean your stencil and palette knife while the Grit Paste is still wet. 


While your tag is drying begin prepping your picture. I made a photocopy of my original picture onto photo paper. It didn't look quite vintage enough so I added some aging using Antique Linen Distress Ink. Using a glue stick lightly tack down photo to piece of black cardstock. Stitch around edge of photo and trim down cardstock with pinking shears. 


 From the Christmas Ephemera Pack pick the pieces you wish to layer on your piece. The music piece is from the Christmas Bookboard Baseboards pack. To add some visual interest I added a strip of black text from the Paper Stash pad. Adhere all pieces using Distress Collage Medium. 


Cut a pair of Ice Skates from white cardstock. I adhered my cardstock to a thin layer of chipboard for some added definition. Tip: Save the chipboard pieces that come in your Myrustycrown.com orders. It is the perfect thickness for die cutting. You can even use it with some thin lit dies. 


Cover both skates with Distress Crazing Medium. Allow to air dry. Once your skates are dry add a bit of aging with Antique Linen Distress Ink. Color in heel with Distress Crayon. Paint blade of skate with Distress Paint. Using a needle and baker's twine lace skates and wrap laces around the top of skates and tie a bow. 


I am obsessed with Distress Crazing Medium. It is the perfect vintage touch. 


To decorate the skates cut some foliage from the Festive Greens thinlits set. Using Distress Oxides in Peeled Paint and Cracked Pistachio color cardstock. Smoosh ink pad on craft mat and spray with water, dip paper into ink and heat set. For the berries I used Beaded Berries colored with Distress Spray Stain in Picked Raspberries. 


Attach foliage and berries to skate. Adhere skates to bottom right corner of tag using Distress Collage Medium. Pick words from Christmas Words and Phrases Chipboard pack and adhere with Distress Collage Medium. At this point also attach the tag reinforcer. 


I hope you enjoyed this tutorial. I had so much fun making this piece and using Grit Paste and Rock Candy. It is such fun combination!! If you try making this piece for yourself or try any of the techniques I hope you will stop by and share it in the Facebook Group. Happy Creating~ Jennalee