Friday, March 16, 2018

Interactive Typewriter Card

Hello!! I'm here today with some interactive tags featuring the Typewriter Set. When I first saw the Typewriter Set I knew I wanted to make it into an interactive card. I needed a card for my hubby's birthday so decided it was the perfect opportunity to have a little fun.


The larger tag is an oversized #12 tag and the smaller is a standard #8 tag.


The Typewriter Set come with 4 pieces. I used one of the larger with the paper holder and one smaller. 


Using an embossing dauber I heat embossed the portions that would be metal with Emerald Creek Hammered Metal powder. The rest of the typewriter was embossed in black with bits of Hammered Metal sprinkled in. For the keyboard, I heat embossed a scrap of paper with gold embossing powder and attached to the back of the typewriter so that the gold peeked thru the keys.


For the decorative detail I stamped a star detail and embossed with Charred Gold. I added additional detail with an Idea-ology Adornment Star also heat embossed with Charred Gold and attached with Distress Collage Medium. 


For the letter that is sticking out of the typewriter, I coffee stained a piece of graph paper and stamped with various stamps from Tim Holtz's Etcetera set. 
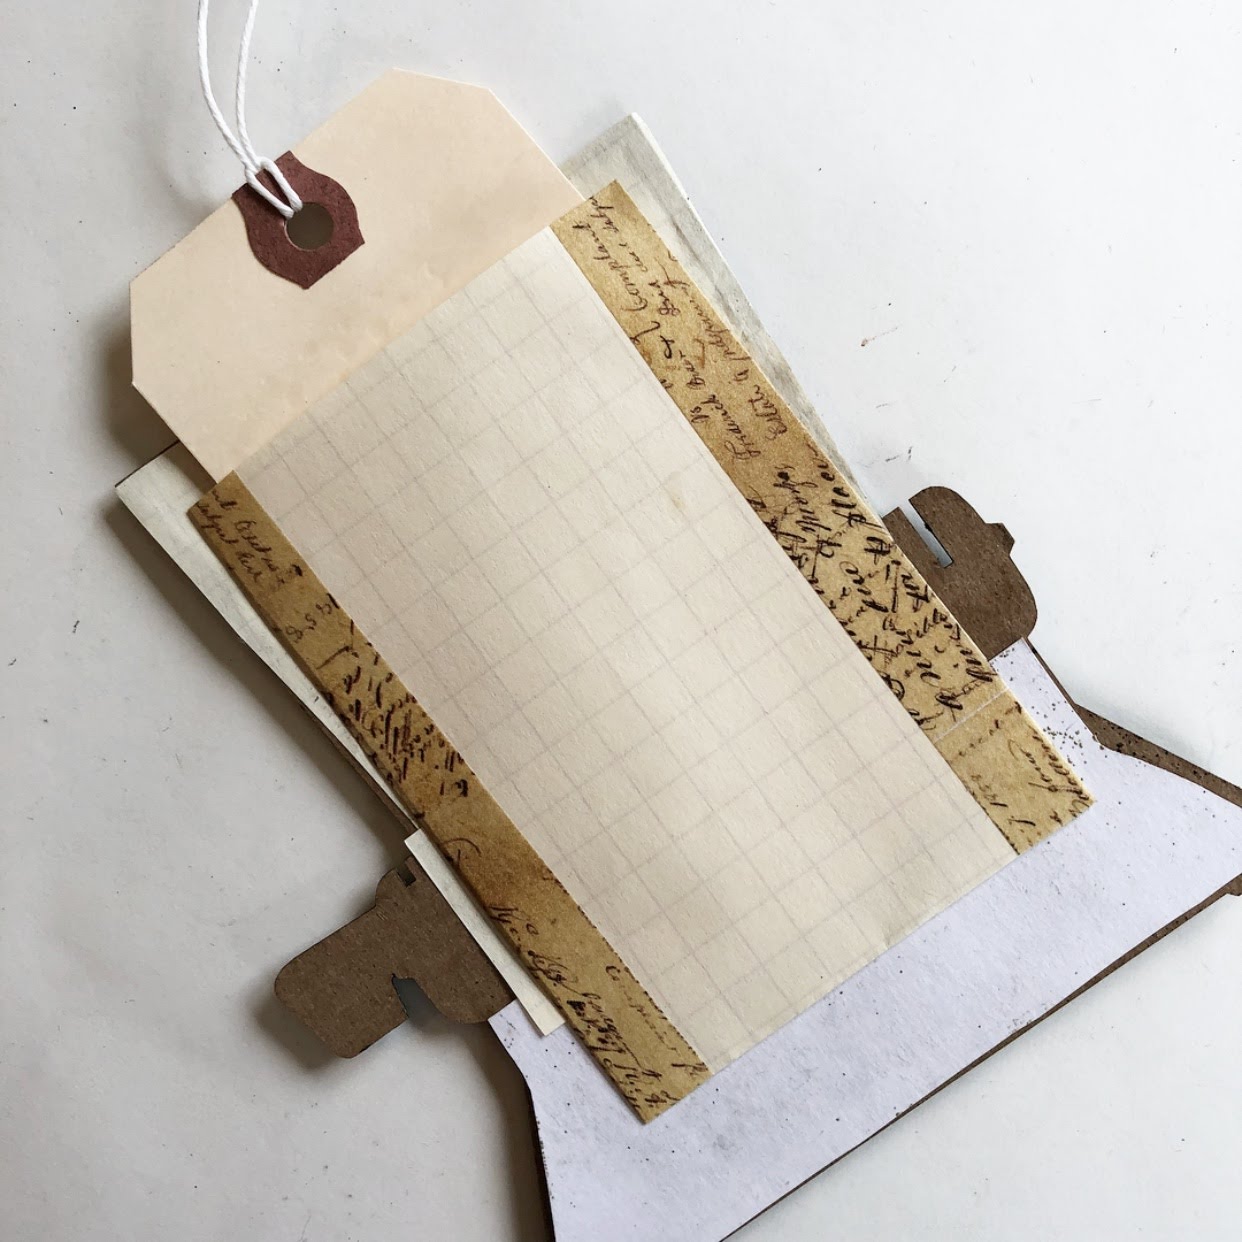

To hold the interactive tag I made a simple pocket to attach to the back of the typewriter.


Using a calendar from the Idea-ology Thrift Shop ephemera pack I added a Miniature Bookplate to highlight the month of March. I used Vintage Photo Distress Ink to color the bookplate and attached to the calendar using Hex Fastners. 


I used Walnut Stain and Iced Spruce Distress Oxides to color the tag. I layered a piece of paper from the Paper Stash Wallflower and a couple piece from the Numbers Remnant Rubs for the base layer and then added messy stitching around the edge of the tag. 


I then stitched on my next layer and added an Idea-ology Ruler Piece with Distress Collage Medium. From there I finished building my layers and added the calendar and typewriter. To attach the typewriter I used foam dots. 


For the interactive tag I started by inking it with Distress Oxides and stitched down a folded piece of coffee stained graph paper. 


I added a Hex Fastener to hold down the flap the hides a redacted secret message. 
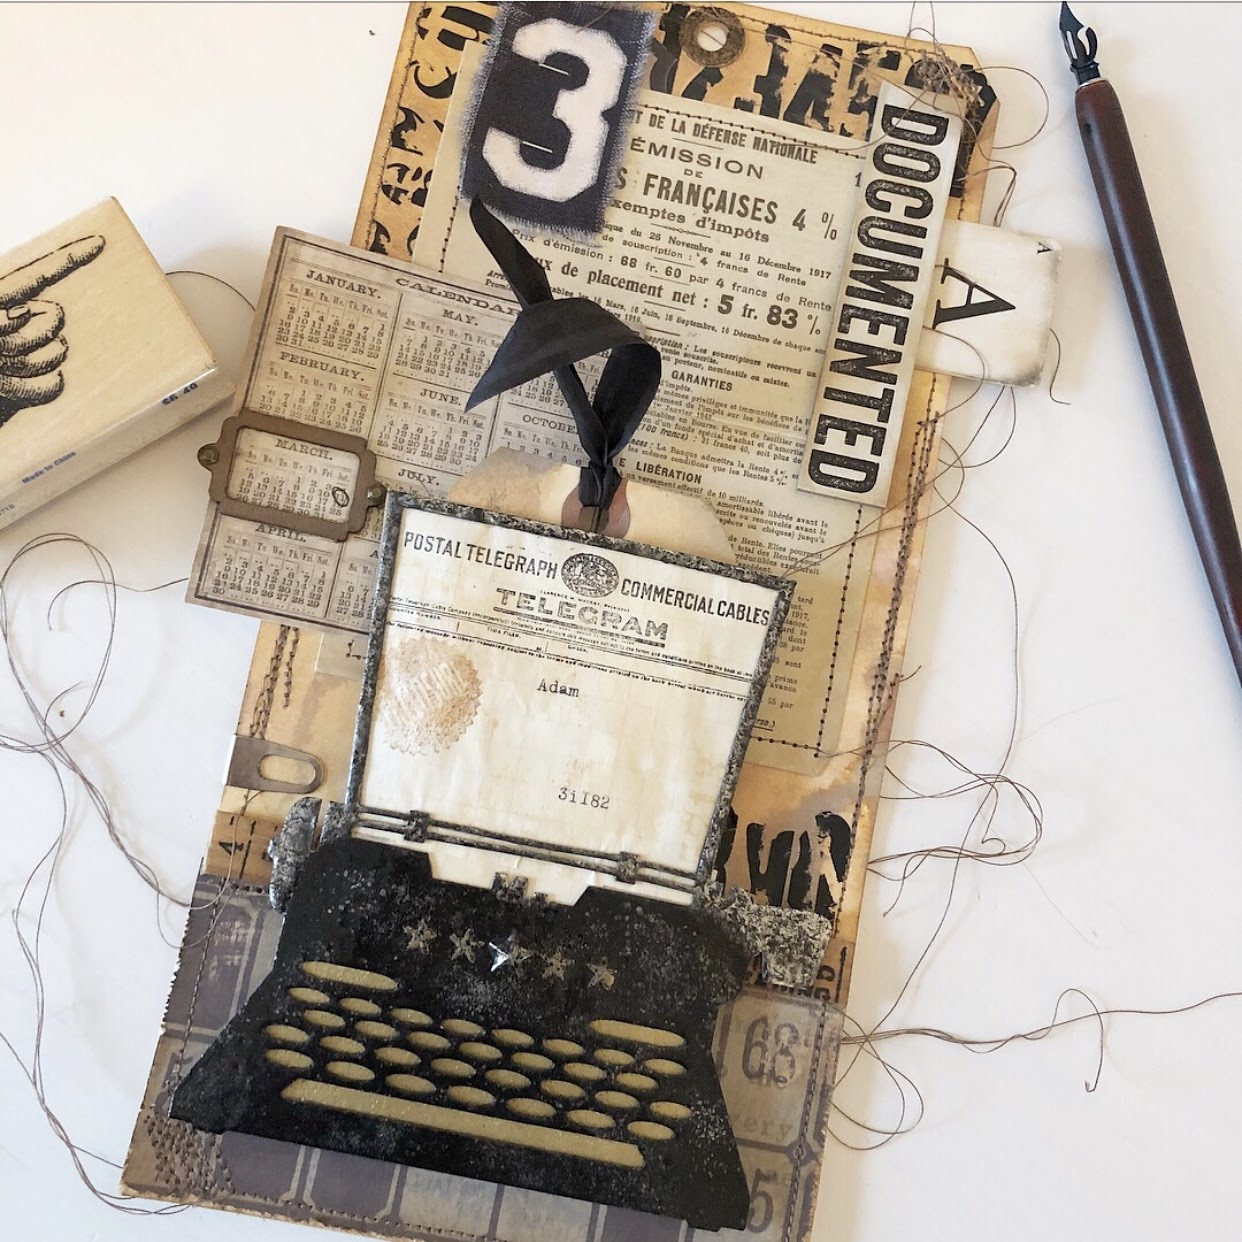


For the airmail tag I prepared the typewriter the same way as the first only with red keys. 


I cut a tag from a piece of patterned paper from the Paper Stash Correspondence. I prepared my layers and stitched around the edge of the tag. 


After deciding on the placement of the typewriter I used a craft knife to cut a slit for the interactive tag to slip into. 


I cut a second tag out of matching paper and added double sided adhesive around the edges. This creates a sort of pocket so the interactive tag portion has a place to sit. If I had been thinking ahead I could have stitched the two tags together. 


To finish off the airmail tag I used a strong double sided adhesive to attach the typewriter making sure to take into account where the slit was. 


I love the vintage vibe the Typewriter Set adds to these tags. Thanks for stopping by!! 
Happy Creating ~ Jennalee

Friday, March 2, 2018

Free to Fly Shrine

Hello and happy Friday!! I'm here today with a variation on the Folding House Shrine. I had pulled out the house shrine a couple weeks ago to make but at the time my vision for the piece was not working the way I had envisioned. For some reason, I thought it was supposed to be a box. So my original plan was out. So there sat the Folding House Shrine. Then inspiration struck!! Instead of using the original chipboard "hinges" I decided to use ruler pieces.


I started by coloring the 3 house pieces with Vintage Photo Distress Ink. I colored both front and back. 


While I had my ink out I added a bit of color to Tim Holtz Idea-ology Ruler Pieces. I cut one Ruler Piece down to size to fit the shrine pieces. 


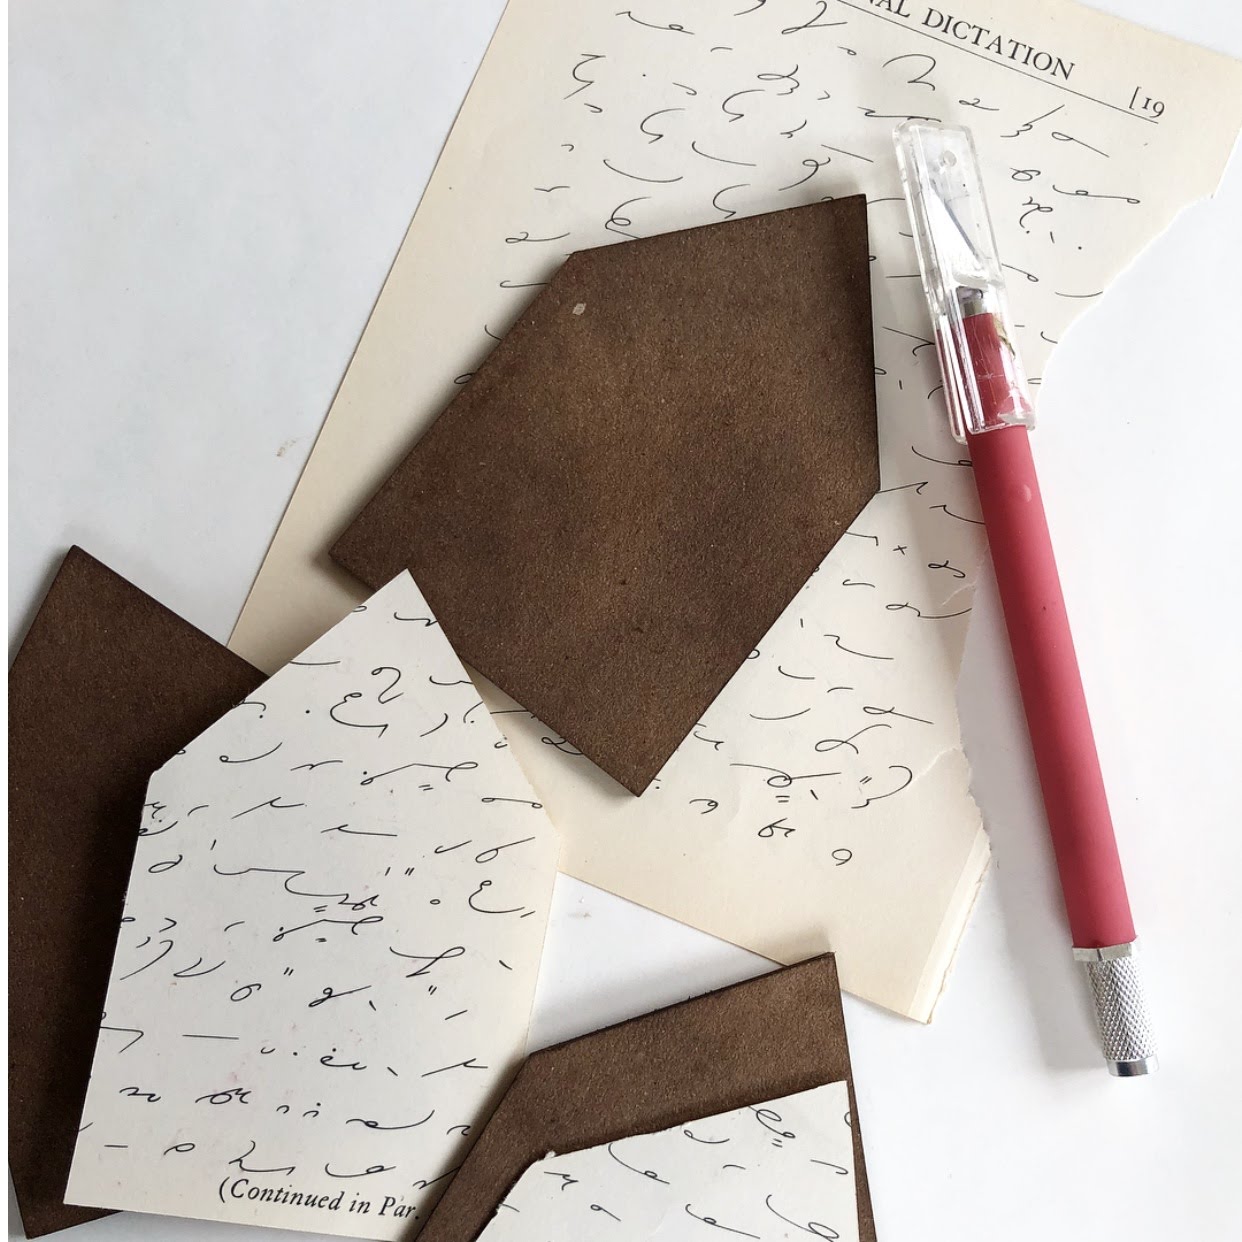
I covered the front of the house pieces with vintage shorthand text. I cut to size and ran thru my Xyron. I applied the collage elements to my background pieces at this point. 


Once the backgrounds are adhered to the house pieces. I heat embossed all 3 pieces using Seth Apter's new Baked Texture in Vintage Beeswax. I used a Versamark pad to coat the background and then apply the powder. I did one layer. This picture shows the before (on bottom) and after of the paper. Once the piece has cooled add some depth and detail using Tim Holtz Distress Crayons. 


The wings are printed on dictionary text with a layer of Distress Crazing Medium. Once the Crazing Medium air dried I added some depth to the crazing with Vintage Photo Distress Ink and Tarnished Brass Distress Crayon. Not shown here I added a gold heat embossed edge all the way around each wing. 


The center panel of my shrine features an Idea-ology key that I colored with Vintage Photo Distress Crayon. I added a few drops of Seth Apter's Baked Texture Patina Oxide. I wrapped the key with a length of Tim Holtz Craft Thread dyed with Twisted Citron Distress Oxide. 


I then measured out my holes on each of my house pieces and punched the holes with a drill punch. 


To attach the Ruler Pieces the Folding House Shrine pieces I cut a 16 inch length of  20 gauge craft wire in Antique Brass. Start on the left and work across. Begin by threading wire up from back about 3-4 inches and wrapping a messy spiral. Once knot is desired size wrap around Ruler Piece making sure your wrap is tight enough to hold the Ruler Piece. Be sure to leave 3-4 inches for a messy knot on the next panel. Wrap wire the same way for the remaining holes. 


Attach the key to the middle panel using a strong hold glue. 


I adhered the wings at the base leaving them loose enough to have a flutter effect. I then cut a length of black sewing thread and rolled between my hands to get a messy look. Using an embossing dabber add a random bit of embossing ink and sprinkle on some gold embossing powder and heat set. While the powder was still hot I used to tweezers to apply the thread in the powder. I then added a bit more embossing ink and another sprinkle of gold powder and heat set. 


To finish off the back of my piece I tried out a new technique Eileen Hull shared a couple weeks ago. Using a sponge apply matte medium to an embossing folder and insert paper. I used a brayer to roll the folder to transfer the medium to my paper. I then applied my foiling. Set aside to dry. Once dry peel away foil sheet. 


I really love all the different textures and mediums I was able to incorporate into this piece. The finished project is a perfect size for displaying on a shelf. Thanks for stopping by and spending a few minutes with me today. I hope you have a weekend full of creative inspiration!! Happy Creating ~ Jennalee 

Friday, February 16, 2018

Celebrating Friendship

Hello!! I'm here today with a project to commemorate my recent trip to Creativation 2018 and meeting Jess of Two Mad Dahlias in real life. Have you ever met someone online and then met in real life and you are instant best friends? Thankfully this was the case with Jess and not just because I was staying at her house for a week!!  So naturally, I needed to make a piece to celebrate this friendship. As I was digging thru my Gypsy Soul Laser Cuts stash I ran across the Tudor Rose Singles and Petal Corners Mini and my wheels started turning.


I began by prepping all my chipboard pieces. For the Petal Corners Mini, I heat embossed 2 of them with Hammered Metal embossing powder. Using my finger I added some Cracked Pistachio Distress Oxide to give it an aged look. I wanted some more age and texture so added some Cracked Pistachio Distress Crayon. I left some chunky bits of crayon on the Corners. 


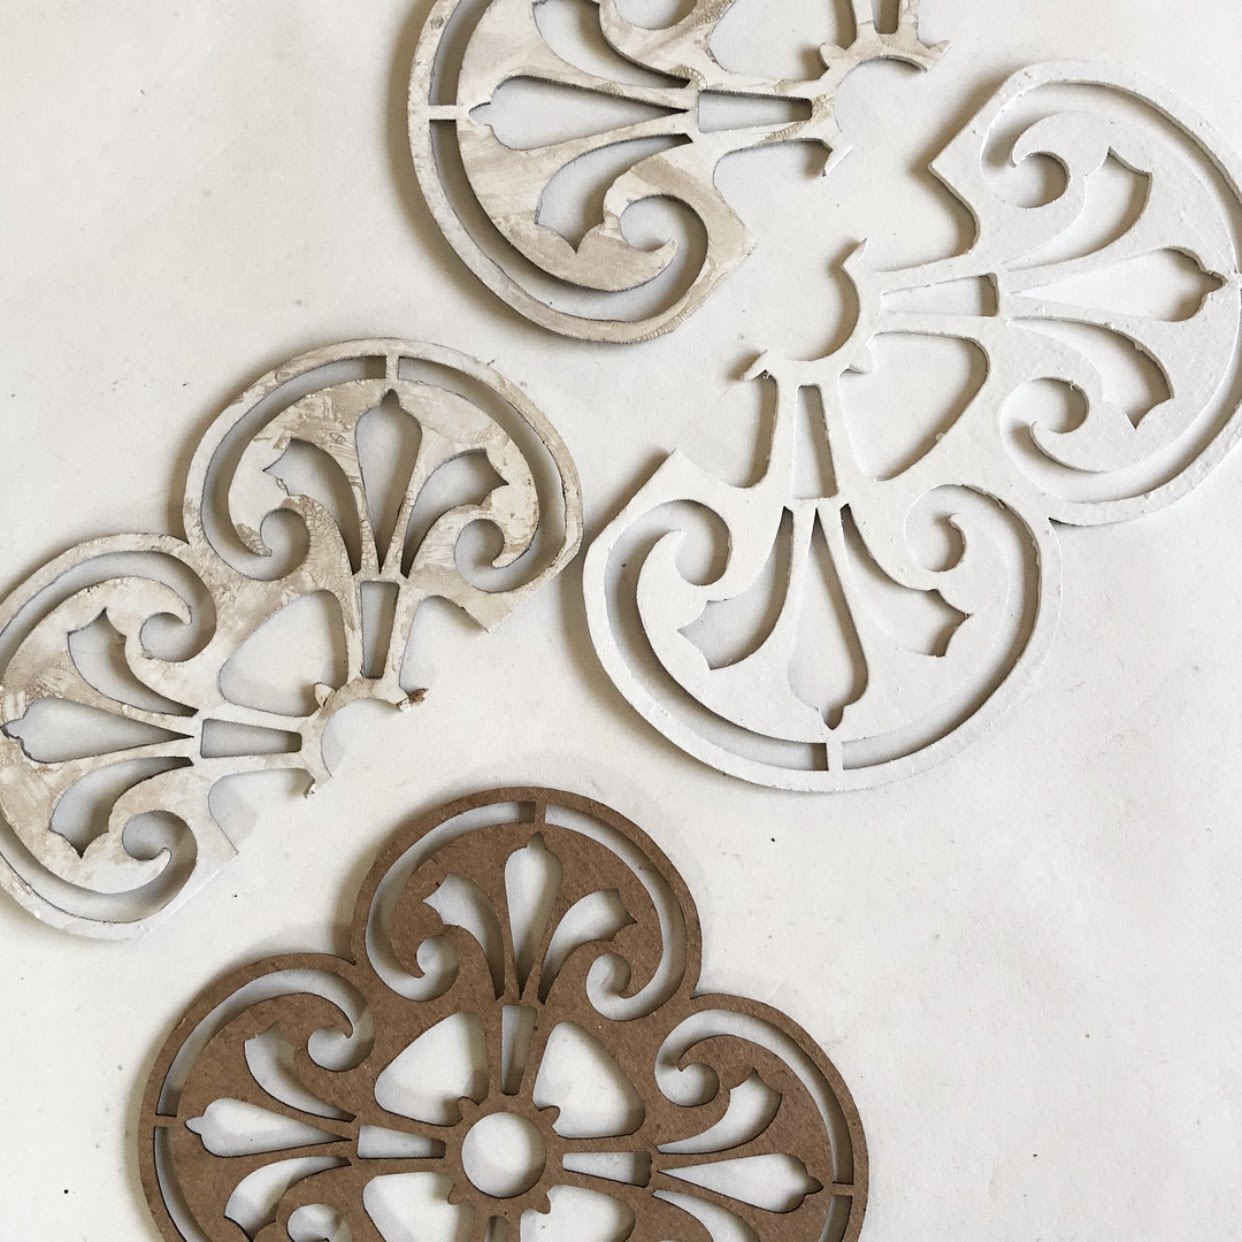
I cut the Tudor Rose Singles in half and then sprayed two coats of white spray paint on all the pieces. Once the paint was dry I randomly applied some Distress Crazing Medium with my finger. Once the crazing medium was dry I added some detail with Vintage Photo Distress Ink. 


For my base I used a medium Tim Holtz Etcetera Tag. I cut my background paper to size and stitched around the edge with gold thread. I  then applied the background paper to the tag using Distress Collage Medium. 


I then added a bit of detail to the top right and bottom left corners of the tag using a palette knife to spread gesso thru the Tim Holtz Layering Stencil- Floral. 


To begin my layers I started with a Tim Holtz Pocket Card. I added a small piece of ephemera and a stamped spool image from the Haberdashery stamp set. On top of this I added the Tudor Rose Singles. I used one half of the largest cutout and one half of the medium size cut out. I adhered them to the top left and bottom right of the tag using Distress Collage Medium. 


I then built up the main layer by layering this awesome photo of two vintage girls from Tim Holtz's new pack of Found Relatives on a piece of background paper from the Memorandum Paper Stash. Using a paper distress to distress the edges of the background paper and Vintage Photo Distress Ink for detail. I layered the photo and a ticket from an ephemera pack and stitched them together with my sewing machine. I then adhered the Petal Corners Mini using Distress Collage Medium. 


To finish I adhered the photo layer to the tag using foam dots. To finish off the tag reinforcer I used two pieces of floral Design Tape from the Rose set and adhered to the tag using Distress Collage Medium. 


The final touch added was this quote from a movie both Jess and I enjoy. Bonus points if you can name that movie!! 


I love the texture and chunkiness the Tudor Rose Singles add to this piece. And the added vintage detail from the Petal Corners Mini complete the photo. The best part is that I still have enough left from both sets to make another project down the road. 

Thanks so much for stopping by and spending a few minutes with me today. Happy Creating ~ Jennalee 

Friday, February 2, 2018

Love Letters

Hello and happy Friday!! I'm here today with a Valentine inspired make. The Flourished Heart Frame made me think of valentines that a couple would have exchanged in the Victorian days. And of course what Valentine's Day is complete without a love letter?


Heat emboss both frame pieces using an embossing dauber and gold embossing powder. 


Create a collage using vintage photos, dictionary pages and postage stamps. Add some detail with mail themed rubber stamps. Adhere collage to back of the  Flourished Heart Frame. Cut out a heart to back your mini collages. This extra backing will help protect against the adhesive used to attach the heart to the envelope from seeping thru. 


For envelope cut a piece of linen, muslin and two-sided interfacing approximately 10 1/2 inches by 5 1/2 inches. Layer interfacing between the linen and muslin and adhere with iron. 


Cut ribbon and lace to size. Pin the ribbon and layered lace onto linen and top stitch with sewing machine. 


Fold up bottom third of fabric. Place the House Pocket die on top and stabilize with washi. Make sure to put fold above the bottom of the die. If the die does cut thru the fold don't worry it can be stitched together in the next step. 


Top stitch around the edges of the envelope. Make sure to leave the pocket of the envelope unstitched. Adhere heart frame to envelope flap using adhesive of choice. 


This little envelope is the perfect size for gifting a gift card or a love letter to that special someone. I hope you have a month full of love and get showered with lots of chocolate!! Thanks for stopping by today. Happy Creating ~ Jennalee