
Hello!! I recently found out that my 6-year-old nephew enjoys collecting found objects to build sculptures. Sadly we don't live in the same state so I haven't been able to see his latest masterpiece which is proudly displayed at Grandma's house. But he was very excited when I told him that he is, in fact, an Artist!! I asked him if he would like some gears to add to his pieces and he was very intrigued by the idea!! As I was thinking of what to include in his package I thought everyone needs a notebook to record their thoughts. When I showed my hubby he insisted that I make one for him as well haha!!


Begin by stamping a robot from Tim Holtz's Robots Blueprints - CSM233 set with VersaMark embossing ink and heat embossing with Burnt Copper Leaves.

Bend and tear edges of card. Distress edges with blending tool and Vintage Photo Distress Ink.

Smoosh Gathered Twigs, Frayed Burlap, and Iced Spruce Distress Oxide onto the silicone mat of your Glass Media Mat. Spray each color once or twice with water. Dip stamped card in ink. Set aside to dry.

Using the same colors as the background accents color in the robot body using a water brush.

With craft pick poke holes for eyes, in center of the gear on the chest and at the knee joints. Add small Hex Fasteners for eyes. For chest layer Sprocket Gears and MiniGears in corresponding sizes with a Game Spinner attach all pieces to card with Hex Fastener. For knee joints add Mini Gears to the card with Hex Fastners.
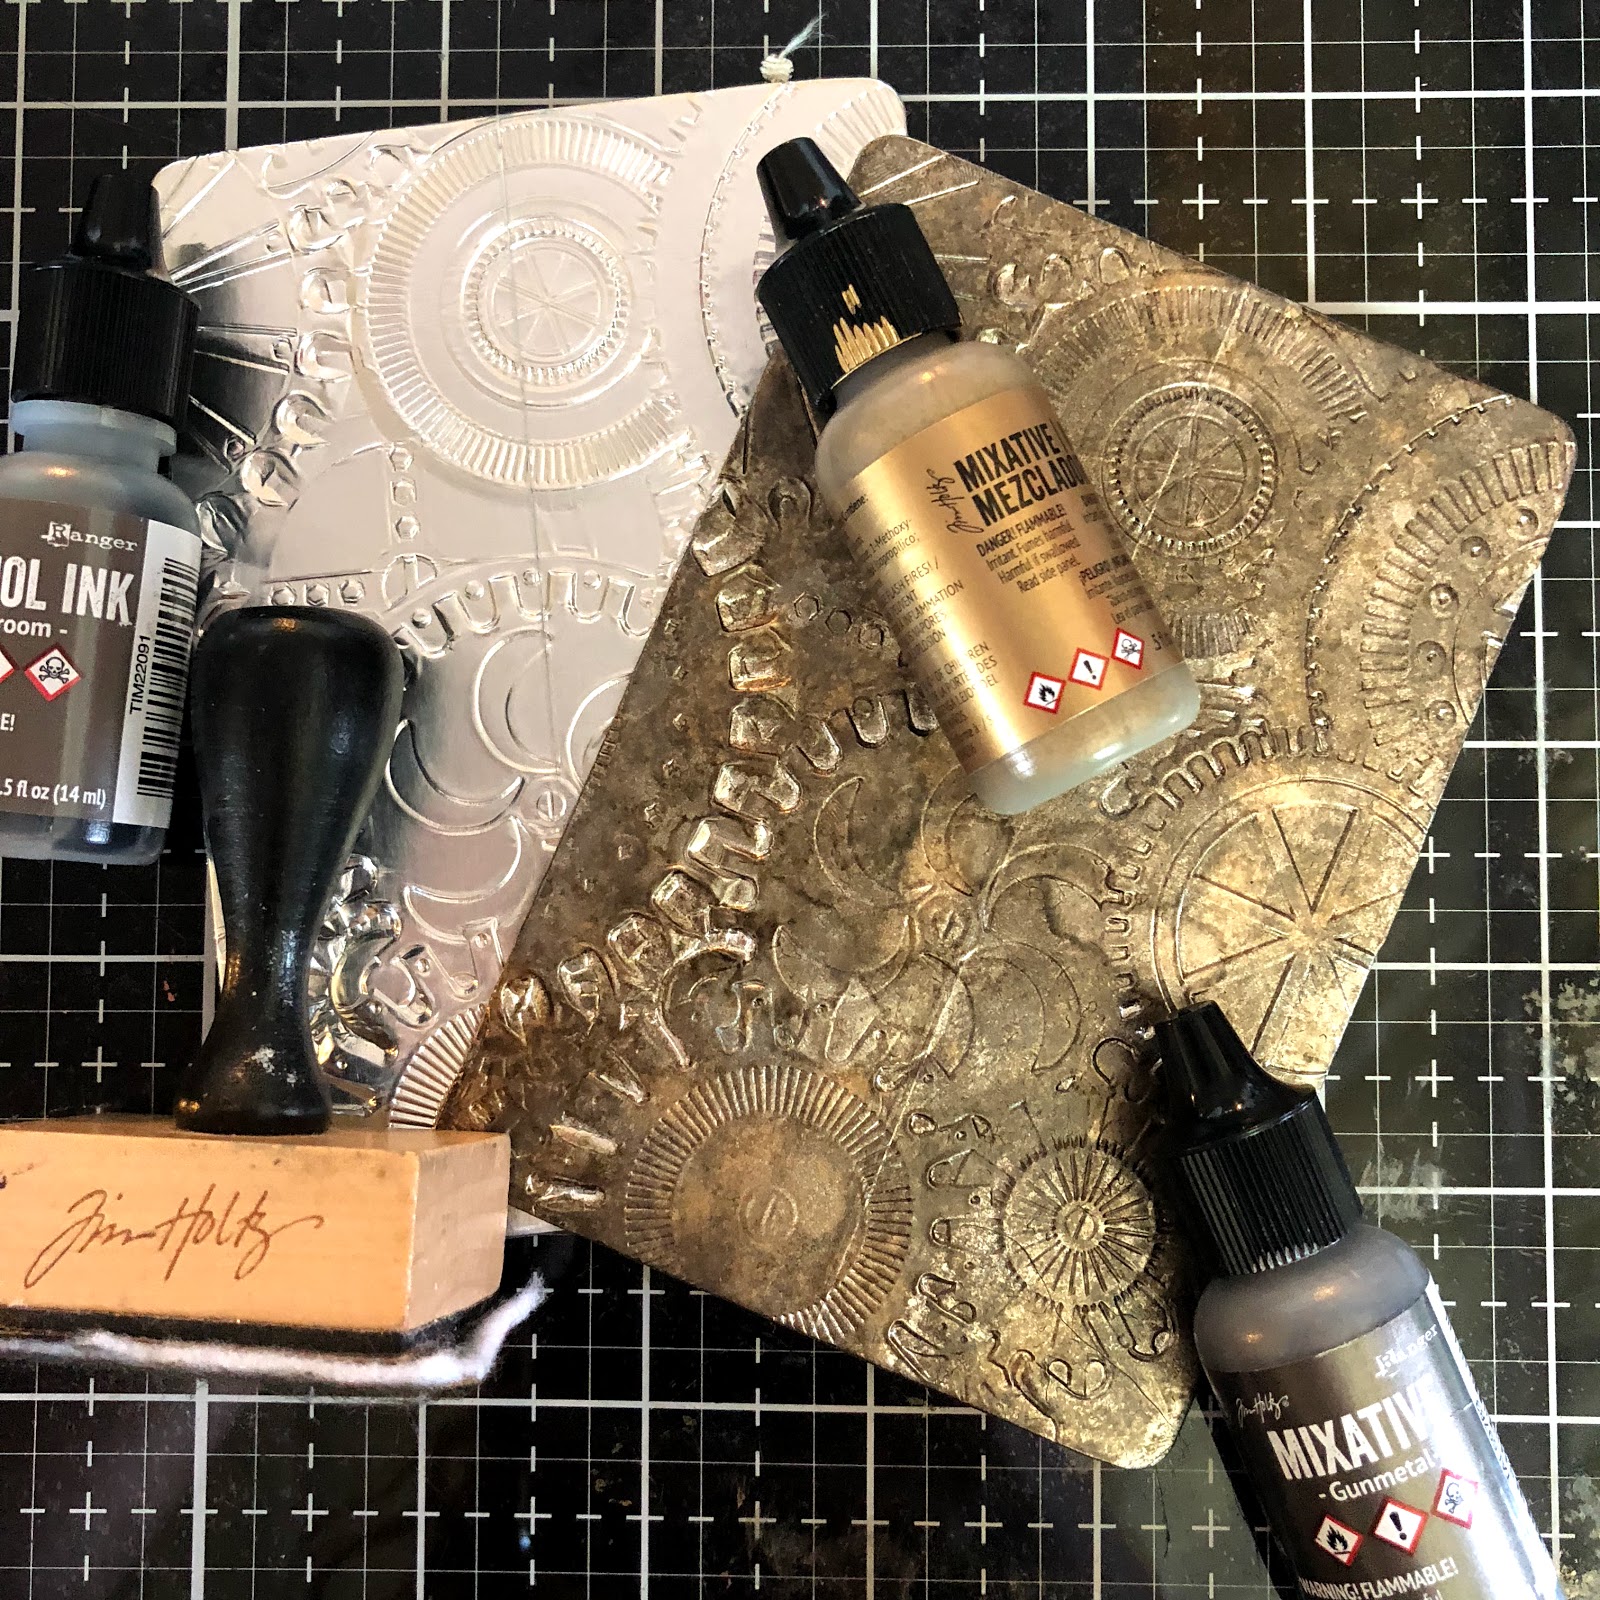
For the smaller notebook - cover a piece of mixed media paper with aluminum foil tape and emboss using Mechanics 3D Texture Fades folder.
To add the perfect patina color aluminum foil tape with Mushroom, Gunmetal and Gold Alcohol Inks. Begin with Mushroom and build layers until desired patina is achieved.

I mean seriously how yummy is that? The tape did leave a seam but I knew the robot card on the front cover would hide most of this.


For the larger cover using one of my rust backgrounds that had been embossed in the Foundry 3D Texture Fades folder, I adhered the rust background to a piece of Sizzix Mat Board cut to size.
Underneath the stamped card is layered a piece of drywall tape and a couple die cut gears from Gearhead Thinlets. The bottom left corner is finished off with a Quote Chip that has been sanded and blended with Copper Metallique Wax.

For the smaller cover adhere the stamped robot card to the front cover.


Both covers were bound with a Cinch.
I really had fun building these little robots. I know my hubby likes his notebook and I can only hope my nephew will be just as excited.
Happy Creating~ Jennalee
so cool Jennalee!! What a great idea!
ReplyDeleteThanks so much Paula!!
ReplyDelete