Monday, August 21, 2017

Unlock Your Dreams- Heartfelt House Die Project

Hello!! I was recently the lucky winner of a giveaway on the Eileen Hull Fan Club Facebook page. I won Eileen's new Heart Felt House Pocket die. I love house shapes in art so I was very excited to add this die to my collection. There are so many ideas dancing around in my head!! 

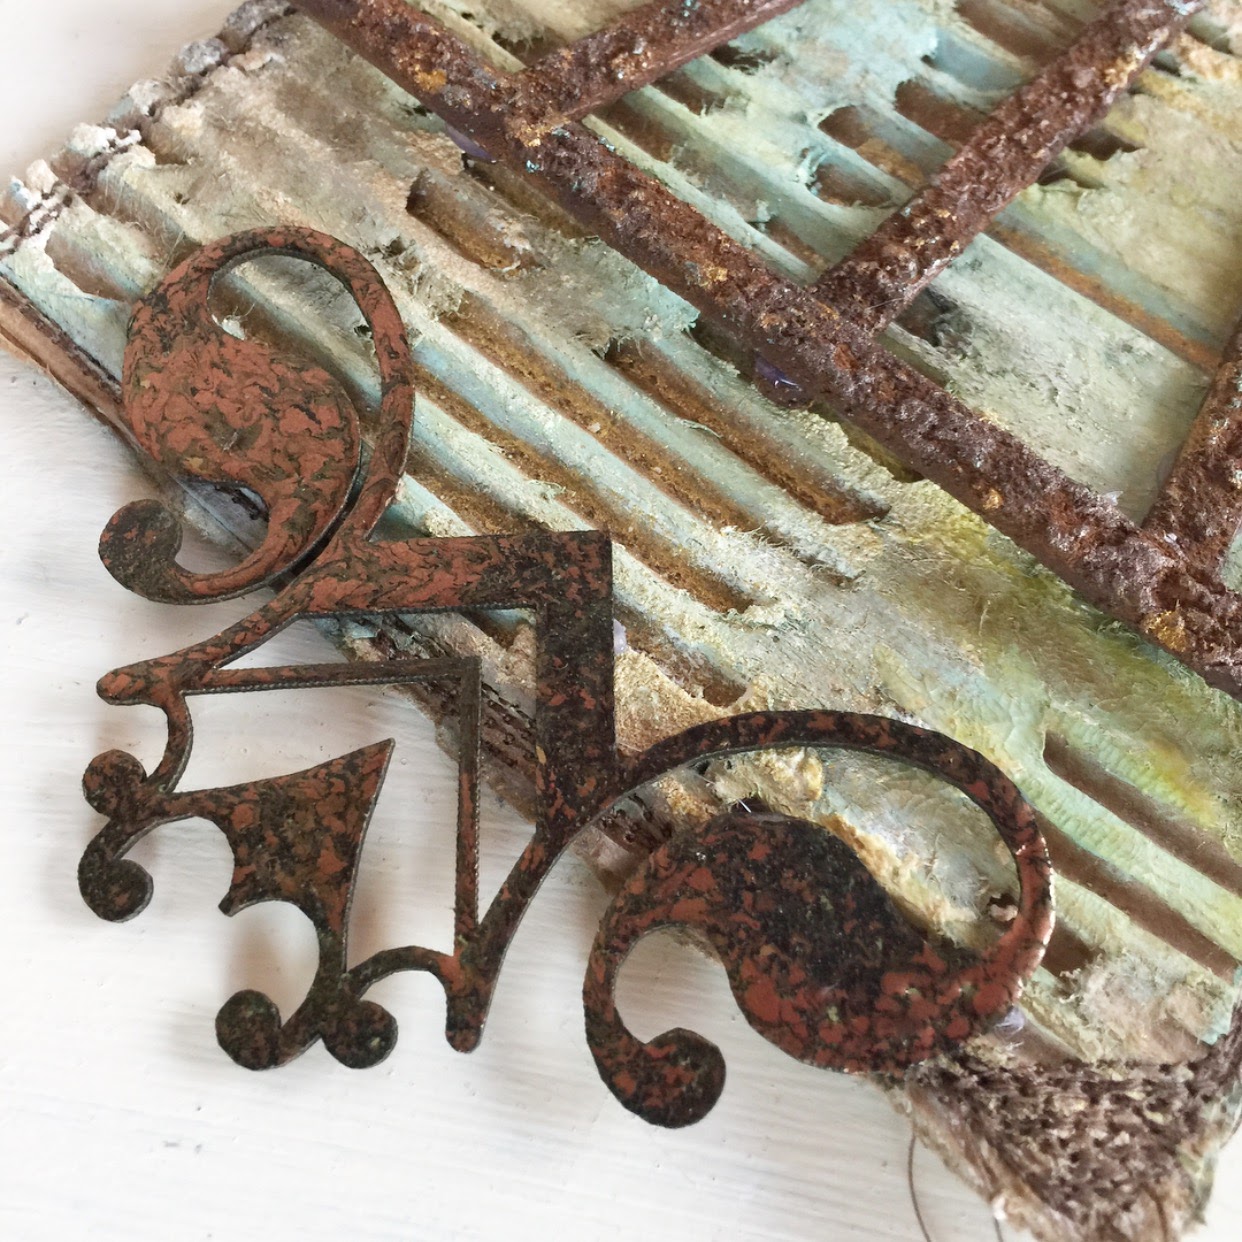
The House Pocket die was the perfect base for the piece I had in mind. I picked up a couple beautifully vintage escutcheon plates while junking and could not wait to use one. 


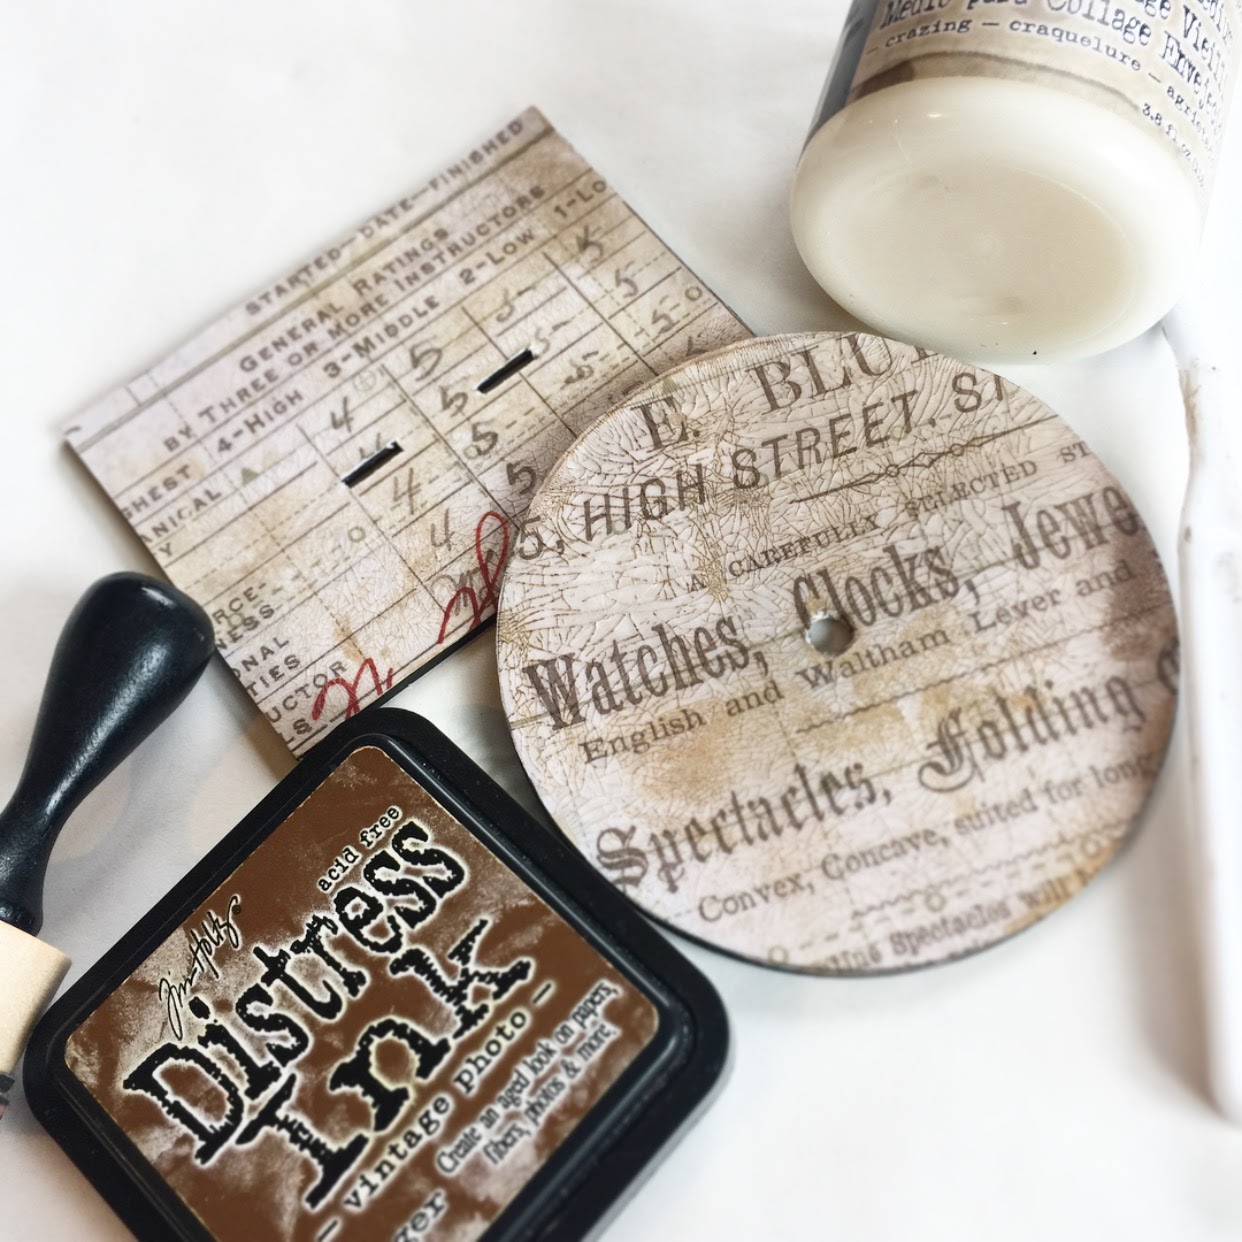
I started with a simple collaged background and added some random swipes of gesso. I used my new favorite instant coffee. I keep a small spray bottle at the ready with instant coffee and water mixed, ready to spray at any time. 


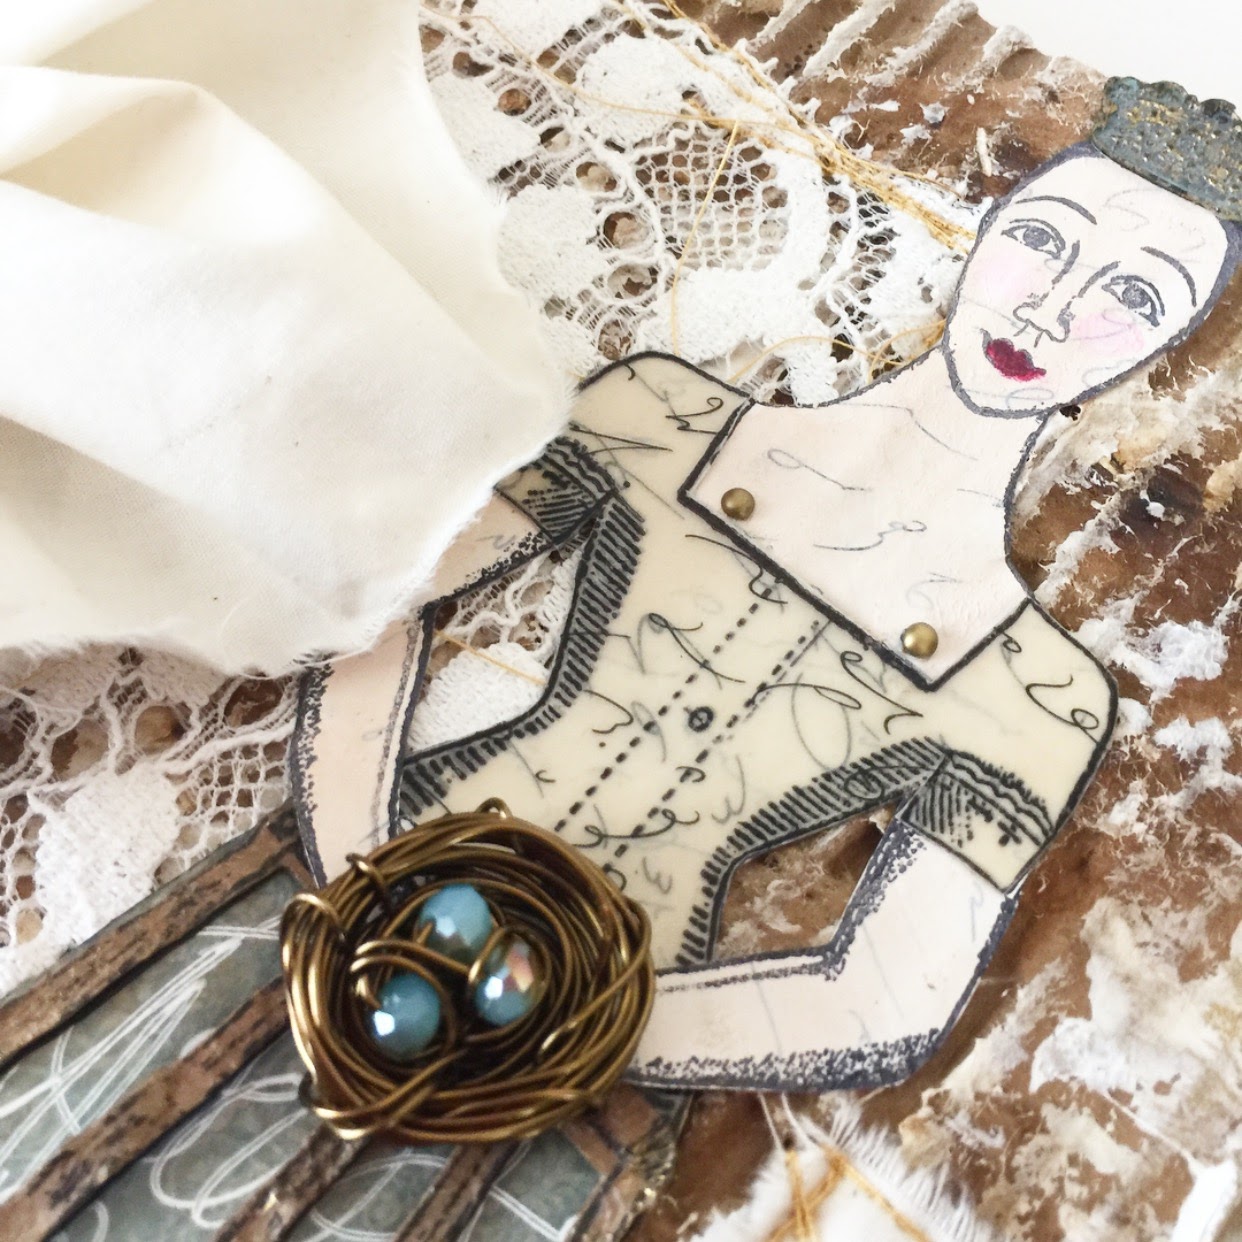
I used one of my favorite stamps. This girl speaks to me and inspires me to keep searching and seeking for my dreams. 


As you may know, I love keys and try to sneak them in whenever I can. So naturally doors and houses need keys, right? 


I have been enjoying working with wire and sneaking it into my projects. A wire hanger was the perfect addition to take this piece from flat to a dimensional wall hanging. 


As always I snuck in some messy stitching and buttons. 


Have you made anything with inspiring die? Be sure to check out the Makers Challenge over on the Sizzix blog. Thank you for stopping by and spending a few minutes with me. Comments always bring a smile so leave a quick note and let me know you stopped by. 
Happy Creating Friends!!
~Jennalee


Friday, August 18, 2017

The Watchmaker's Clock

Hello!! I'm here today with a Steampunk inspired clock. When I saw the Desk Clock Kit from Gypsy Soul Laser Cuts I knew I wanted to make a clock for my hubby. He loves vintage and steampunk so the gears were an easy choice to go with.


Start by applying two layers of Black gesso or acrylic paint to the fronts and backs of all the chip board pieces.

Cover the Clock Face and Base with scrapbook paper. Adhere paper using Distress Collage Medium or matte medium. I used a piece of paper from Tim Holtz's Dapper paper stash paper pad. The wording was perfect and set the tone for the whole piece. 


 Once Collage Medium is dry apply a generous layer of Distress Crazing Medium. Allow to air dry. Once dry apply accents to the crazing with Distress Ink in Vintage Photo. 


Emboss the numbers using Burnt Copper Leaves


Using a strong hold adhesive attach clock support to base and numbers to front of clock. Assemble clock workings. The inner workings of the clock fit perfectly on the support piece. 


Once I had my clock assembled I decided I wanted it to have a larger base. I took a small wooden cradle board I had in my stash and spray painted using a dark brown with light hints of bronze. 


Then came the fun of adding gears and other small steampunk inspired bits. The gears I used are from Tim Holtz's Idea-ology line.The light bulb and other random "thing" are from junking excursions. I attached the gears and bits and bobs with hot glue. 


I don't make masculine projects often, but I really enjoyed this one. And my hubby was thrilled that I made a project for him, for once!! Thanks for spending a few minutes with me today. Happy Creating ~ Jennalee


Other Supplies:

Black Gesso or Acrylic Paint
Scrapbook Paper- Tim Holtz's Idea-ology Dapper paper stash paper pad
Distress Collage Medium
Distress Collage Medium Crazing 
Distress Ink - Vintage Photo
Burnt Copper Leaves embossing powder - Emerald Creek 
Beacon 3 in 1


Wednesday, August 16, 2017

Santos Cardboard Journal Cover

Hello!! My admiration of cardboard continues. 
I love the texture and strength provided by such a simple substrate. Plus since cardboard is so accessible and basically free there is no pressure if you mess up. That freedom is wonderful for those of us who overthink everything!! 

I recently added the Character Constructions Santos Cage Doll to my collection. You may remember I used her on a previous assemblage piece. Since that project, I added the cage skirt to my collection. So, of course, I had to make another project with her. 

I recently ran across some cardboard pieces that were flat and had rounded corners. And the perfect size when folded with a spine for a traveler's journal cover. 


Technique
Peel top layer off one side of cardboard piece to reveal the corrugated layer. 
Fold spine to be approximately 1/4 inch to 1/2 inch.
Add random swipes of Gesso with a palette knife.
Spray with coffee mix. 
Dry with heat gun. 
Sew square of lace off center on front of journal.
Punch holes and thread elastic thru spine. 
Scrunch and sew on piece of muslin to spine. Making sure not sew over the elastic. 
Sew on ripped muslin strips for bow closure. 
Stamp and assemble Santos Doll. 
I used the same technique for the doll body as used here.
Add a piece of scrapbook paper behind skirt with handwritten sentiment. 
For bird nest wrap 20 gauge brown wire to form nest shape. Add turquoise beads. 
Attach Santos Doll offset on journal cover. 

I am linking this project up to the Craft Stamper Take It Make It Challenge 

August Challenge:
Anything Goes!:
(stamping MUST be included)

Find all the entries and information at 


Thank you for stopping by and spending a few minutes with me today. Leave me a comment and let me know you stopped by!! Happy Creating friends~ Jennalee 

Friday, August 4, 2017

Santos Cage Doll

Hi everyone, Jennalee here today!! I've had the idea for this Santos Doll for awhile. When I was digging thru my Gypsy Soul Laser Cuts stash I found the perfect halo background piece and frame ends, and from there it all fell into place.


I have long admired Santos Dolls and had been wanting to make one for some time, but needed to find all the perfect pieces. I had been looking for the perfect halo of light piece. When I  saw this Swirl Medallion-Large (coming soon) I knew that painted gold it would perfectly offset the Santos figure. 

To begin, remove the top layer on a piece of corrugated cardboard. Using a palette knife apply a layer of Distress Grit Paste or Grout to cardboard piece. For the cage skirt I used wooden coffee stirrers from my stash or you can also use a flat wooden dowel cut to size. To the skirt pieces apply a generous layer of grit paste. Allow pieces to air dry. 

Once dry paint cardboard background using your choice of paints or inks. For mine I used acrylic paints and Distress Oxides.


 To add "rust" to skirt pieces paint with brown acrylic, while paint is still wet dip piece into cinnamon. Allow to dry. Using your finger and a very light touch add highlights of gold and aquamarine for a patina effect.


For the background halo paint Swirl Medallion with brown acrylic paint. Allow to dry. Once dry spray generously with a gold shimmer spray. 


For frame pieces emboss 1 Herald Medallion (coming soon) with Burnt Copper Leaves. Cut Medallion in half. Use the top half of  the Medallion to frame the top of your piece and the larger bottom half of Medallion as a frame for bottom edge of piece. 


To add texture to your Santos figure add a very thin layer of gesso to book text. Using a palette knife allows for control and to add some rough texture for a clay like effect. Stamp out figure and color in using watercolors or choice of medium.


Now for the fun part putting it all together. Using hot glue attach Swirl Medallion. Layer on Santos figure and arrange cage skirt as desired. Attach skirt pieces with hot glue. Add top and bottom Medallion pieces to edges. Step back and admire. 


Thank you for stopping by and spending a few minutes with me here at Gypsy Soul Laser Cuts today. I hope you enjoyed this project and that you can find all the right pieces for that project that you've been dreaming up. ~Jennalee