
Hello!! I am so thrilled to be over on the Frilly and Funkie blog today as the Guest Designer. The theme this round is Elegant Jewels. When I first heard the theme I was a bit stumped. After tossing around some ideas I decided on making a piece of jewelry. I have been wanting to try a little journal necklace and thought now would be the perfect reason to make one. Let's jump in!!

When was the last time you played with Shrinky Dinks? They're a great childhood past time, but every once in awhile I remember I have some and like to experiment with them. For this project, they are the perfect thing for the covers of the mini journal.

If you've been following me a for a bit you know I love houses and Eileen Hull's House Pocket Die is a great simple shape and makes cutting your base super quick.
Begin by cutting two pieces from Shrinky Dink and one piece of cardstock. The cardstock piece I used as a template for getting my holes aligned.

Be sure to punch your holes before shrinking. And remember to punch one hole at the top of only one house. This hole will be where you attach your jump ring for your necklace.

Ink the rough side of your Shrinky Dink shapes with Distress Inks. Regular Distress Inks and Oxide Inks both work nicely. I used a combination of both. I used a couple pieces of washi tape to tack my pieces down while inking to avoid fingerprints.
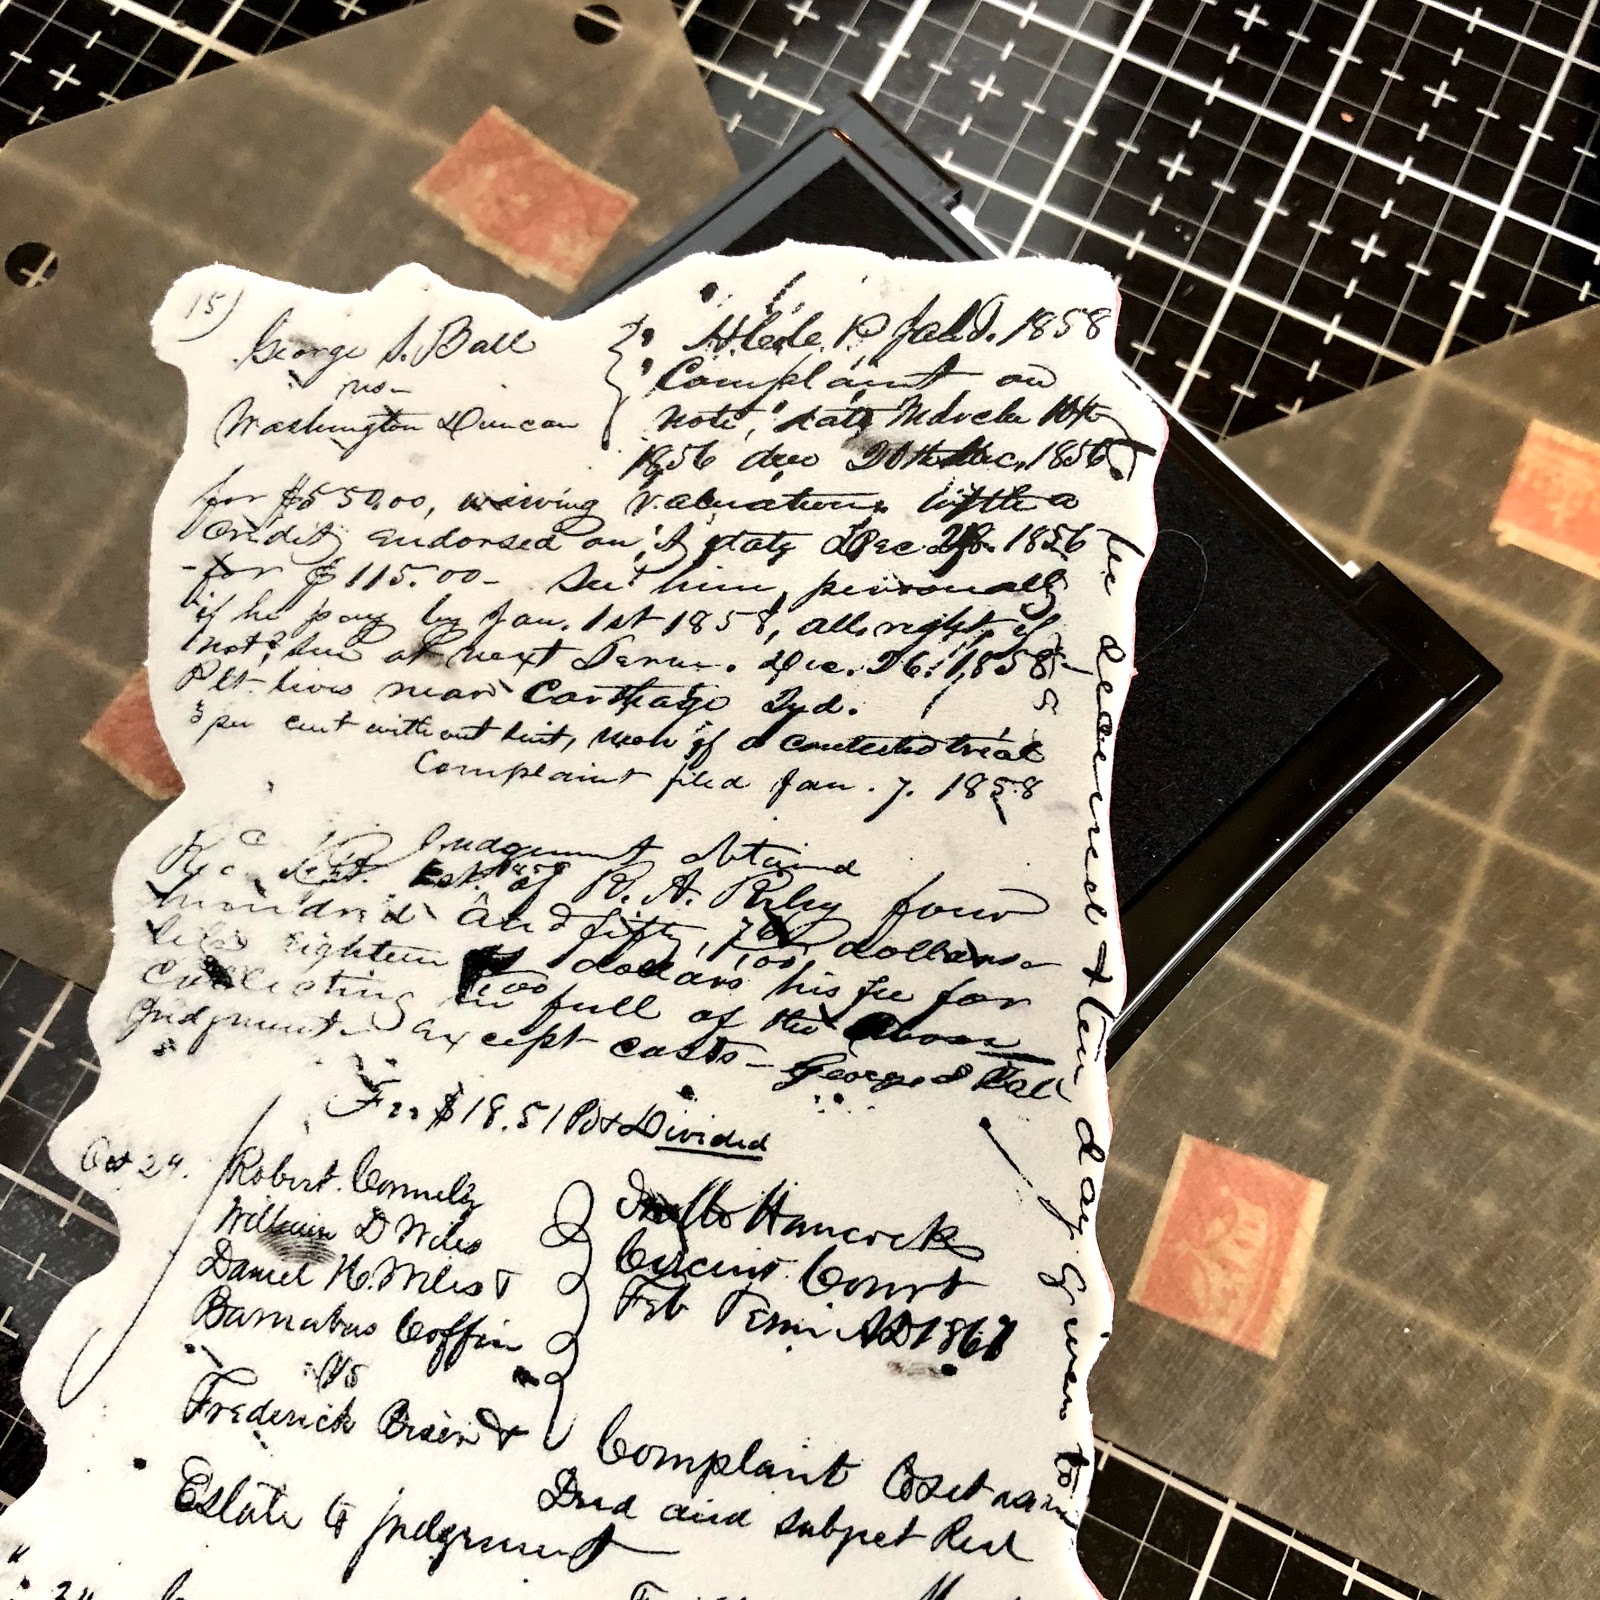
I then stamped the inked pieces with Tim Holtz's Ledger Script stamp.

I added a few random swipes of Antiqued Bronze Distress Paint to the background.

Now the fun part shrinking!! You can shrink your pieces in the oven or with your heat gun. When using your heat gun remember that the plastic is very hot!! I used a knitting needle as a guide and the acrylic stamp block works perfectly for flattening out your piece. Remove the washi tape before heating.

Look how tiny they are!!
I painted a coat of Antiqued Bronze Distress Paint on the backs of both pieces and edged both pieces with Tarnished Brass Distress Paint.

I forgot to take a picture, but at this point, I made the 3 signatures for the journal. Each signature is three piece of paper folded and cut to shape. Mark your holes and use an awl to poke the holes. I used the Coptic stitch to assemble my book. Tim's Craft Thread is the perfect weight for this.

My little book needed a way to keep it closed and a piece of seam binding was the perfect thing. I colored a piece of white seam binding with Fossilized Amber Distress Ink and added accents with Vintage Photo Distress Ink. To color your seam binding spritz with water. Smoosh the ink on your craft mat and run seam binding thru it. You can either let it air dry or use your heat gun.

This charm from Tim Holtz's Assemblage line was perfect for the front, vintage with a touch of bling. This particular charm had rings on top and bottom I used pliers to remove them and then sanded down the rough edges.
I used Distress Collage Medium to adhere the seam binding and charm to the front cover. At this point add your jump ring to the hole in the top of the back cover and add to a chain.


I really enjoyed making this project and look forward to filling my little journal with notes from days spent out exploring. Thanks so much for spending a few minutes with me today. If you give Shrinky Dinks a try I would love to see your creations. And don't forget to stop by the Frilly and Funkie blog to see all the inspiration!!
Happy Creating ~ Jennalee
How adorable is this! Really enjoyed the tutorial - must give it a go :) Thank you for joining us at Frilly and Funkie as our Guest Designer xx
ReplyDeleteThanks so much for letting me play along!! If you give it a try I would love to see your take.
DeleteOh, Jennalee! You are totally speaking my paper love language here! This is just fabulous! Such a creative idea to begin with, and then so perfectly executed! Thank you for being our Guest Designer at Frilly and Funkie! I love your style!
ReplyDeleteThank you so much for your kind words!! And many thanks for letting me play along this month!!
DeleteYou ARE an artist, no doubt about it! I just found your blog and I'm planning on making a cup of tea and spending the afternoon reading your blog. Just beautiful!
ReplyDeleteOh thank you for that wonderful compliment!! You made my heart smile!! Thanks for joining in on my art journey it’s wonderful to have you along!!
DeleteJennalee, you've done it again!!! Created something that I want!!! It's adorable and that it is made with shrinks-dinks??? Mind blown!! 😱 I love this! I want to run to my room right now and make one! Such a cute accessory and make! ♥️♥️♥️
ReplyDeleteStacy you are too kind my friend!! You should definitely give it a try. It’s amazing the ideas that start popping once you think of things in Shrinky dink terms!!
DeleteThis is gorgeous, adore how you shrunk it and love your embellishment. Tracy ❤️❤️
ReplyDeleteThank you so much Tracy!!
DeleteThis is just brilliant!
ReplyDeleteThank you bunches Susie!!
DeleteJennalee, this is just adorable, beautiful, clever and wonderful! I love the way you added the gem and the beautiful ribbon too. Great tutorial! I hope you will consider adding this to this month's challenge at Mini Album Makers. Hugs, Anne xx
ReplyDeleteThanks so so much Anne!! I am loving all of your projects lately. I will definitely look at the mini albums challenge!!
DeleteI found this post on Pinterest this morning and followed it to your blog. Amazing work! I still have Shrinky Dinks sheets from when my daughter was a child. I've used them several times to make jewelery and embellishments for tags. Time to bring it back out. You've also inspired me to bring out my sewing machine. Nor that I can sew, but I think I can handle messy stitching! Thanks for all your inspiration!
ReplyDeleteWelcome Linda!! Yes pull out that sewing machine!! I don’t know the first thing about proper sewing but messy stitching is absolute favorite.
DeleteThis is the coolest project! I love the tiny houses and how you shrunk them down. The stamp you've used is a favorite of mine, and the perfect choice! Also that gem is the perfect addition! I've tried using shrinky dink material in the past, but I can never get it to flatten back out. Bravo for your perfectly made album! Thank you for being our special guest at Frilly and Funkie and for all your hard work! Hugs! Sara Emily
ReplyDeleteSara thank you so much for your kind words!! I’m so happy you enjoyed this project!!
DeleteHello, Jennalee ~ I love your work and would love to communicate with you about a teaching opportunity. I have not been able to find a direct email for you. Could we make contact via email? My company email address is annemarie.mysticspring@gmail.com. Thank you!
ReplyDeleteAnne Marie Fowler
http://www.mysticspringstudios.com
Hi Anne Marie, I sent an email but just Incase it didn’t work my email is thepaperedsoiree@gmail.com. Thanks so much!!
Delete