Hello!! Can you believe it's already time to start dreaming up Halloween projects? While mindlessly scrolling Pinterest a few weeks ago I saw a pair of witch boots made from Tim Holtz's Ice Skate die from Sizzix. I thought it was a great way to get more use out of an already great die. As I started cutting and experimenting I got to thinking about what a vintage witch boot would look like and decided to add a couple more simple cuts to change it up just a little.
Start by layering a piece of mixed media paper or mat board with double-sided adhesive sheet and top off with a black piece of Kraft-Stock.
Run layered papers thru die cut machine. Remember to put the right side of the paper down on the die.
Cut along the lines drawn in white.
Here is a closeup of the detail in the heel. When cutting off the top of the boot an angle be sure wherever your top hole lands it is left intact to hold your shoelace.
Sand the edges of the boots and blend with Black Soot Distress Ink.
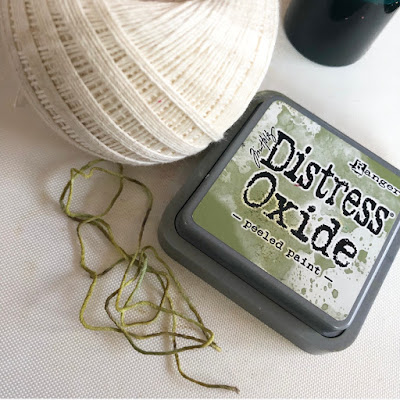
Prepare Seam Binding Ribbon, Thread, and Ricrac by dying with Distress Inks and Oxides. Here is a super simple video showing my process. This is my very first video 😬. It was a learning process, but I hope to bring more technique videos your way.
From the back of the boot use the Craft Pick to prepare the holes for the shoelace. Begin by bringing needle from back to front. Pull the thread so that there are even amounts on either side of the boot. Thread every other hole and leave the remaing thread at top of boot. Thread needle with other end of the thread. Bring thread up and over to top of the boot and thread remaining holes. When you reach the top tie off remaining tails in a double knot and tie a bow.
Run a length of double-sided adhesive along top edge on the backside of the boot. Gather and adhere dyed seam ribbon binding.
Adhere dyed ricrac with Distress Collage Medium.
Trim Quote Chip to size to fit the top of the Display Hanger. Sand and ink with Vintage Photo Distress Ink.
Adhere the Quote Chip to the Display Hanger with double-sided red tape. Tie a bow around the top of the hanger.
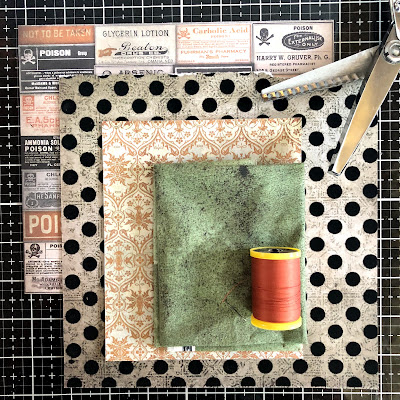
Prepare background layers. Begin by cutting a piece of the beautifully flocked polka dot paper from the Halloween Paper Stash. Trim with pinking shears for decorative edging. Rip a piece of Eclectic Elements Provisions to size. Cut top layer from Worn Wallpaper Halloween.
Cut labels from patterned paper in the Halloween Paper Stash. Tear a strip from Multi Haunted Materialize. Messy stitch all layers together. Adhere boots to background and clip on Display Hanger.
I don't know about you but I am ready to start stocking up on all that Halloween candy. For the trick or treaters of course!!
Happy Creating ~ Jennalee


Another cleverly designed project. Love this with the mix of fabric and paper.
ReplyDeleteThank you Nancy!! I always love adding in just a bit of fabric!!
DeleteJennalee such a creative use of this die, I love this idea! Then to layer up the pieces and addit to the hanger just is a perfect showcase! xx
ReplyDeleteThanks so much Ann!! I love this die and love having another way to use it!! And those hangers are one of my absolute fave Idea-ology items. They're the perfect way to top off so many projects.
Delete